22 June 2026
Mastering Airport Night Footage Editing: A Comprehensive Workflow
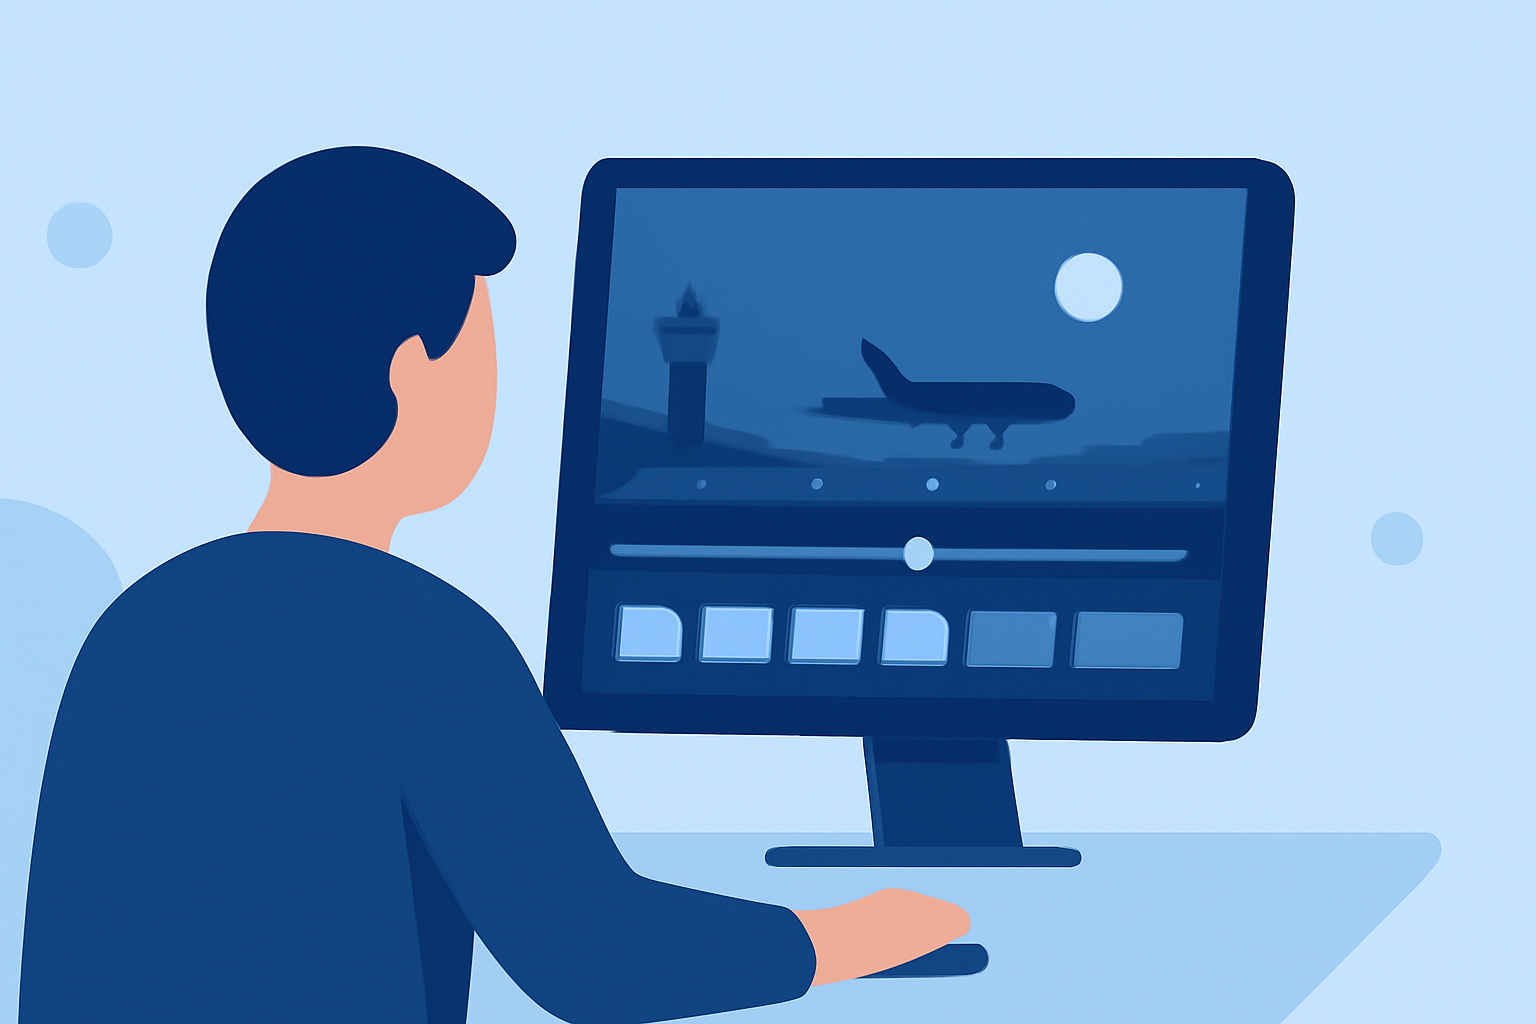
Editing airport night footage presents unique challenges, but with the right techniques, you can transform raw clips into captivating visuals. This guide outlines a comprehensive workflow to help you achieve professional results.
1. What Is 'Day for Night' Shooting?
'Day for night' is a filmmaking technique where footage shot during the day is edited to appear as if it was filmed at night. This approach is particularly useful when nighttime shooting isn't feasible due to logistical constraints or equipment limitations. By underexposing your footage and applying specific color corrections, you can convincingly simulate nighttime scenes. (premiumbeat.com)
2. How to Shoot Footage for 'Day for Night' Editing
To ensure your footage is suitable for 'day for night' conversion:
-
Shoot at Optimal Times: Aim to capture footage when the sun is high, typically midday. This timing minimizes harsh shadows and bright skies, making post-production adjustments more effective. (premiumbeat.com)
-
Underexpose Your Shots: Deliberately underexposing by up to three stops helps protect highlight details, which is crucial for creating a believable night scene. (premiumbeat.com)
-
Adjust White Balance: Set a cooler white balance to impart a bluish tint, characteristic of nighttime lighting. This adjustment aids in achieving a more authentic night-time appearance. (premiumbeat.com)
3. Step-by-Step Editing Workflow
Once your footage is ready, follow these steps to edit it into a convincing night scene:
-
Import and Organize Footage: Begin by importing your clips into your editing software. Organize them into bins or folders based on scenes or locations to streamline the editing process. (flyqdrone.in)
-
Apply Color Correction: Use color grading tools to adjust exposure, contrast, and white balance. Aim for a cooler tone with reduced brightness to emulate nighttime conditions. Tools like Lumetri Color in Adobe Premiere Pro can be particularly effective for this purpose. (avikomfilm.com)
-
Enhance with Vignetting: Adding a subtle vignette effect darkens the edges of the frame, drawing attention to the center and reinforcing the night-time ambiance. (avikomfilm.com)
-
Stabilize and Trim Clips: Ensure your footage is steady and free from unwanted movements. Use stabilization tools if necessary and trim any excess footage to maintain a smooth flow. (retouchinglabs.com)
-
Add Sound Design: Incorporate ambient sounds typical of nighttime environments, such as distant traffic or night birds, to enhance realism. Ensure the audio levels are balanced and support the visual narrative. (flyqdrone.in)
4. Tips for Effective Night Footage Editing
-
Maintain Consistency: Ensure that all clips have a uniform color grade and exposure settings to create a cohesive final product.
-
Use High-Quality Audio: Clear and high-quality audio recordings are essential for immersing viewers in the night-time setting.
-
Regularly Review Your Edits: Periodically step back and view your edits to ensure they align with your creative vision and effectively convey the intended mood.
By following this workflow, you can effectively edit airport night footage, creating compelling and professional-looking videos that transport viewers into the nocturnal world of aviation.