22 June 2026
An Introduction to Airport Timelapse Editing for Beginners
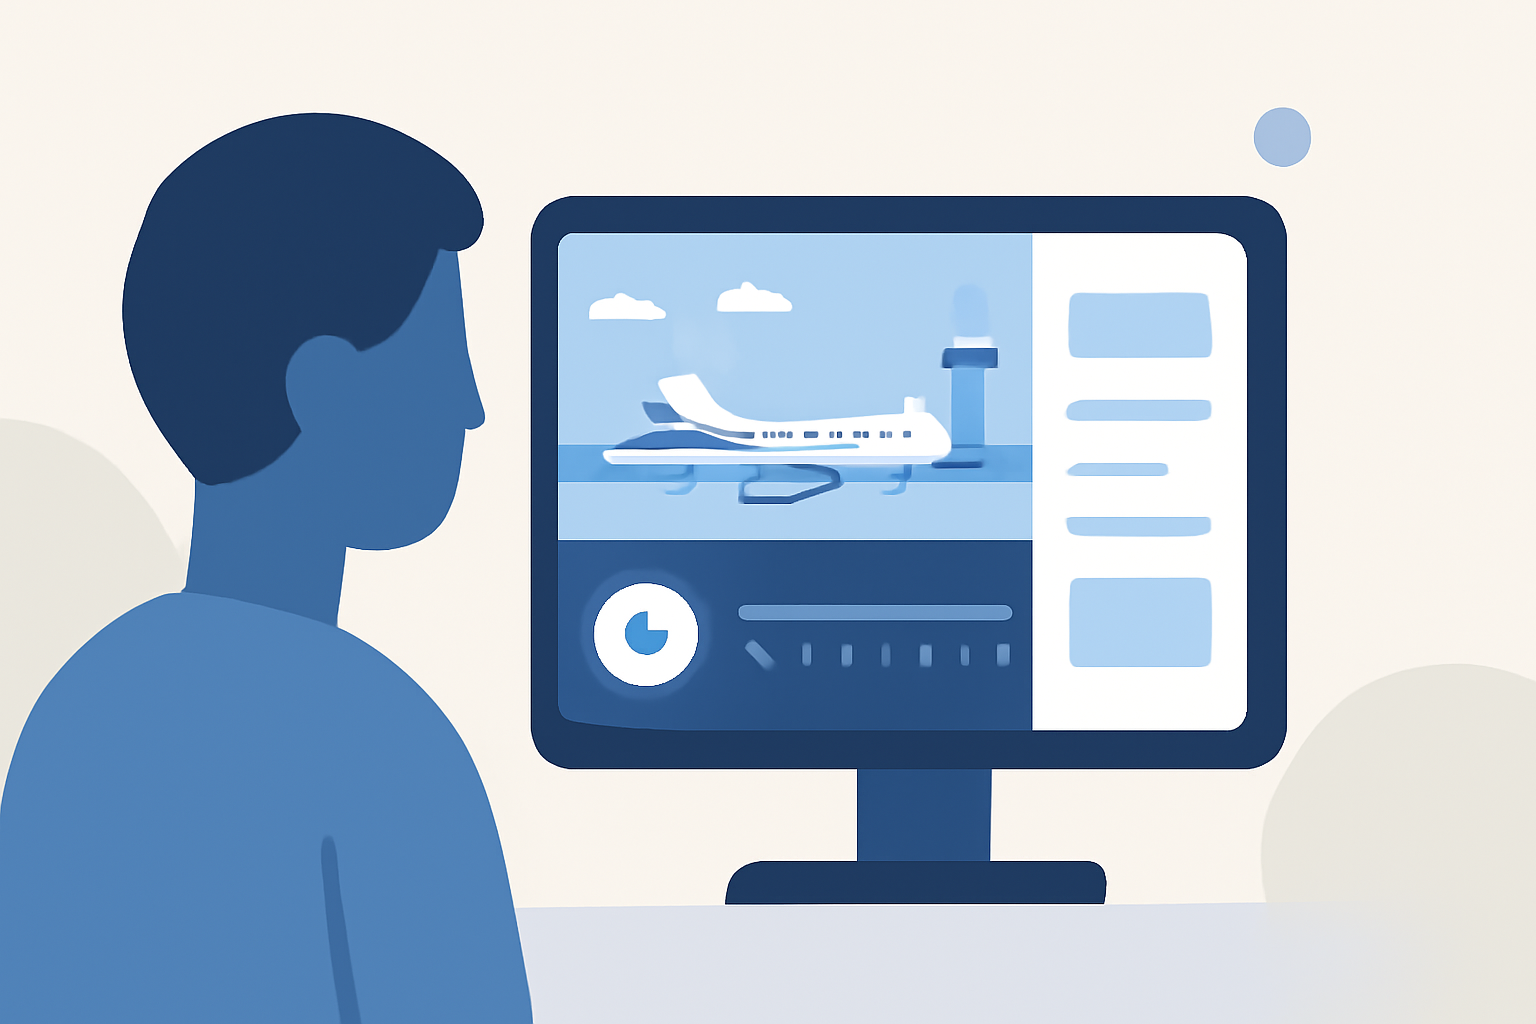
Creating an airport timelapse video offers a unique perspective on the dynamic environment of air travel. This guide provides beginners with a step-by-step approach to producing compelling timelapse footage, from initial planning to final editing.
What Is Timelapse Photography?
Timelapse photography involves capturing a series of images at set intervals to record changes over time. When played at normal speed, these sequences reveal processes that are otherwise imperceptible to the naked eye. In the context of airports, timelapse can showcase the ebb and flow of passengers, aircraft movements, and the transition from day to night.
How Do I Plan an Airport Timelapse Shoot?
1. Obtain Necessary Permissions:
Airports are secure facilities with strict regulations. Before setting up equipment, contact airport authorities to secure the required permissions. This ensures compliance with security protocols and avoids potential legal issues.
2. Choose the Right Location:
Identify areas that offer a clear view of significant airport activities, such as terminals, runways, or control towers. Ensure the spot provides a stable platform for your camera and is safe for operation.
3. Determine the Shooting Schedule:
Decide on the duration of your shoot. Airport activities vary throughout the day, so consider capturing footage during peak hours, transitions between day and night, or specific events like aircraft arrivals and departures.
What Equipment Do I Need for Airport Timelapse Photography?
1. Camera:
A DSLR or mirrorless camera with manual settings is ideal. This allows control over exposure, aperture, and ISO, which is crucial for consistent image quality.
2. Lens:
A wide-angle lens enables you to capture expansive scenes, encompassing both the interior and exterior of the airport.
3. Tripod:
A sturdy tripod ensures stability, preventing camera shake during extended shooting periods.
4. Intervalometer:
This device automates the process of capturing images at set intervals, essential for creating smooth timelapse sequences.
5. Power Solutions:
Long shooting sessions require reliable power sources. Consider using external battery packs or AC adapters to keep your equipment running.
How Do I Shoot an Airport Timelapse?
1. Camera Settings:
-
Manual Mode: Set your camera to manual to maintain consistent exposure throughout the sequence.
-
Aperture: Choose a mid-range aperture (e.g., f/8) for a deeper depth of field.
-
ISO: Keep ISO low (e.g., 100) to minimize noise.
-
Shutter Speed: Select a shutter speed that balances motion blur and clarity, typically around 1/30 to 1/60 seconds.
2. Focus:
Manually focus on a point within the scene to prevent the camera from refocusing during the shoot.
3. Interval Settings:
Set the intervalometer to capture images at regular intervals (e.g., every 5 seconds) to effectively condense time.
4. Test Shots:
Take a few test shots to ensure exposure and focus are correct before starting the full sequence.
How Do I Edit Airport Timelapse Footage?
1. Import and Organize:
Transfer your images to a computer and organize them in sequential order.
2. Editing Software:
Use specialized software designed for timelapse editing. These tools offer features like deflickering, keyframe editing, and rendering, which are essential for producing smooth and professional-looking timelapse videos.
3. Post-Processing:
-
Color Correction: Adjust white balance, exposure, and contrast to enhance image quality.
-
Deflickering: Apply deflickering techniques to eliminate exposure inconsistencies that can cause flickering in the final video.
-
Stabilization: If there are any slight movements or shakes, use stabilization tools to smooth out the footage.
4. Rendering:
Once editing is complete, render the sequence into a video file. Choose appropriate settings for resolution and frame rate based on your intended platform (e.g., 1080p at 24 fps for online sharing).
How Do I Add Music and Final Touches?
1. Music Selection:
Choose music that complements the mood and pace of your timelapse. Ensure you have the rights to use the track or select royalty-free music.
2. Synchronization:
Sync the music with the video, adjusting the timing to match key moments in the footage.
3. Titles and Credits:
Add titles, captions, and credits as needed to provide context or acknowledge contributors.
4. Exporting:
Export the final video in a suitable format and resolution for your intended use, whether it's for online sharing, presentations, or personal archives.
How Can I Enhance My Airport Timelapse Projects?
1. Experiment with Angles:
Try different perspectives, such as elevated views or close-ups, to add variety to your footage.
2. Incorporate Motion:
Use equipment like motorized sliders or gimbals to introduce subtle camera movements, adding dynamism to your timelapse.
3. Plan for Transitions:
Capture sequences that showcase transitions, like the change from day to night, to add visual interest.
4. Learn from Others:
Study timelapse videos from other creators to understand different techniques and styles.
By following these steps and utilizing specialized timelapse editing software, you can create engaging and professional airport timelapse videos that capture the unique energy and movement of airport environments.