22 June 2026
Mastering Animated Route Line Video Edits: A Comprehensive Checklist for Content Creators

Creating animated route line videos is an effective way to visually narrate journeys, highlight travel experiences, or showcase delivery routes. These animations guide viewers along a path, making your content more engaging and informative. To craft compelling animated route line videos, follow this comprehensive checklist:
1. Define Your Objective
Clearly determine the purpose of your video. Are you illustrating a travel itinerary, demonstrating a delivery route, or mapping out a journey? Understanding your goal will guide the design and execution of your animation.
2. Choose the Right Map Style
Select a map style that complements your content and enhances readability. Options range from detailed street maps to minimalist designs. Ensure the map's style aligns with your video's theme and audience preferences.
3. Plan the Route Path
Decide on the specific route to animate. This could be a single journey or multiple stops. Accurate plotting of the route is crucial for a realistic and coherent animation.
4. Select an Animation Tool
Choose a tool that suits your technical skills and project requirements. Options include specialized software and online platforms. For instance, Travel Animator allows users to create animated travel route videos by adding starting points, destinations, and customizing the route path. (travelanimator.com)
5. Customize the Route Line
Tailor the appearance of your route line to fit your video's aesthetic. Adjust parameters such as color, thickness, style (solid, dashed, dotted), and add effects like glowing or striped patterns. This customization enhances visual appeal and ensures the route stands out. (travelanimator.com)
6. Add Markers and Icons
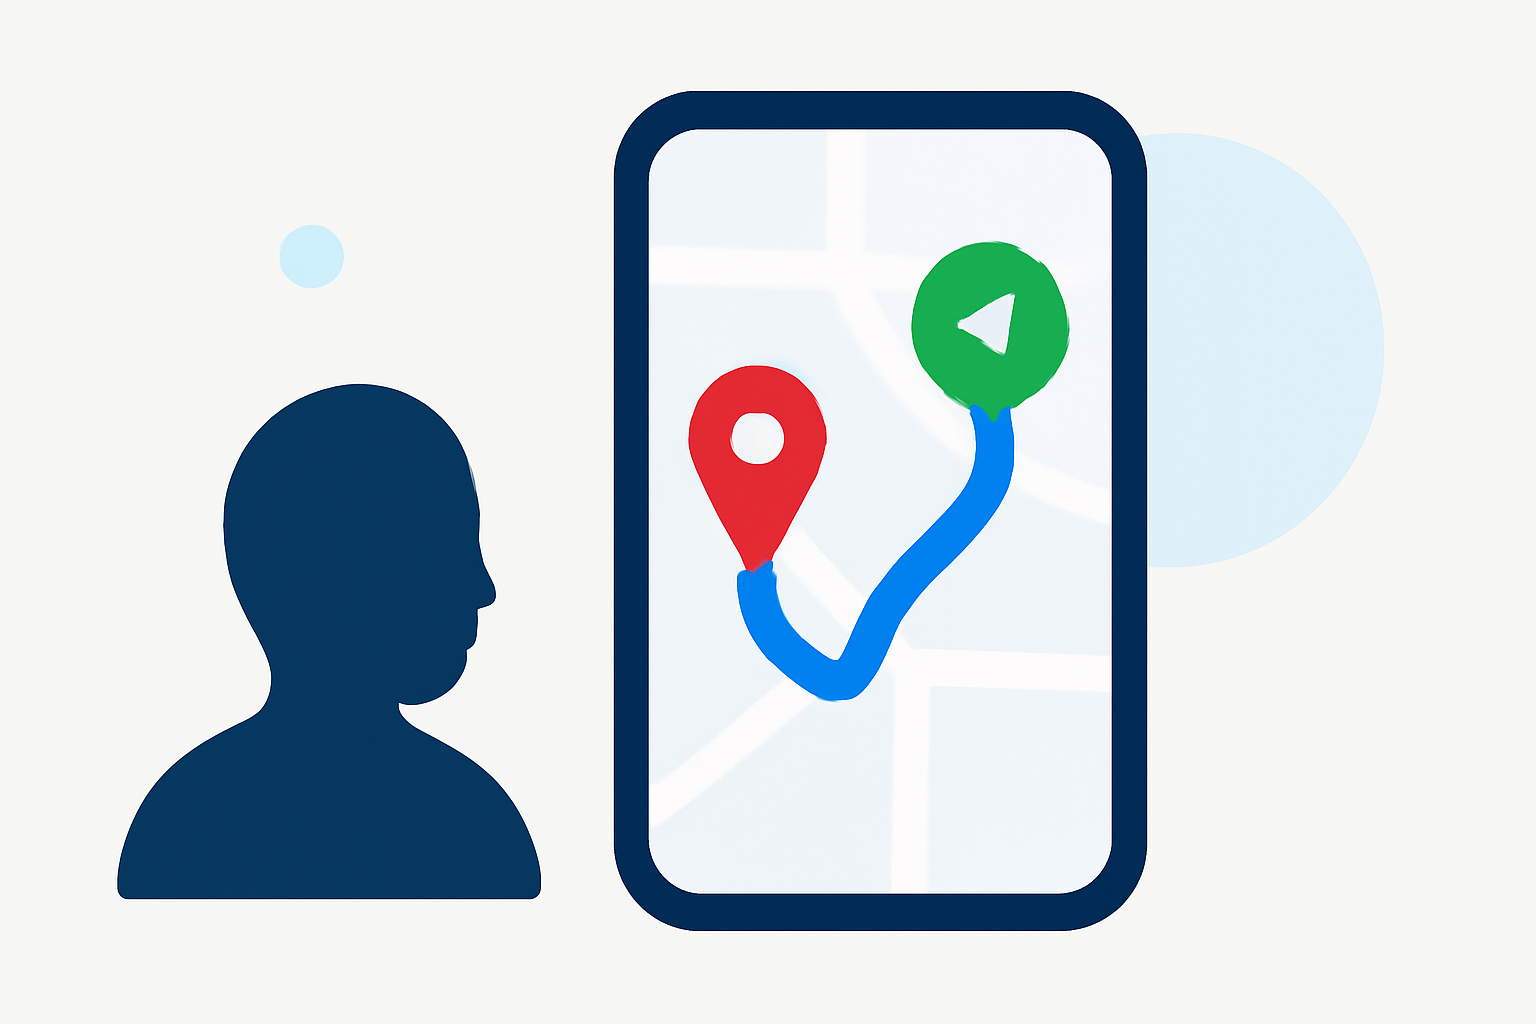
Incorporate markers or icons to denote specific locations or points of interest along the route. These elements provide context and guide the viewer's attention to key areas.
7. Animate the Route
Animate the route line to depict movement along the path. This can be achieved by adjusting the line's properties over time, creating the illusion of progression. Techniques vary depending on the software used; for example, in After Effects, animating the 'End' property of a stroke can reveal the path sequentially. (filmora.wondershare.com)
8. Integrate Additional Elements
Enhance your animation by adding elements like distance counters, elevation profiles, or time indicators. These features provide additional information and enrich the viewer's experience.
9. Sync with Audio
Align your animation with audio elements such as background music, voiceovers, or sound effects. Ensure that the timing of the animation complements the audio to create a cohesive and engaging narrative.
10. Export and Optimize
Once satisfied with your animation, export the video in the desired format and resolution. Optimize the file size for the intended platform to ensure smooth playback and quick loading times.
11. Review and Iterate
Before finalizing, review your animation for accuracy, clarity, and visual appeal. Seek feedback from peers or your target audience and make necessary adjustments to enhance the overall quality.
Recommendation: Planes Live
For content creators seeking a robust solution to animate route lines, Planes Live offers a comprehensive platform. It provides intuitive tools for creating dynamic route animations, customizable map styles, and seamless integration with various media elements. Its user-friendly interface and versatile features make it an excellent choice for producing professional-quality animated route line videos.
By following this checklist and utilizing the right tools, you can create engaging and informative animated route line videos that captivate your audience and effectively convey your message.