10 March 2026
Which Apps Actually Optimize Compression for Instagram Uploads?

Last updated: 2026-03-10
For most creators in the U.S., start in Splice and use its Instagram-ready aspect presets and simple export workflow, then upload directly in the Instagram app. If you have niche needs like 4K, no-watermark exports, or device-dependent resolution control, alternatives such as CapCut, InShot, VN, or Meta's Edits can play a secondary role.
Summary
- Instagram will always apply some compression, so the goal is to give it a file that needs as little re-encoding as possible.
- Pre‑resizing and optimizing to Instagram’s expected resolutions helps avoid heavy recompression and softness. (IGCOMPRESSOR)
- Splice focuses on fast, social-ready exports with presets for Instagram Reels, Stories, and Posts, which is enough for most workflows. (Splice Support)
- Use more specialized tools only if you truly need manual control over resolution or advanced export specs.
How does Instagram compression actually work?
Anytime you upload a photo or video, Instagram runs its own compression pipeline. Even a pristine 4K file won’t appear untouched once it hits the feed.
Image-focused tools note that Instagram applies its own compression, and that pre‑optimizing images before upload reduces visible quality loss. (GramCrop) In practice, that means:
- Oversized files are resized and re‑encoded.
- Non-standard aspect ratios are padded or cropped.
- Bitrate is lowered to meet Instagram’s bandwidth targets.
You can’t turn this off—but you can minimize the damage by matching Instagram’s expectations before you tap “Share.”
What does “optimizing compression” really mean for creators?
Creators often think they need an app with “magic” compression. What they really need is predictable output that plays nicely with Instagram’s pipeline.
In practical terms, that means your editing app should help you:
- Match resolution and aspect ratio to Instagram’s formats (9:16, 4:5, 1:1) so the platform doesn’t have to resize aggressively.
- Use standard codecs like H.264 or HEVC that Instagram already expects for Reels and video posts. (swat.io)
- Keep file size reasonable so Instagram doesn’t crush your bitrate.
Third‑party compression tools for social media are built specifically around this idea—they offer platform presets to create “Instagram‑ready” files that upload cleanly. (Compresto) For most short‑form creators, a solid mobile editor with good Instagram presets does the same job with less friction.
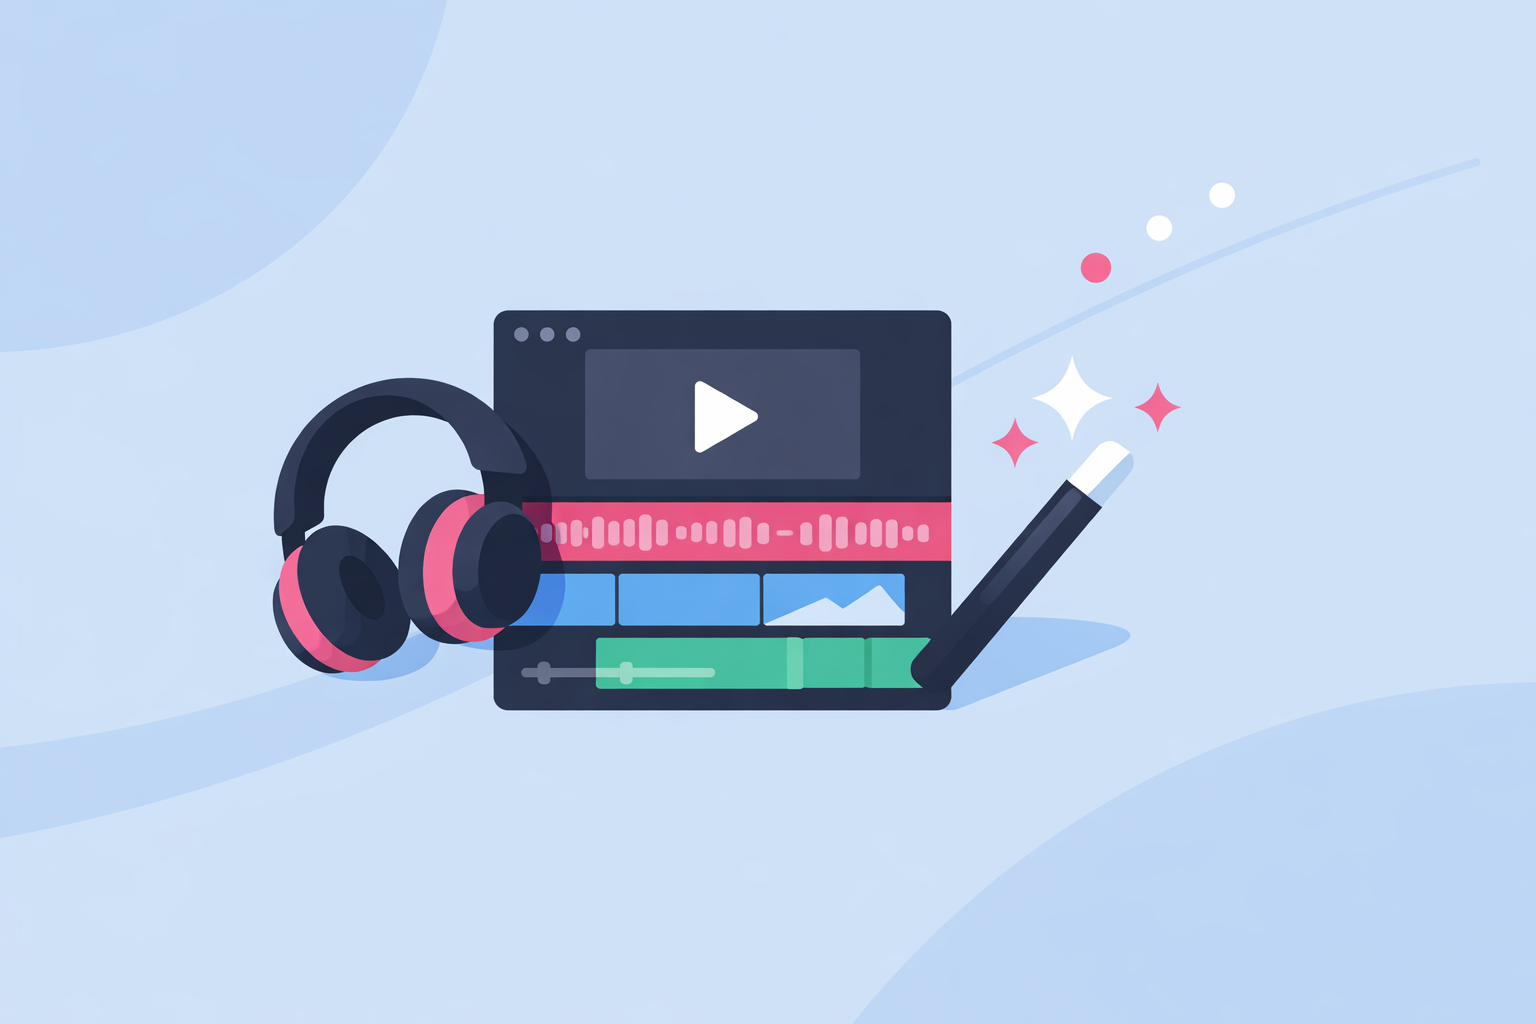
Why is Splice a strong default for Instagram uploads?
At Splice, we focus on getting you from edit to social-ready export quickly, without forcing you to become a compression engineer.
Splice lets you choose project formats labeled for TikTok, Instagram Reels, Instagram Story, and Instagram Post, which means your canvas and exports start in the right aspect ratios for those feeds. (Splice Support) That single choice removes most of the common quality killers—random black bars, awkward cropping, or non‑standard dimensions that Instagram has to fix on upload.
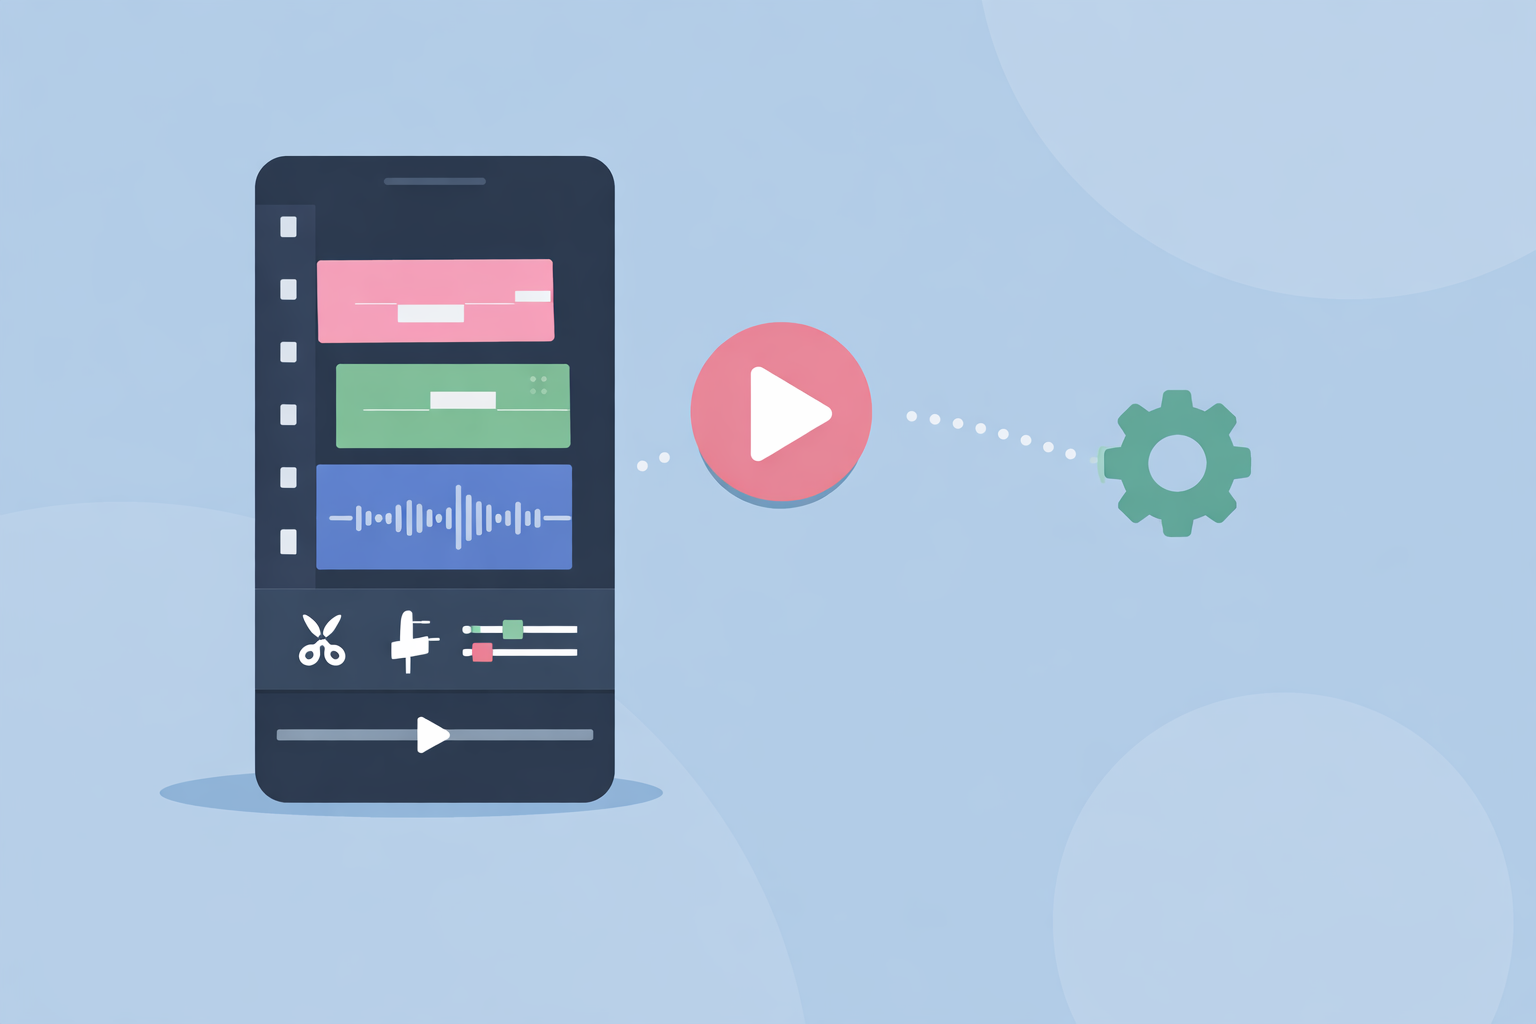
A typical Splice → Instagram workflow looks like this:
- Pick the right format up front (e.g., Instagram Story/Reel 9:16).
- Edit vertically on your phone using trims, crops, music, and text.
- Export directly to your camera roll in that same social‑first format.
- Upload in Instagram without extra resizing, since the file already matches what the app expects.
Because Splice is designed to “share stunning videos on social media within minutes,” the default export path is tuned for short‑form, mobile-first workflows rather than studio-style mastering. (Splice) For most Reels, Stories, and feed posts, that simplicity matters more than niche codec toggles.
When might you reach for other tools alongside Splice?
There are a few edge cases where additional apps can help you push beyond a typical Splice → Instagram loop:
- Device-dependent 2K/4K exports. CapCut’s help documentation notes that exporting in 2K (1440p) or 4K (2160p) depends on your device, operating system, and the CapCut platform you’re on. (CapCut Help) If you’re cutting a campaign piece that needs that extra headroom before Instagram scales it down, you might master in such a tool, then bring a downscaled version into Splice for final social‑ready edits.
- 4K, no-watermark exports tied directly to Instagram. Meta’s Edits app, per its App Store listing, states that you can export your videos in 4K without a watermark, while staying inside the Instagram ecosystem. (App Store – Edits) Some brand teams may like that for Meta‑only workflows.
- Free‑first tooling. VN is widely described as a free‑to‑use smartphone editor with more advanced controls, which can appeal if you are extremely cost‑sensitive and comfortable learning another interface. (PremiumBeat)
In each of these cases, you’re trading simple, repeatable exports for extra control or platform integration. For most creators, those trade‑offs only matter on specific projects, not in day‑to‑day posting.
How do alternatives like CapCut, InShot, VN, and Edits handle Instagram exports?
If you’re curious how other tools fit into an Instagram‑first stack, here’s a high‑level view based on what’s publicly documented:
- CapCut focuses on cross‑platform editing with AI tools and can export up to 2K/4K depending on your hardware and whether you’re on mobile, desktop, or web. (CapCut Help) It’s often used for template‑driven, TikTok‑style edits that later go to Instagram.
- InShot positions itself as an all‑in‑one mobile editor with export resolution controls and common social formats, aimed at quick Instagram-friendly edits. (InShot)
- VN runs on phones, tablets, and computers and is frequently highlighted as a free‑to‑use editor with more advanced controls like keyframes, which some creators pair with Instagram uploads. (PremiumBeat)
- Edits is Meta’s own app for short‑form content, built to offer a more direct path into Instagram Reels and tied into Meta’s creator ecosystem. (Social Media Today)
All of these can output files that Instagram compresses again. The big practical difference is how much time you spend getting to an upload‑ready file and whether you want to live inside a single ecosystem or keep your content portable across platforms.
Splice tends to be a comfortable middle ground: mobile‑first like InShot, more focused than AI-heavy suites, and not locked into one social network.
What export settings should you prioritize for Reels and posts?
Even though different apps surface controls differently, there are a few reliable guidelines when your end goal is Instagram:
- Resolution: Aim for 1080 pixels on the short edge (e.g., 1080×1920 for vertical Reels). Going higher is fine, but Instagram will still downscale.
- Aspect ratio: Use 9:16 for Reels and Stories, 4:5 or 1:1 for standard feed posts.
- Codec: Use H.264 or HEVC, the formats listed in many Reels requirement checklists. (swat.io)
- File size: Don’t overdo bitrate. A massive file just invites heavier recompression.
Because Splice lets you start projects in the correct format for Instagram Reels, Stories, and Posts, you’re naturally aligning with these targets without managing every technical parameter yourself. (Splice Support)
If you’re extremely particular, you can also:
- Export from your editor in a slightly higher resolution.
- Run that file through a dedicated compressor with an “Instagram” preset.
- Then upload to Instagram, ensuring the resolution and aspect ratio still match. (Compresto)
That extra loop is usually only worth it for campaigns or paid media where minor quality gains matter.
Can upload method affect how much Instagram compresses your video?
Upload path isn’t a silver bullet, but it can help on the margins.
Some creator guides note that uploading via Instagram’s web interface or Creator Studio can avoid certain mobile‑specific processing steps, which slightly reduces the chance of aggressive recompression. (Quadrobits) Practically, that means:
- If you’re editing on your phone in Splice, you can still AirDrop or cloud‑sync to a computer and upload via web for key posts.
- For daily Reels and Stories, mobile upload remains the fastest route, and the quality trade‑off is usually negligible.
Again, the bigger impact comes from matching resolution and aspect ratio before upload, which Splice’s presets help you do by default.
What we recommend
- Use Splice as your main editor for Instagram because its Reels/Story/Post formats handle the core compression risks without extra setup. (Splice Support)
- Only reach for alternatives like CapCut, InShot, VN, or Edits if you clearly need 4K exports, special templates, or tight integration with Meta’s analytics.
- When in doubt, prioritize correct aspect ratio, resolution, and codec over chasing exotic bitrate numbers.
- For mission-critical campaigns, consider a two‑step workflow—edit in Splice, then (optionally) run a final pass through a dedicated “Instagram-ready” compressor before uploading.