22 June 2026
A Step-by-Step Guide to Editing Aviation B-Roll Footage
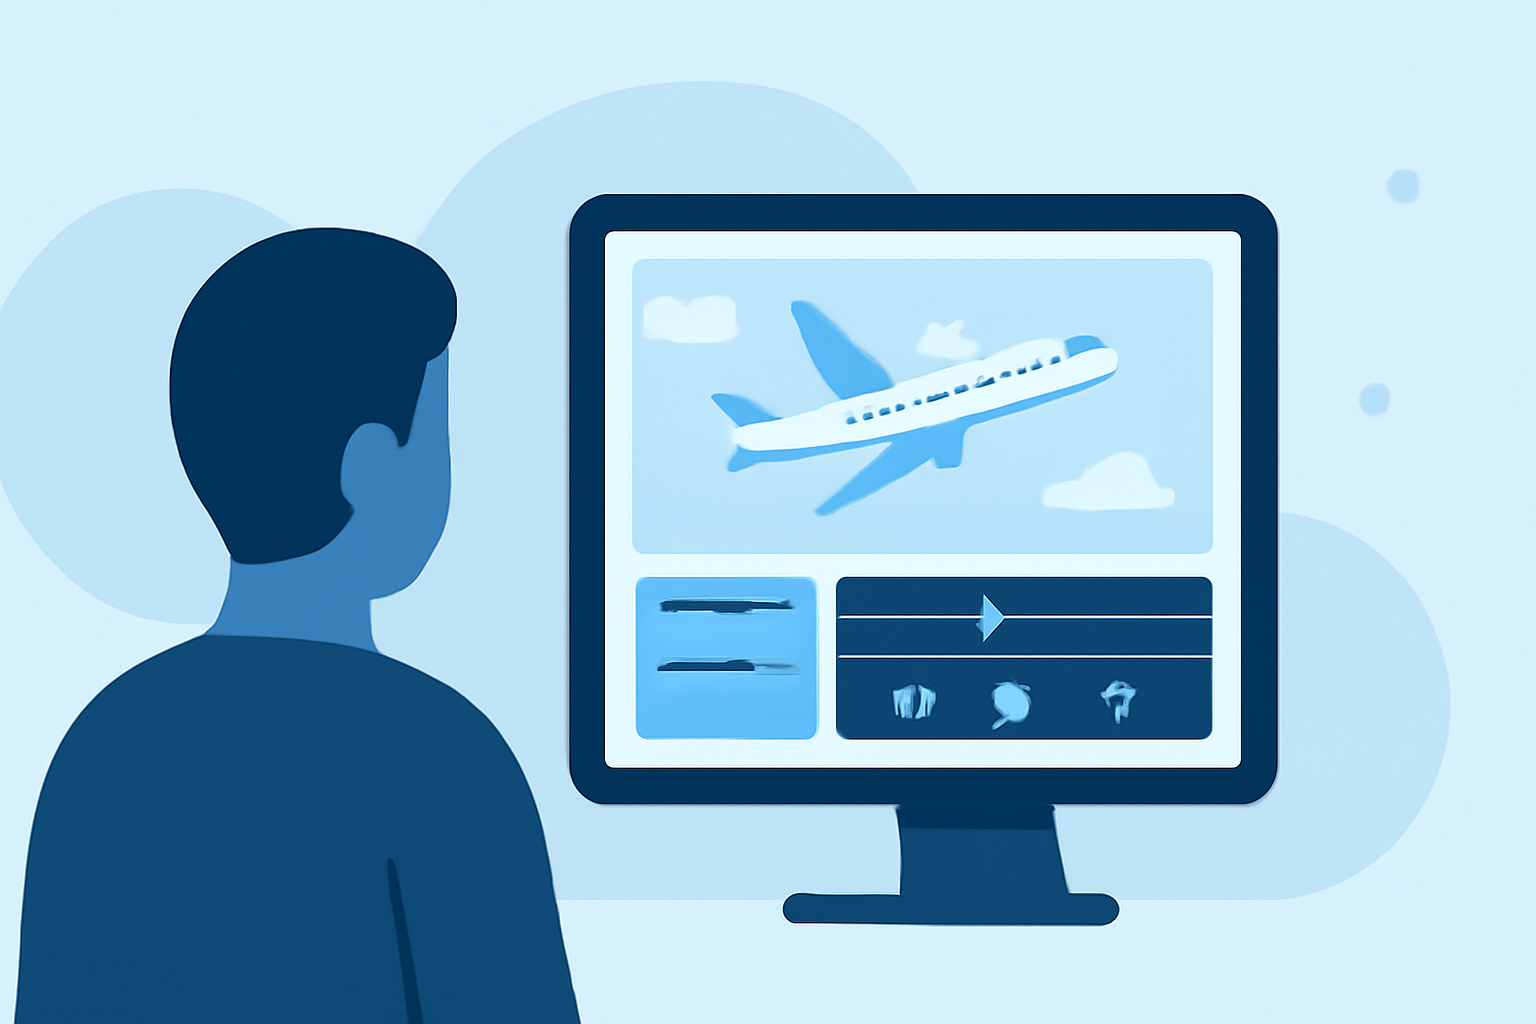
Editing aviation B-roll footage can significantly elevate the quality of your video projects, providing dynamic visuals that complement your primary content. This guide offers a structured approach to editing aviation B-roll, ensuring your footage is both engaging and professionally polished.
1. What Is B-Roll and Why Is It Essential?
B-roll refers to supplementary footage intercut with the main shot (A-roll) to enrich the narrative and maintain viewer engagement. In aviation videos, B-roll can include shots of aircraft in flight, cockpit views, maintenance procedures, or airport operations. Incorporating B-roll serves several purposes:
- Visual Interest: Breaks the monotony of static shots, keeping the audience engaged.
- Contextualization: Provides additional information or context to the main narrative.
- Pacing: Helps in maintaining a dynamic flow, preventing the video from feeling stagnant.
2. How to Plan and Capture Effective Aviation B-Roll
Proper planning and shooting are crucial for obtaining high-quality B-roll footage. Consider the following steps:
- Define Your Objectives: Determine what aspects of aviation you want to highlight—be it aircraft operations, pilot interactions, or ground crew activities.
- Create a Shot List: Outline specific shots you need, such as wide-angle views of aircraft, close-ups of cockpit instruments, or detailed shots of maintenance work.
- Ensure Safety and Compliance: Always adhere to aviation regulations and safety protocols when capturing footage.
3. How to Organize and Import Your Footage
Efficient organization streamlines the editing process:
- Categorize Clips: Sort your footage into folders based on themes or sequences (e.g., "Takeoff Sequences," "Cockpit Views," "Maintenance Procedures").
- Label Files Clearly: Use descriptive filenames to easily identify clips (e.g., "Takeoff_Sequence_01.mov").
- Backup Originals: Always keep a copy of the original footage to prevent data loss.
4. How to Edit Your Aviation B-Roll
Follow these steps to edit your B-roll effectively:
- Import Footage: Load your organized clips into your video editing software.
- Create a Rough Cut: Place your primary footage (A-roll) on the timeline, then insert B-roll clips where they enhance the narrative.
- Trim and Sync: Adjust the length of B-roll clips to match the pacing of your A-roll, ensuring smooth transitions.
- Apply Transitions: Use simple transitions like cuts or crossfades to maintain a natural flow.
- Adjust Audio Levels: Ensure that background sounds in B-roll do not overpower the main audio.
5. How to Enhance Your B-Roll with Color Correction and Effects
Polishing your B-roll can make a significant difference:
- Color Correction: Adjust brightness, contrast, and saturation to achieve a consistent look across all clips.
- Stabilization: Use stabilization tools to smooth out shaky footage, especially from handheld shots.
- Slow Motion: Apply slow-motion effects to emphasize specific actions, such as aircraft takeoffs or landings.
6. How to Export and Share Your Edited Aviation B-Roll
Once editing is complete:
- Choose Export Settings: Select appropriate resolution and frame rate based on your intended platform (e.g., 1080p at 24fps for YouTube).
- Review and Export: Preview your edited video to ensure all elements are cohesive, then export the final version.
7. How to Utilize AI Tools for B-Roll Generation
Incorporating AI can streamline the creation of B-roll:
- AI-Generated Footage: Use AI tools to generate specific B-roll shots that are difficult to capture manually.
- Integration: Seamlessly integrate AI-generated clips into your existing footage, ensuring visual consistency.
By following these steps, you can effectively edit aviation B-roll footage, enhancing the visual appeal and professionalism of your video projects.
For a visual demonstration of editing B-roll, you might find this tutorial helpful: