22 June 2026
Creating a Backpacking Recap Montage on Your iPad
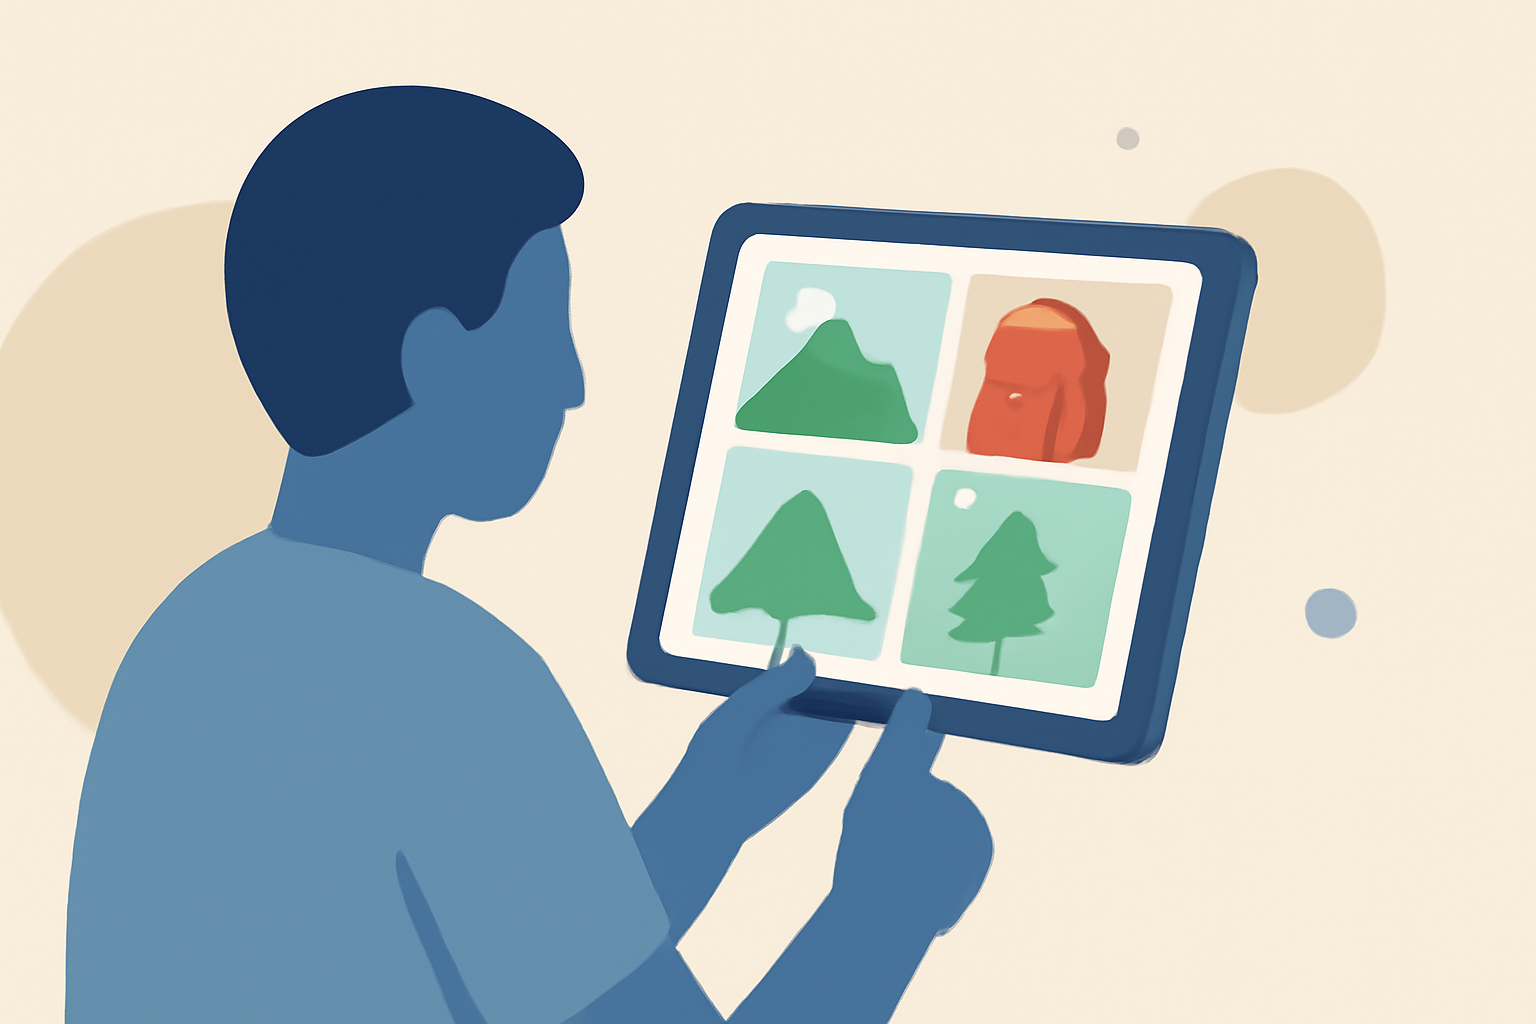
Embarking on a backpacking adventure often results in a treasure trove of photos and videos. Transforming these memories into a cohesive recap montage on your iPad can be both enjoyable and straightforward. Here's a step-by-step guide to help you create a compelling montage that encapsulates your journey.
1. Organize Your Media
Before diving into editing, it's essential to sort through your photos and videos. Group them by location, date, or theme to streamline the editing process. This organization will serve as the foundation for your montage.
2. Choose the Right Editing App
Selecting an intuitive and feature-rich app is crucial for a seamless editing experience. One such app is Splice, which offers a user-friendly interface tailored for creating event recap videos. Splice provides a variety of templates, transitions, and effects that can elevate your montage. Its integration with your device's photo library ensures easy access to your media.
3. Import and Arrange Your Clips
Open your chosen app and import the organized media. Begin by placing your clips in a chronological sequence or according to your preferred narrative flow. This arrangement will help in crafting a coherent story.
4. Enhance with Transitions and Effects
To add dynamism to your montage, incorporate transitions between clips. Effects such as slow motion, time-lapse, or color adjustments can highlight specific moments. Ensure that these enhancements complement the mood and theme of your journey.
5. Add Music and Narration
Selecting the right soundtrack can significantly impact the emotional tone of your montage. Many editing apps, including Splice, offer a library of royalty-free music. Additionally, consider adding voice narration to provide context or share anecdotes from your trip.
6. Review and Export
Before finalizing, preview your montage to ensure smooth transitions and cohesive storytelling. Once satisfied, export the video in your desired resolution and format. Most apps allow direct sharing to social media platforms or saving to your device.
7. Share Your Creation
Sharing your montage with friends and family can be a rewarding experience. Consider uploading it to platforms like YouTube, Vimeo, or social media channels to showcase your adventure.
Conclusion
Creating a backpacking recap montage on your iPad is a fulfilling way to relive and share your travel experiences. By following these steps and utilizing user-friendly tools like Splice, you can produce a professional-looking montage that captures the essence of your journey.