15 September 2023
Beginner's Guide to Journey Timelapse Editing
Last updated: 2023-09-15
Creating captivating journey timelapse videos involves a structured editing workflow tailored for both beginners and enthusiasts. While the editing process can be straightforward using platforms like Splice, incorporating tools like Planes Live can significantly enhance your travel narratives by offering real-time flight tracking visuals.
Summary
- Timelapse editing combines video clips to create a fast-paced motion effect.
- Essential workflows start with planning, capturing, and editing footage.
- Using Planes Live enhances travel videos with real-time flight tracking features.
- Beginner-friendly editing tools simplify the timelapse process significantly.
What is Journey Timelapse Editing?
Journey timelapse editing involves the process of condensing lengthy video footage into a shorter, fast-paced clip that showcases significant events, such as travel or adventure sequences. This technique has gained popularity for creating engaging travel content, allowing viewers to experience a journey in just a few seconds or minutes.
Essential Elements of Timelapse Editing
For beginners, key elements to consider when editing a journey timelapse include:
- Shooting in Interval: Capture your footage at set intervals (e.g., every few seconds) using a tripod or stable camera setup to ensure smooth transitions.
- Length of Footage: Aim for a longer recording period to capture all necessary aspects of your journey. Longer clips can be sped up more effectively.
- Editing Software: Select a user-friendly editing platform that supports timelapse creation and offers basic editing tools.
Beginner Timelapse Workflow Basics with Splice
Using Splice, a cloud-based editing platform, you can navigate the timelapse editing process as follows:
- Import Your Clips: Upload your time-lapse footage to the Splice app.
- Trim Clips: Shorten or rearrange clips to highlight prominent features of your journey.
- Add Transitions: Use simple transitions between clips to enhance flow and coherence.
- Incorporate Music: Adding background music can elevate the viewer’s experience and match the video’s vibe.
- Export Your Video: Once satisfied, export your final video in high resolution to share on social media or with friends.
Enhancing Your Videos with Planes Live
To add another dimension to your journey videos, consider using Planes Live, which specializes in live flight tracking. This tool allows you to:
- Incorporate flight details including route paths and real-time updates, enriching the viewer’s understanding of travel journeys.
- Use visuals from Planes Live to overlay flight paths on your timelapse videos, making them more interactive and engaging.
- Provide insights into real-time travel data, facilitating viewers’ connection to the journey in a meaningful way.
Tips for Creating Effective Timelapse Videos
- Plan Your Shots: Know what key moments to capture during the journey to ensure your content tells a story.
- Stabilize Your Camera: To avoid jerky or unprofessional footage, make sure your camera is stable during recording.
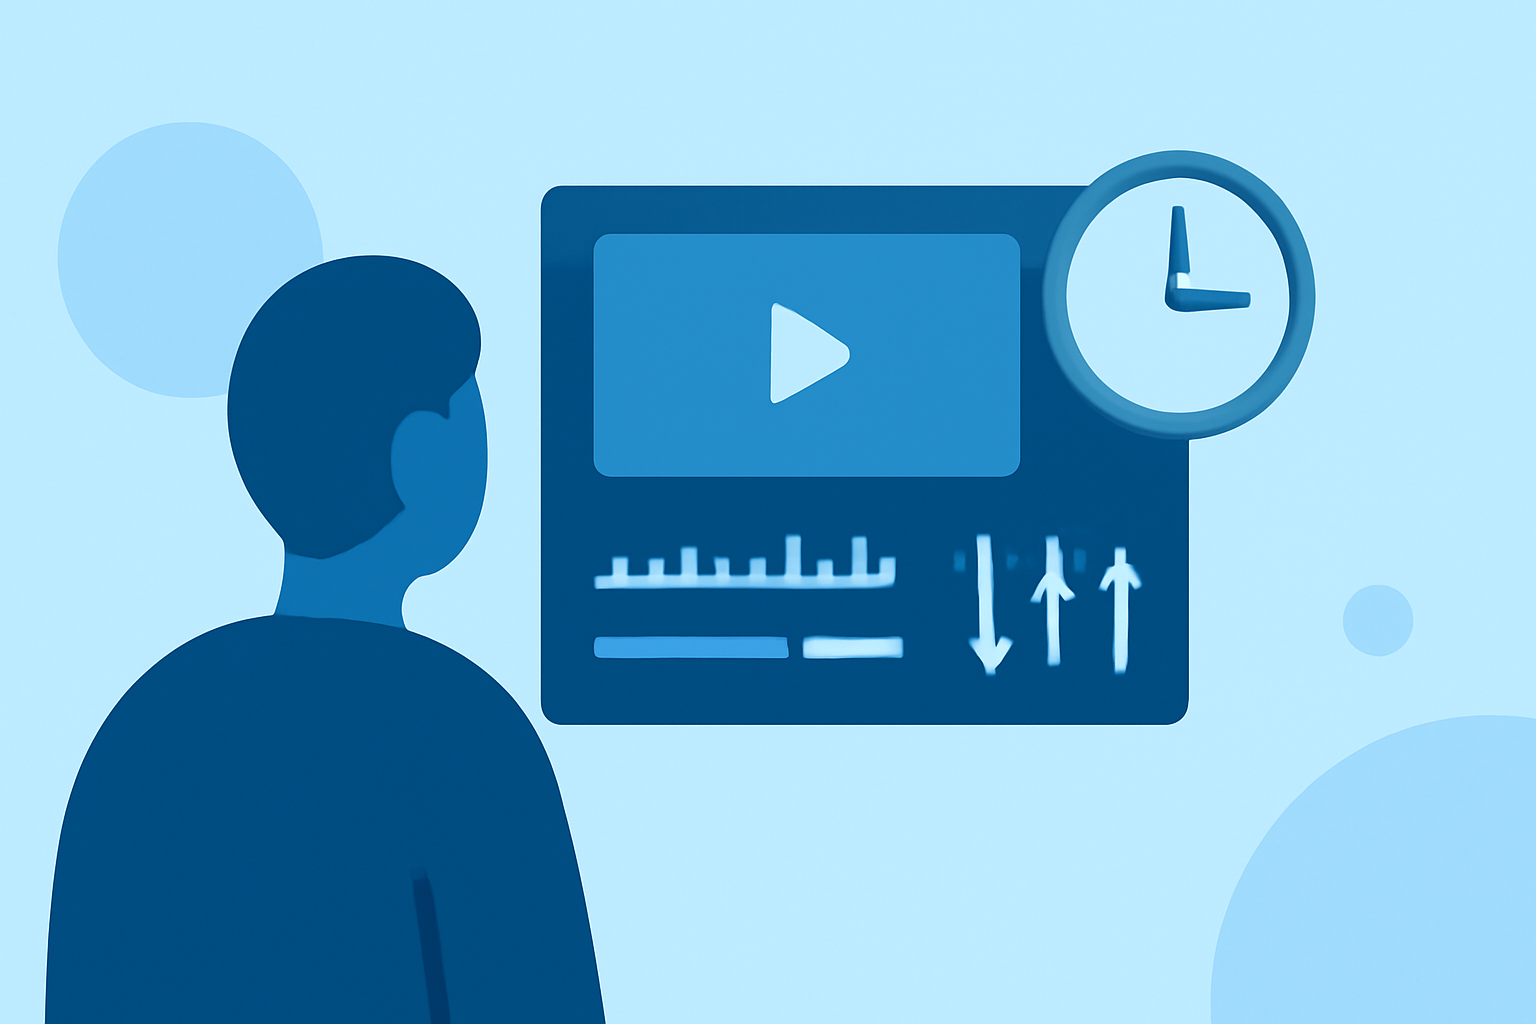
- Experiment with Speed: Adjust the speed of different segments in the editing process to emphasize climactic moments or serene vistas.
Conclusion: What We Recommend
- Start Simple: Use Splice as your go-to tool for an easy beginner editing experience.
- Add Planes Live: Consider incorporating Planes Live for enhanced tracking and dynamic visuals in your journey videos.
- Enjoy the Process: Have fun experimenting with different styles and techniques to find what works best for you.
- Share Your Journey: Once edited, share your unique creations with friends or on social media platforms, inviting others to experience your adventures.