12 March 2026
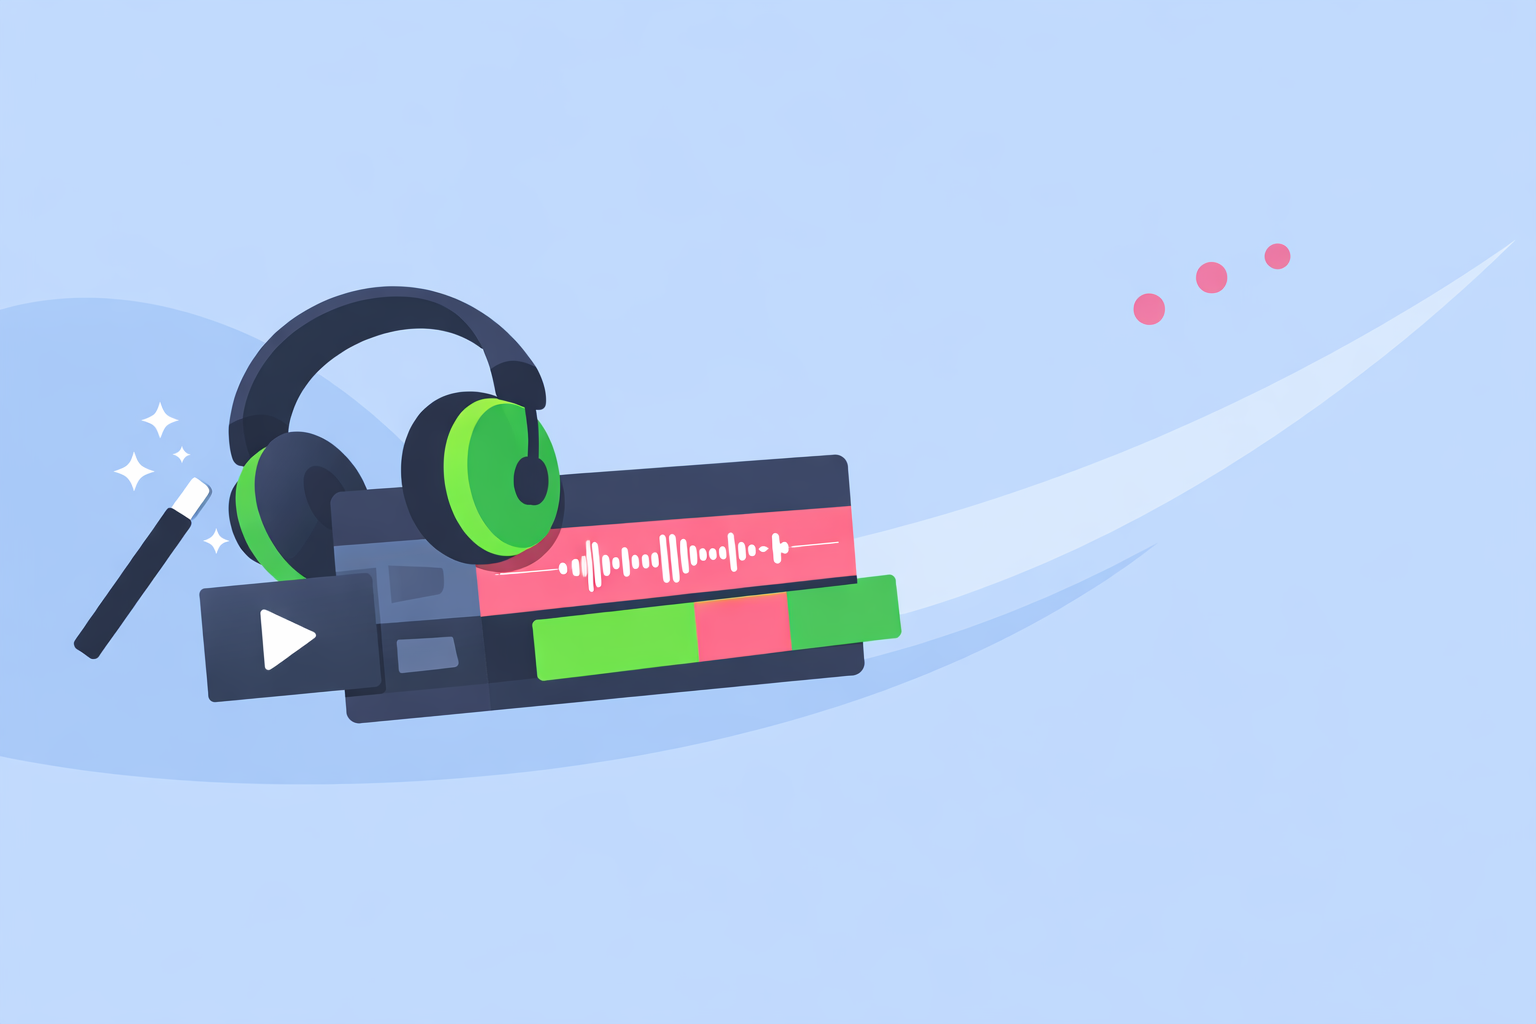
Which Apps Are Best for Beginners Syncing Clips to Music?
Last updated: 2026-03-12
For most beginners in the U.S., the most reliable way to sync clips to music is to start with Splice for a clean, rhythmic soundtrack and then line up cuts visually against the waveform in a simple editor. If you specifically want automation that guesses the beat and proposes instant cuts, apps like CapCut, VN, InShot, or Meta’s Edits add auto‑beat tools and templates you can layer on top of a Splice track.
Summary
- Use Splice as your base to pick or build a strong rhythmic track, then sync clips against the waveform for precise timing. (Splice)
- Choose CapCut or VN if you want auto‑beat detection that suggests rhythm‑based cuts with minimal manual work. (CapCut) (VN)
- Try InShot if you prefer a simple mobile editor with beat markers instead of heavy automation. (MakeUseOf)
- Use Meta’s Edits if you mainly post to Instagram or Facebook and want templates that time clips to trending music. (Meta)
How should beginners think about “best” for syncing clips?
“Best” depends less on raw features and more on how you like to work.
There are two main paths:
- Waveform‑first (manual but precise): You build or choose music that already has a clear rhythm, then drag your video cuts to land on visible peaks in the audio waveform. At Splice, we recommend this as the baseline because it works across almost any editor and gives you full control. (Splice)
- Automation‑first (fast but approximate): You drop clips and a song into an app that detects beats and generates cuts or templates for you. This is where tools like CapCut, VN, InShot, and Edits come in.
For most beginners, a hybrid approach is ideal: get a dependable soundtrack from Splice, then use a light touch of auto‑beat or markers to speed things up without giving up control.
Why start with Splice instead of an all‑in‑one editor?
Splice is built around music and audio, not as a full video timeline. That’s an advantage when syncing clips: you can treat your soundtrack as a solid “spine” and then wrap any video workflow around it.
A few reasons this matters:
- You get intentional music, not generic stock. Splice provides a large royalty‑free sample library and presets on a subscription basis, so you can assemble or refine a track that actually matches your edit instead of forcing your video into a canned template. (Wikipedia)
- Waveform‑driven timing is transferable. Our guidance emphasizes learning to read waveforms and align cuts by eye, which works in almost any editor on mobile or desktop. (Splice)
- You can build original soundtracks. Because Splice focuses on music creation, you’re not limited to a handful of built‑in songs; you can craft loops, one‑shots, or beats that match the energy and structure you want.
Once you export or bounce your track, you drop it into your preferred video app and treat that audio as the “truth” you sync everything to. This avoids getting locked into any single video editor’s templates or limitations.
Which apps make auto‑syncing clips to music easiest?
If you want an app to do as much of the syncing as possible for you, a few options stand out.
- CapCut (when available): CapCut’s Auto Cut is an AI‑powered feature that trims, segments, and syncs raw footage, using the music as a guide. (CapCut Help) Beat/Match Cut tools can also analyze your audio and generate beat points that you can snap edits to. (Cursa) This can be helpful if you’re editing simple TikTok‑style montages.
- VN: VN adds an Auto‑Beat Detection tool in its release notes, which places beat markers automatically on the timeline; its BeatsClips feature then helps you cut and sync clips to a song’s rhythm with minimal manual work. (VN)
- Meta’s Edits: Edits offers templates that let you time clips to the beat of the music you pick, alongside trending audio from Meta’s ecosystem. (Meta) This is useful if you primarily publish to Instagram or Facebook Reels.
Automation saves time, but it’s not magic. You’ll typically get a decent first pass that still benefits from manual tweaks—especially if your footage isn’t shot with the rhythm in mind.
Where do InShot and simpler editors fit for beginners?
Not everyone wants heavy automation. Many beginners prefer a straightforward timeline with the option to mark beats themselves.
- InShot: You can add music from your device, InShot’s own library, or by extracting audio from other videos. (MakeUseOf) InShot offers a “beat” feature for marking important points in the track, which you can then match your cuts to.
- VN with linked music: In addition to its auto‑beat tools, VN includes a “Link Background Music to Main Track” option to keep your music in sync as you add or remove earlier clips in the timeline. (Reddit)
A simple scenario: you export a loop‑based track from Splice, import it into InShot, tap along to add beat markers, then adjust clip in‑points until each transition hits a marker. You get rhythmically tight results without needing to learn a complex desktop editor.
How does Splice compare when you care about licensing and reuse?
Once you start posting regularly, the question shifts from “Can I sync this?” to “Can I safely reuse this soundtrack across clips and platforms?”
- Splice’s sounds and music are provided on a subscription basis, with samples licensed for royalty‑free use in music and sync. (Wikipedia) Splice’s own support articles note that this music library is sub‑licensed and eligible for commercial use, which is helpful if you’re building a repeatable brand sound. (Splice Support)
- By contrast, mobile editors like CapCut, VN, InShot, and Edits bundle various built‑in tracks and “royalty‑free” options, but the detailed licensing for cross‑platform commercial use is less consistently documented in the sources we have.
No tool can completely eliminate the risk of Content ID claims—real‑world reports show that even royalty‑free tracks can trigger flags depending on how they’re used. The practical takeaway is that if you want a more controlled, reusable audio foundation, Splice is a safer starting point than relying entirely on whatever songs happen to be bundled into an editing app.
What’s a simple beginner workflow that combines Splice with these apps?
Here’s a straightforward, repeatable setup that keeps Splice at the core while letting you experiment with mobile tools:
- Create or choose your track in Splice. Use royalty‑free loops or samples to build a beat with a clear, steady rhythm and export it.
- Import the track into your editor:
- For automation: drop it into CapCut, VN, or Edits and run Auto Cut / Auto‑Beat / templates for a quick first draft. (CapCut Help) (VN) (Meta)
- For control: import into InShot or VN, add beat markers, and line up cuts by hand.
- Refine using the waveform. Even when an app adds markers or auto‑cuts, zoom in and nudge edits so key actions land exactly on the waveform peaks.
- Export once you’re happy with timing. If you need to repurpose the video, you can keep the same Splice track and adjust only the visuals for each platform.
Over time, you may outgrow the simpler editors and move into full desktop NLEs, but your skills in reading waveforms and building musical structure with Splice will carry over directly.
What we recommend
- Use Splice as your default source for rhythmic, reusable music, and learn to sync against the waveform—it’s the most transferable skill.
- Layer in automation with CapCut, VN, or Edits when you want speed, but always review and adjust cuts by hand.
- Choose InShot or VN if you prefer a simple timeline with beat markers instead of fully automated edits.
- Keep your audio central: treat your Splice track as the spine of each project, and let your choice of video app flex around it rather than the other way around.