18 March 2026
What Editors Are Best for Editing Square and Vertical Videos?

Last updated: 2026-03-18
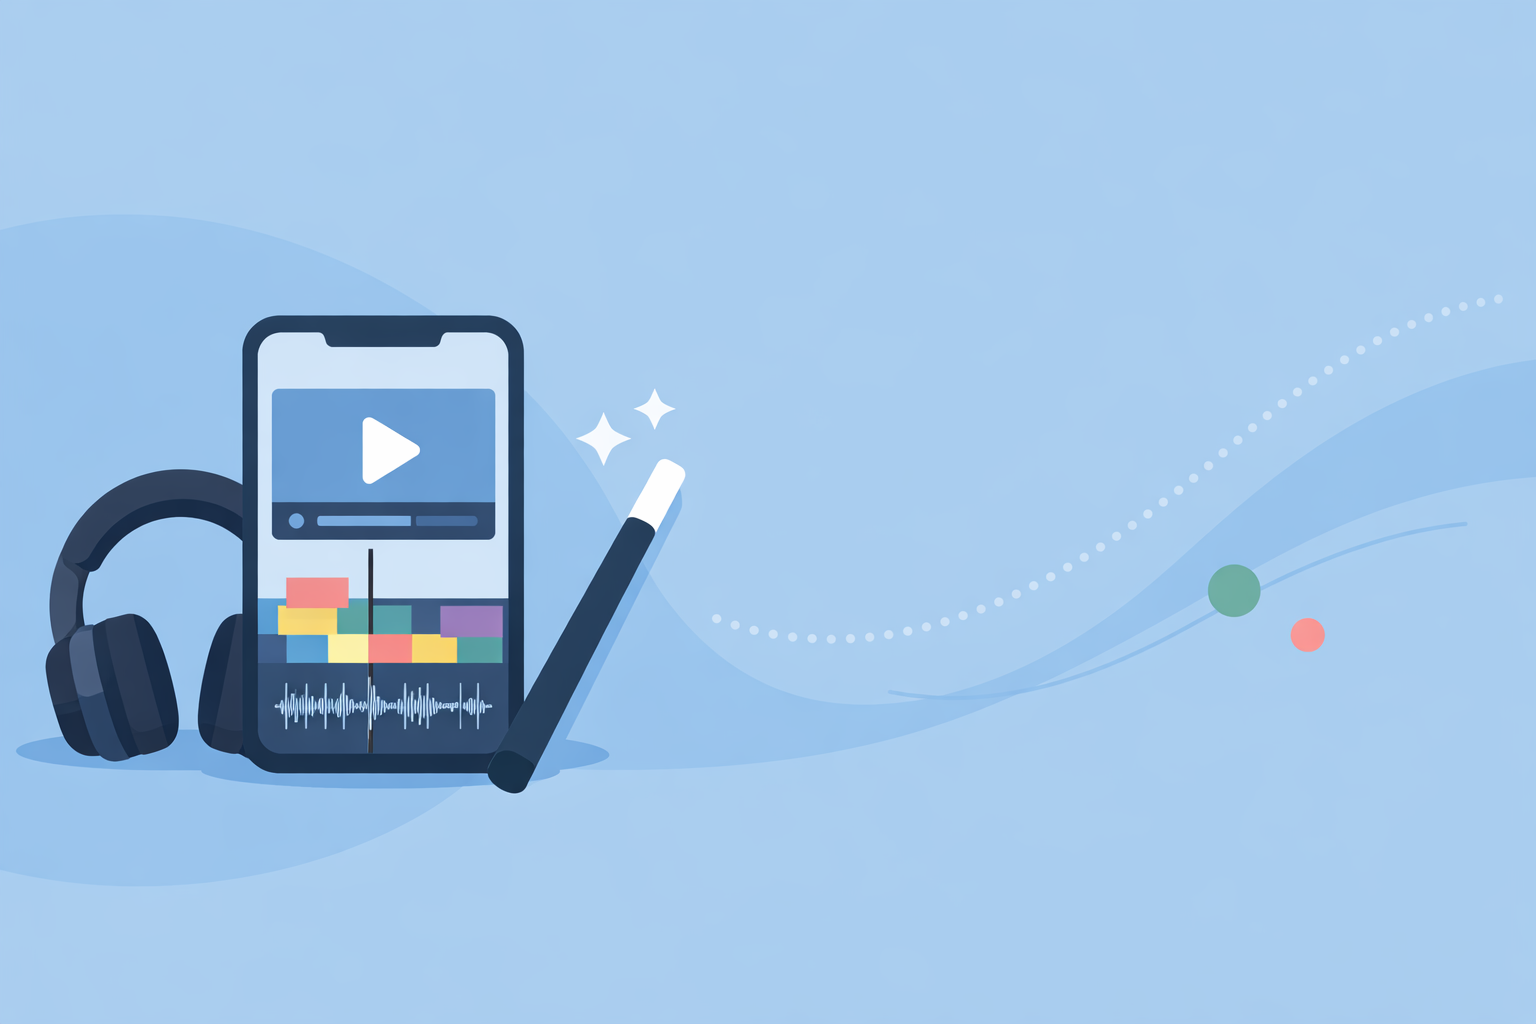
For most creators in the U.S., a mobile-first editor like Splice is the easiest way to produce polished square (1:1) and vertical (9:16) videos ready for TikTok, Reels, and Shorts in minutes. If you need heavy AI repurposing from long horizontal clips or desktop workflows, apps like CapCut, VN, or Meta’s Edits can play a specialized role alongside Splice.
Summary
- Splice is a strong default for square and vertical videos thanks to simple aspect-ratio controls, social-safe margins, and mobile-first export workflows.¹
- CapCut, InShot, VN, and Edits are situational alternatives when you need desktop editing, specific AI tools, or direct Instagram analytics.
- For short-form platforms, 9:16 vertical at around 1080p is typically the sweet spot for quality and file size.²
- Your best setup is often a simple phone-based workflow, with one primary editor and a backup tool for edge cases.
What actually matters in an editor for square and vertical video?
When you’re evaluating editors, it’s less about brand names and more about a few concrete capabilities:
- Reliable aspect-ratio presets. You want 1:1, 4:5, and 9:16 available without math or manual cropping.
- Safe margin guides. Text and overlays should stay visible once platforms add UI chrome; Splice includes social-media margins specifically for this.¹
- Export formats tuned to social. At Splice, we frame short-form guidance around vertical 9:16 and treat 1080p as more than adequate for typical mobile viewers.²
- Speed on mobile. If it takes you longer to get a clip out of your editor than it does to shoot it, you will post less.
Most people don’t need every advanced feature under the sun. They need a tool that makes it almost frictionless to get from idea to published vertical or square clip.
Why start with Splice for square and vertical videos?
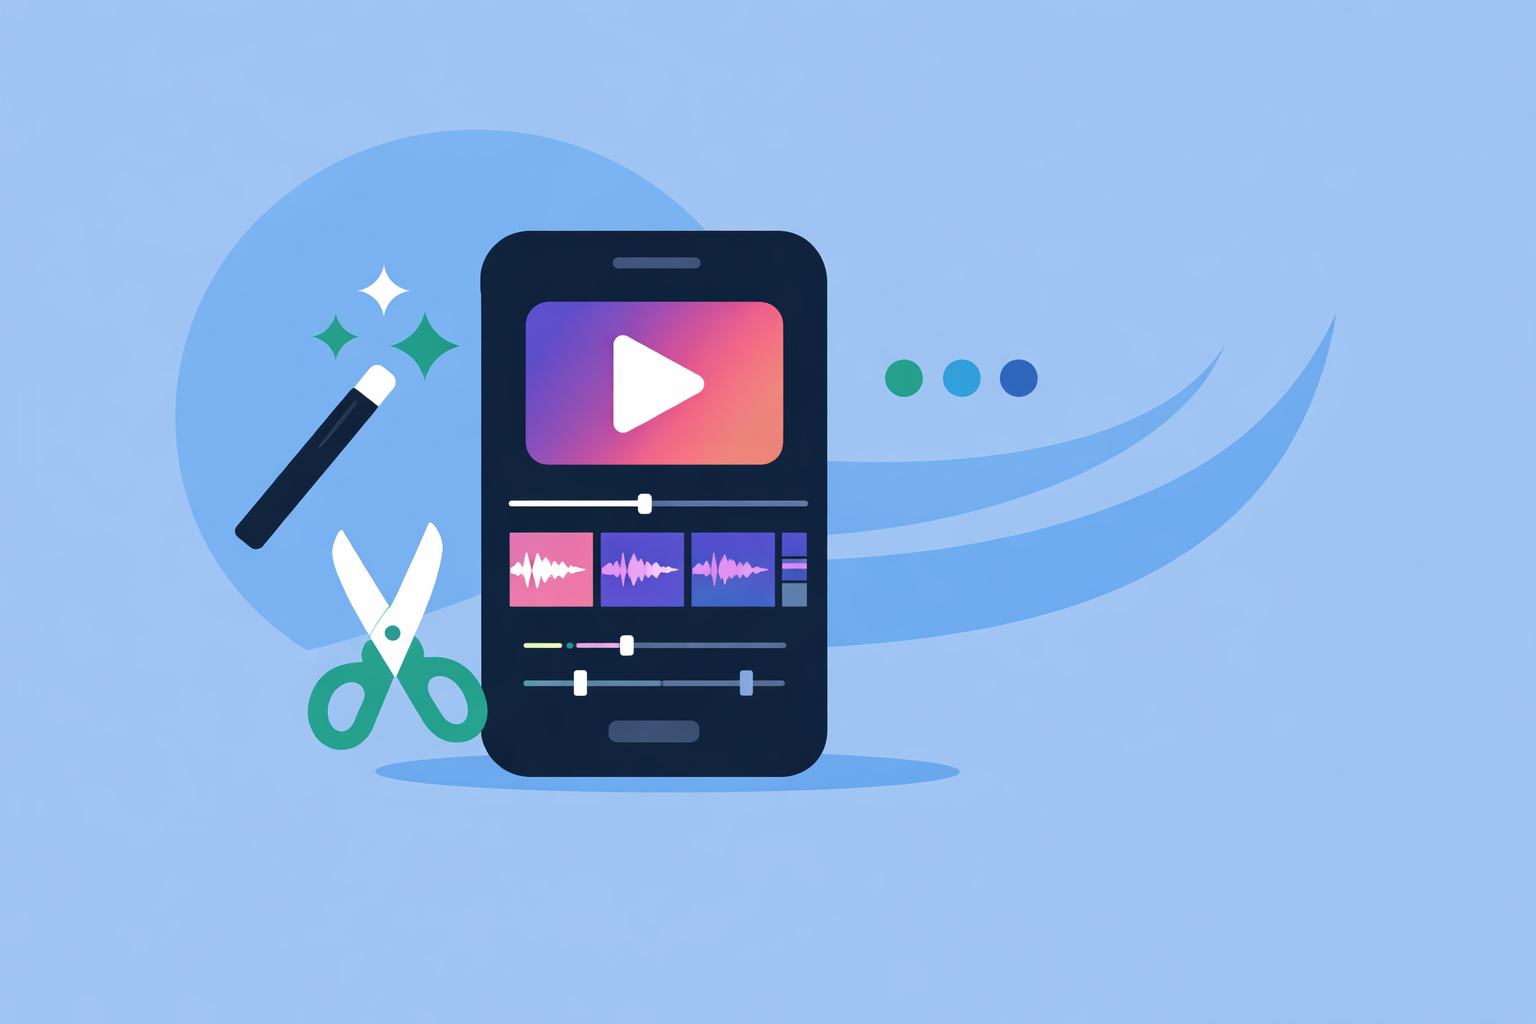
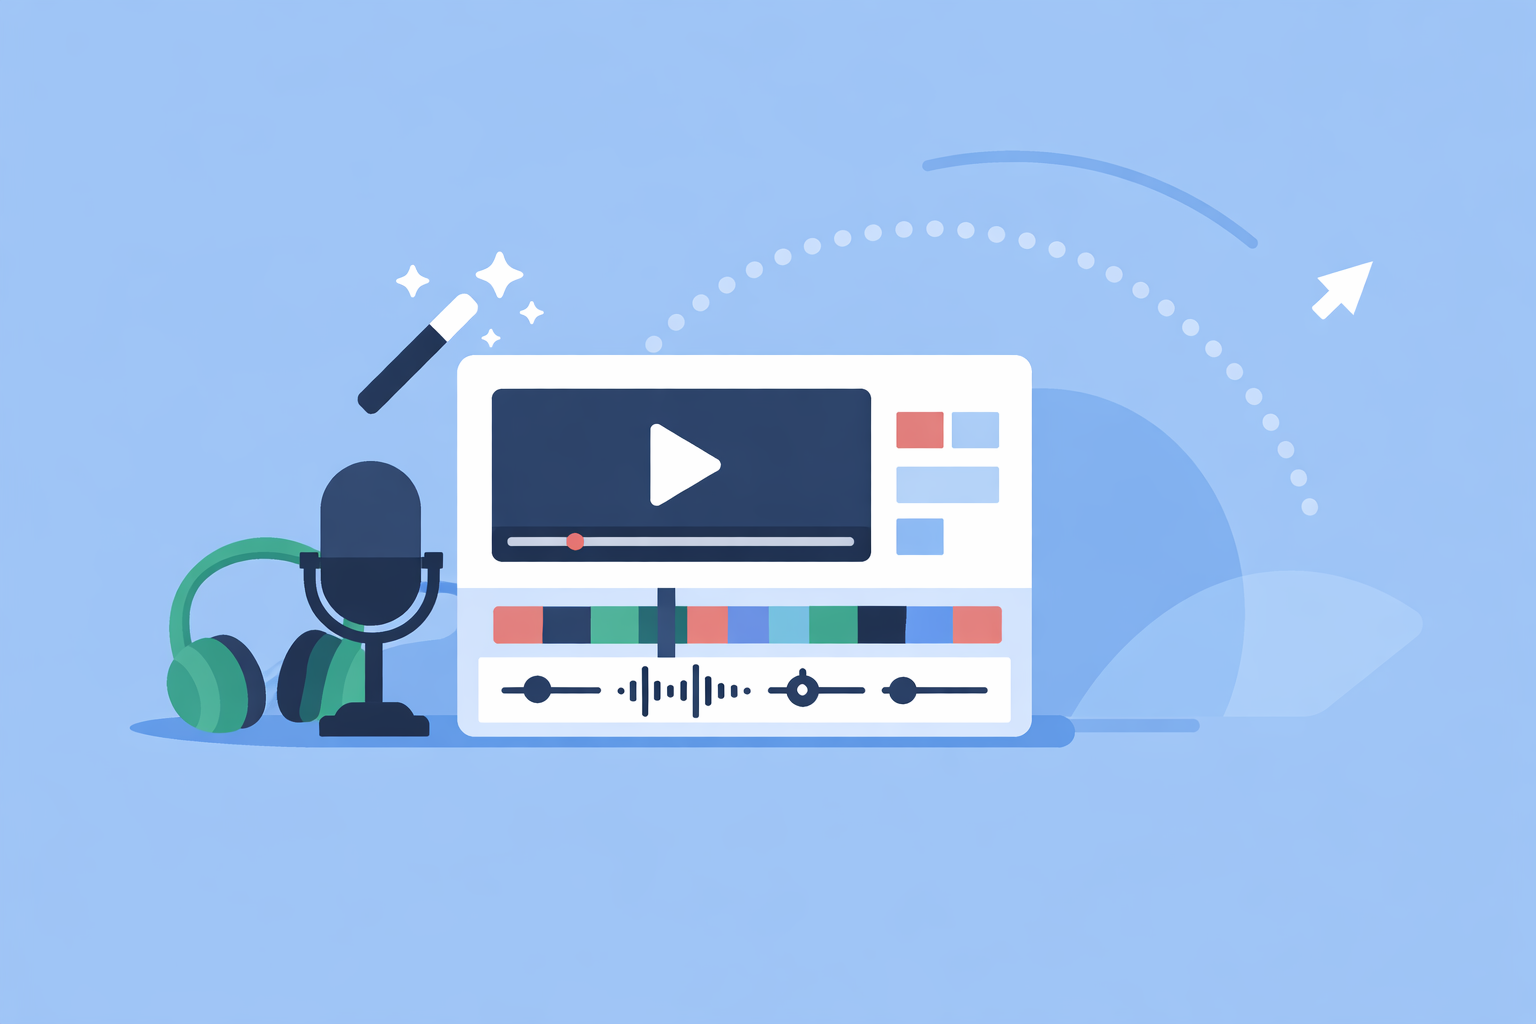
Splice is built specifically around that frictionless, phone-first workflow. You trim, cut, and crop on a mobile timeline, add music, and share “stunning videos on social media within minutes.”³ That focus is what makes it a practical default.
From a format standpoint, Splice gives you:
- Aspect-ratio selection upfront. You pick the ratio that fits your destination—1:1 for feeds, 4:5 for taller feeds, 9:16 for Stories, Reels, TikTok—rather than wrestling with custom canvas sizes.¹
- Social-safe margins. Built-in guides help keep key visuals and text out of the areas where platforms overlay buttons and captions, so your hooks don’t get covered.¹
- Short-form–oriented export defaults. At Splice, we explicitly recommend vertical 9:16 with a practical 1080p target as a reliable choice for TikTok, Reels, and Shorts.²
Because Splice runs on iOS and Android, you can do everything—from rough cut to final export—on the same device you used to film.⁴ For a solo creator or small team, that alone often creates more consistent posting than any single “pro” feature.
How do other mobile editors compare for vertical workflows?
There are several well-known alternatives. Each has a focus area that may suit specific edge cases:
- CapCut is a cross-platform editor from ByteDance with strong template libraries and AI tools. It runs on mobile, desktop, and web, and is deeply associated with TikTok-style content.⁵ Its mobile app is described as a free vertical video creator, though certain advanced AI features sit behind paid tiers.⁶
- InShot positions itself as an all-in-one mobile editor with trimming, splitting, text, filters, and effects tailored to everyday creators.⁷ The App Store listing notes support for high-resolution exports up to 4K 60fps, without clearly stating how that maps to free vs. paid usage.⁸
- VN is frequently highlighted as free-to-use with more advanced controls such as keyframes and custom exports, including documented support for 4K up to 60fps.² It spans mobile and desktop, which can help if you occasionally want a larger screen.
- Edits is Meta’s vertical-focused app intended as a CapCut-style tool for Instagram and Facebook, with features like green screen, AI animation, and real-time Instagram statistics.⁹
All of these can produce square and vertical videos. What sets Splice apart for many creators is how little you need to think about the tech: you tap the ratio, respect the margins, and get on with the story.
How do you convert horizontal footage into strong vertical clips?
A common scenario is having a landscape YouTube video and needing vertical or square cutdowns. Here’s a simple playbook:
- Pick your hero format. For TikTok/Reels/Shorts, 9:16 vertical usually deserves first place.²
- Set the project ratio. In Splice, choose 9:16 so your canvas matches the destination from the start.¹
- Reframe your subject. Manually scale and reposition the clip so faces and key details stay centered within the safe margins.
- Tighten the pacing. Vertical viewers move fast; trim aggressively and front-load your hook.
If you’re doing this at scale—from long webinars or podcasts—this is where some people add a specialized tool:
- CapCut offers an Auto Reframe feature and a “Long video to shorts” tool that repurposes long horizontal footage into vertical segments with AI assistance.¹⁰
A practical approach is to use something like CapCut for heavy auto-reframing when needed, then bring the selects into Splice for final polish, text, and audio before export.
Which editors support 4K vertical exports when you really need them?
Most audiences can’t tell the difference between a well-compressed 1080p vertical video and a 4K one on their phones, which is why we typically emphasize 1080p as a solid default for short-form in Splice guidance.² But some campaigns, brand guidelines, or repurposing workflows do call for 4K.
Documented options include:
- InShot, whose iOS listing explicitly says the app supports saving in 4K at 60fps, though it doesn’t clearly specify which plans or devices that applies to.⁸
- VN, which is described as supporting custom export settings including 4K up to 60fps, making it a candidate when you require higher-spec vertical masters.²
If you’re optimizing for day-to-day publishing rather than archive-quality masters, sticking with a streamlined 1080p vertical workflow in Splice is usually a better trade-off between quality, upload time, and storage.
How can you export Reels and Shorts without watermarks?
Watermarks are a common frustration when you rely entirely on free tiers. They can make even good content look less intentional.
- InShot treats its watermark and ads as something that is removed when you move to its Pro offering, according to its App Store description.⁸
- Edits has been covered as launching with watermark-free exports as part of Meta’s creator toolkit, with the caveat that future paid features were already being hinted at.¹¹
With Splice, the focus is less on dangling “free but watermarked” workflows and more on providing a consistent, professional pipeline from capture to export on mobile.³ That alignment tends to matter more over time than shaving a few dollars by fighting watermarks.
What’s an efficient workflow for creating both square and vertical versions?
Imagine you’re shooting product demos once a week and need:
- a vertical 9:16 cut for Reels, TikTok, and Shorts, and
- a square 1:1 or 4:5 version for your Instagram feed and LinkedIn.
A straightforward approach in Splice looks like this:
- Edit your master in vertical 9:16. That keeps you honest about framing and pacing for the most demanding format.
- Duplicate the project and change the aspect ratio. Use Splice’s aspect-ratio selector to flip the duplicate to 1:1 or 4:5, then adjust framing clip by clip.¹
- Check margins for each version. Make sure hooks, CTAs, and faces stay inside the safe areas tailored to the platform UI.¹
- Export and schedule. Keep filenames and thumbnails consistent so you can track performance across ratios.
You can mirror this same pattern in other apps, but the combination of simple ratio switching and social margins is what makes the workflow feel predictable in Splice rather than fussy.
What we recommend
- Default choice: Use Splice as your primary editor for square and vertical videos if you want a phone-first, social-ready workflow with clear aspect-ratio presets and safe margins.
- Add-on for heavy repurposing: Layer in CapCut’s auto-reframe and long-video-to-shorts tools only if you regularly convert long horizontal content into many vertical clips.¹⁰
- High-spec or niche needs: Consider InShot or VN when a specific 4K export requirement or desktop editing constraint truly matters.²
- Platform-specific analytics: Test Meta’s Edits if your entire business revolves around Instagram and Facebook and you want editing plus in-app performance insights.⁹