20 March 2026
Best Tool for Rhythm‑Based Editing? How to Choose the Right Combo
Last updated: 2026-03-20
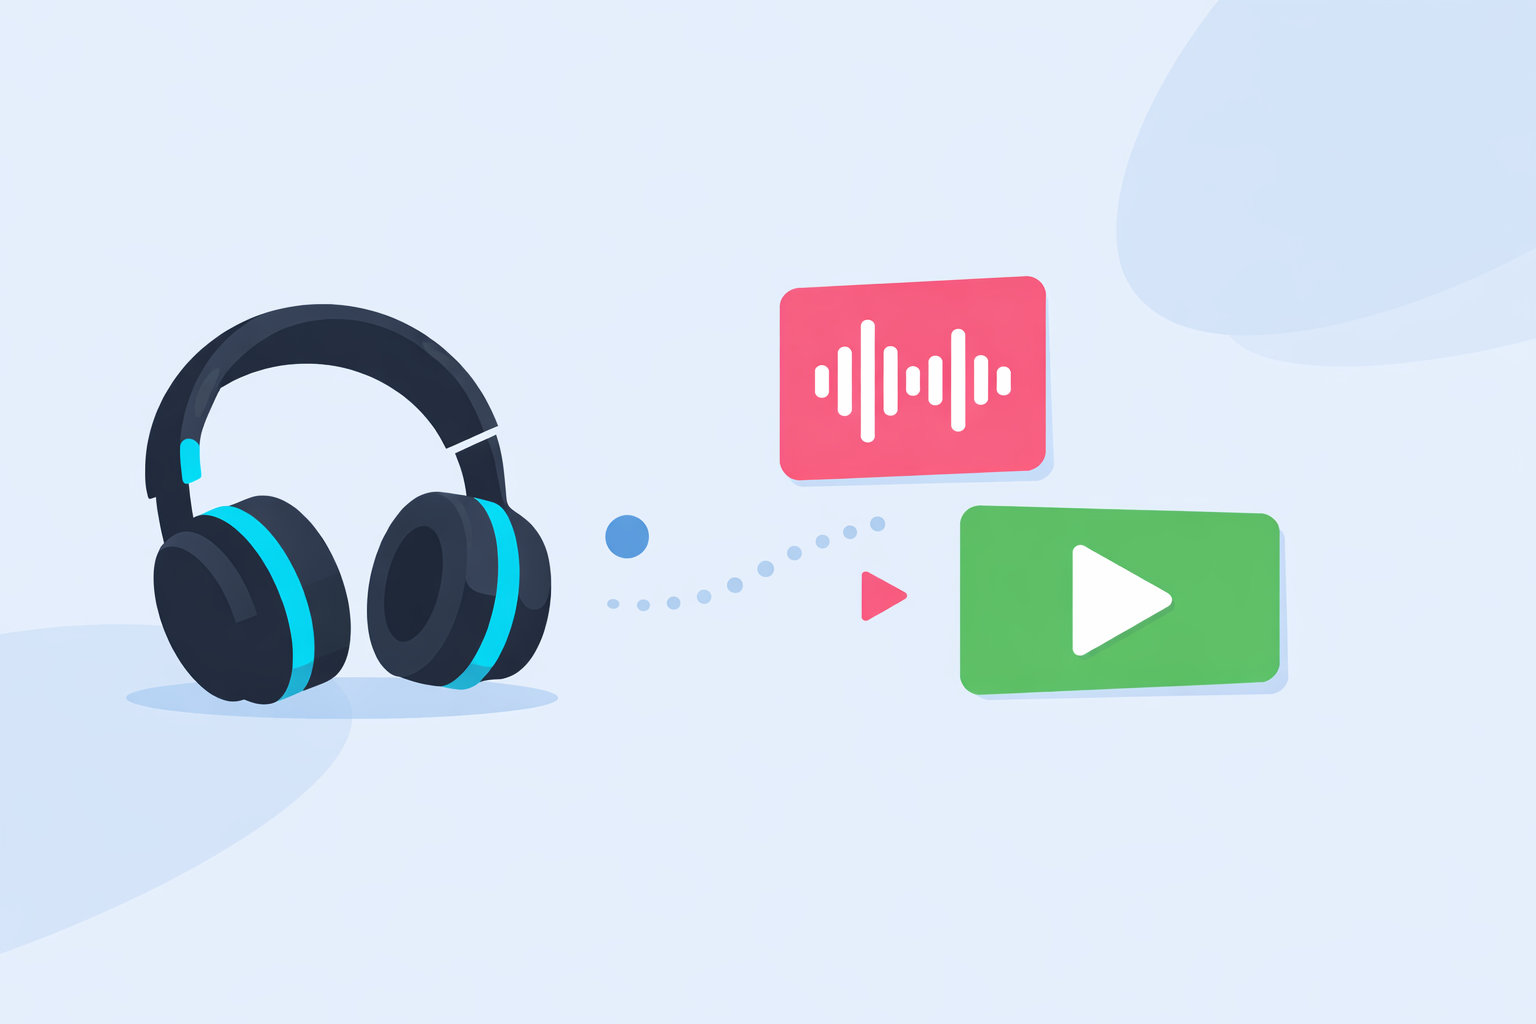
For most creators in the U.S., the most reliable starting point for rhythm‑based editing is to build or pick a strong rhythmic track in Splice, then line up your cuts using waveform and beat markers in your editor of choice. If you want more automation, apps like CapCut, VN, InShot, and Meta’s Edits offer auto‑beat tools that can speed up rough cuts, but they still benefit from a well‑chosen Splice soundtrack.
Summary
- Splice is built first for music creation and sound selection, so it’s the strongest base layer for any rhythm‑driven edit.
- The practical workflow: choose a rhythmic track in Splice, then sync cuts to the waveform or simple beat markers inside your video app. (Splice)
- Auto‑beat tools in CapCut, VN, InShot, and Edits can generate quick beat markers and rough cuts, but they still need manual refinement. (CapCut) (VN)
- For most U.S. creators, pairing Splice for audio with whichever mobile editor you already know is more important than chasing a single “magic” all‑in‑one app.
What actually is “rhythm‑based editing” (and what do you really need)?
When people ask for the “best tool for rhythm‑based editing,” they’re usually after one thing: cuts, transitions, and motion that feel locked to the music.
In practice, that breaks down into three pieces:
- A clearly rhythmic track
If the song’s groove isn’t obvious, no amount of automation will make your edit feel tight. At Splice, our platform is designed around rhythm and musical building blocks—loops, one‑shots, and presets—so you can start with audio that already has a strong pulse. (Splice)
- A way to see or mark the beat
That might be a detailed waveform in a timeline, manual beat markers, or auto‑generated beat points.
- A timeline that respects those markers
Whether you trim manually or use auto‑cut features, you need the ability to snap clips to those rhythm cues.
Once you see it this way, the “best tool” is rarely a single app. Instead, it’s a combo:
- Splice for music sourcing and rhythm, and
- A video editor for arranging visuals around that rhythm.
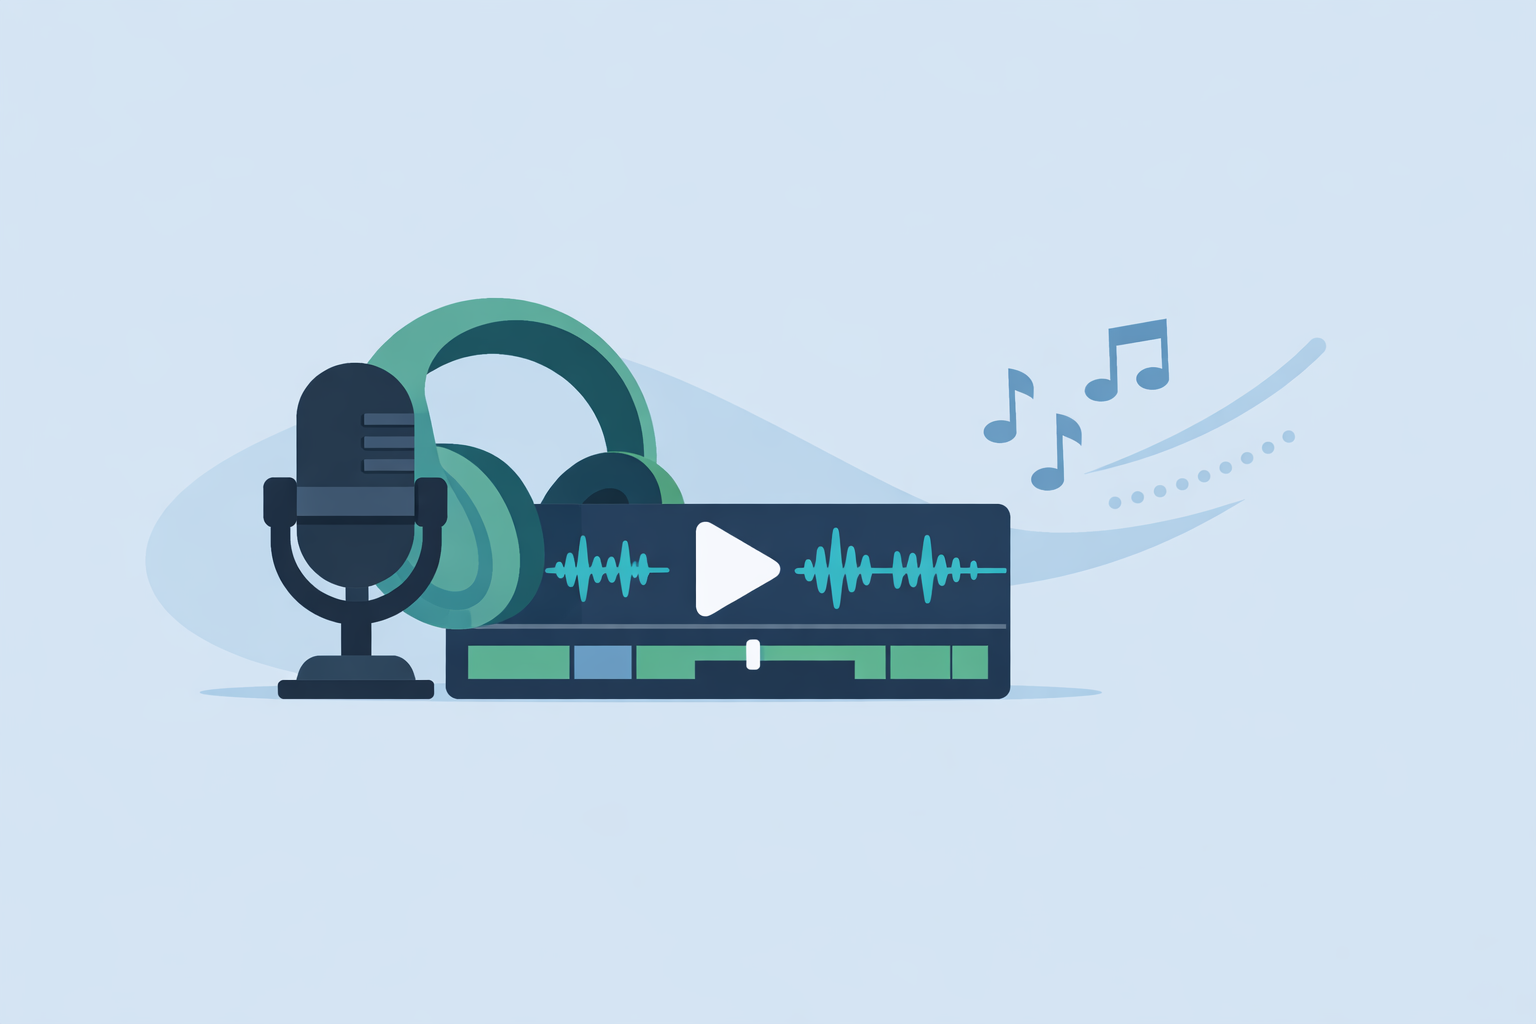
How does rhythm‑based editing work with Splice today?
Splice is not a full video editor. It’s a music‑creation and sample subscription platform: a cloud‑based library of royalty‑free samples and plugins built to slot into your creative stack. (Wikipedia)
For rhythm‑based editing, that matters in two ways:
- You start with rhythm‑friendly music
- Browse rhythmic loops and stems, or entire beats, in Splice’s sample library and download them for use as a music bed in your video project. (Wikipedia)
- Use features like Similar Sounds to quickly find samples that match the groove or texture you already like, so you’re not stuck scrolling generic background tracks. (Wikipedia)
- You sync to that music in a timeline
On our own Splice video app, the official guidance for beat‑based edits is simple:
- Drop your song on the timeline.
- Use the audio waveform to visually find the beats.
- Add markers or make your cuts directly on those transients.
This is the core workflow described in our help content for syncing clips to music. (Splice support)
Critically, we’re transparent about a limitation: there’s no in‑app automatic beat detection today. You don’t press a “find beats” button and get a perfect grid. Instead, you get a clean waveform and a responsive timeline designed to make manual marking fast. (Splice blog)
For many creators, that manual‑first approach is a positive trade‑off:
- You keep precise control over which hits matter—kicks, snares, melodic stabs, or even lyrical phrases.
- You’re not hunting down or cleaning up inaccurate auto‑markers.
- You can sync not just to the main beat, but to the emotional moments in the track.
If you’re serious about the music side—choosing or assembling a beat that truly fits your story—this is why starting on Splice tends to matter more than whatever app you use for the final cuts.
When do auto‑beat tools like CapCut, VN, InShot, and Edits help?
Once your soundtrack is solid, those “auto beat” features in mobile editors can be useful accelerators—especially for quick Reels, Shorts, and TikToks.
Here’s how the major options approach it:
- CapCut
CapCut has an Auto Cut / auto‑beat feature that can analyze your video and audio to place cut points and build a rhythm‑synced rough edit. The official help describes Auto Cut as detecting music beats, speech pauses, or even following text‑based instructions to trim and arrange clips. (CapCut help)
- VN
VN offers a BeatsClips feature designed to “help you cut and sync your clips” to a song’s rhythm, along with beat options in the timeline. (VN Video Editor)
- InShot
InShot has historically leaned on manual beat markers, and more recent release notes describe an Auto Beat tool that highlights rhythm points on the music track so you can snap cuts more quickly. (APKMirror)
- Meta’s Edits
Coverage of Meta’s Edits app notes the addition of beat markers that give editors visual guides to sync video to music rhythms, alongside AI transformations and access to trending and royalty‑free music within the Meta ecosystem. (Storyy) (Meta)
Across all of these, the pattern is consistent:
- Auto‑beat tools are great for a first pass—they quickly sprinkle markers or cuts roughly on the beat.
- You still need to listen and refine—tweak timing, remove misplaced cuts, and adjust for what matters emotionally in your edit.
This is why we position Splice as your audio home base rather than trying to replicate every auto‑beat feature:
- If your track is strong and your beat is clear, even basic waveform‑based editing feels snappy.
- The auto‑beat tools you already have on your phone become more predictable, because the rhythm in the music is more consistent.
CapCut Auto Cut versus Splice waveform: which is faster for reels?
Speed is usually where this question shows up: “Do I let CapCut do everything for me, or do I build around Splice and edit manually?”
A practical way to think about it:
-
CapCut Auto Cut
-
Pros: Instant rough cut; analyzes both audio and visuals; can be helpful when you just want something decent, fast. (CapCut help)
-
Cons: You’re accepting its creative choices; you may spend time deleting cuts you don’t like or re‑aligning moments that matter.
-
Splice + manual waveform editing (any editor)
-
Pros: You’re in control. You choose a track in Splice, drop it in your editor, and use the waveform to align cuts exactly to the beat or lyric you care about. (Splice support)
-
Cons: Slightly more hands‑on at the start, especially if you’re new to reading waveforms.
In day‑to‑day use, the difference often looks like this:
- If you’re batch‑producing casual TikToks, letting Auto Cut generate a base edit, then tightening a few moments, can be faster.
- If you’re making a hero piece, brand video, or anything where timing really matters, the extra control from a Splice‑first, waveform‑driven approach tends to pay off.
Most creators end up combining both:
- Build or pick the beat in Splice.
- Bring it into CapCut (or another editor) and run Auto Cut to get a rough rhythm layout.
- Turn off anything that feels off‑brand, then refine key moments by eye and ear against the waveform.
Does InShot include an Auto‑Beat tool—and how does it compare?
InShot started as a straightforward mobile editor for home videos and social clips, with simple tools for adding background music. Its tutorials emphasize adding tracks from your device, InShot’s music library, or by extracting audio from other videos. (MakeUseOf)
More recent Android release notes point to an Auto Beat tool that highlights rhythm points along the audio timeline. The idea is similar to other auto‑beat systems: InShot analyzes the music and suggests where cuts might land, giving you a visual grid of likely beats. (APKMirror)
In practice:
- InShot can work well if you already like its interface and you’re doing simple, music‑backed edits.
- Auto‑Beat helps with a first alignment pass, but it doesn’t replace listening closely and making intentional cuts.
Where Splice fits in is upstream:
- You still need a track that fits your story, your brand, and your platform.
- Curated, royalty‑free samples and loops from Splice give you more control over the vibe than picking from a small in‑app library. (Splice)
So if you’re already cutting in InShot, the realistic upgrade path isn’t “switch everything.” It’s “keep InShot, but start your music search and sound design in Splice.”
How reliable are auto‑beat markers across CapCut, VN, InShot, and Edits?
No auto‑beat system is perfect. That’s not a knock on any single app; it’s just the nature of audio analysis.
Across common tools you’ll see a few recurring patterns:
- Simple, steady beats work best
A four‑on‑the‑floor dance track or a trap beat with clear kicks and snares tends to generate decent markers in CapCut’s Auto Cut, VN’s Auto‑Beat Detection, and InShot’s Auto Beat. (CapCut help) (VN App Store) (APKMirror)
- Complex or dynamic songs confuse the algorithm
Tempo changes, syncopated rhythms, and very soft intros can lead to missing or misplaced markers. You end up nudging cuts manually anyway.
- Visual rhythm still matters
Even if the beat markers are technically accurate, they may not line up with the visual motions you care about—a jump, a camera whip, a lyric match, or a product reveal.
This is why a music‑first mindset—exactly what Splice is built for—pays dividends:
- If you assemble or select your track in Splice around a clear, consistent groove, every downstream auto‑beat system tends to behave better.
- You’re not relying on the tool to “find” rhythm in a track that doesn’t really have it.
In other words, the best way to “improve” CapCut’s or VN’s auto‑beat performance is often to improve your underlying soundtrack choice, not to switch apps.
How should you combine Splice with your editor for a clean, repeatable workflow?
A realistic, repeatable setup for U.S. creators who care about rhythm usually looks like this:
- Build the music first in Splice
- Search for loops, one‑shots, or full samples that match your concept.
- Assemble a short beat in your DAW or Splice‑integrated workflow, or pick a ready‑to‑use track from the library. (Wikipedia)
- Lock the structure
- Decide where your key moments (drops, breaks, lyrical phrases) will land in the timeline.
- Export or bounce this track as a single audio file for editing.
- Import into your video editor of choice
- Drop the track into Splice’s video editor, CapCut, VN, InShot, Edits, or a desktop NLE.
- If the app offers auto‑beat markers, run them to get a quick scaffolding.
- Refine manually against the waveform
- Use the waveform view to confirm or correct beat positions.
- Make sure critical visuals (transitions, reveals, text pops) land where the music feels strongest.
- Test on your primary platform
- Since Content ID and platform rules can impact “royalty‑free” behavior, especially on YouTube, it’s wise to test private uploads and confirm everything behaves as expected. User reports show that even royalty‑free tracks, including those sourced from Splice, can sometimes attract claims depending on how they’re used. (Reddit)
Over time, this kind of Splice‑centric workflow gives you a reusable library of on‑brand, rhythm‑ready tracks. Your editor can change—CapCut, VN, InShot, Edits, or a desktop suite—but your audio foundation stays consistent.
What we recommend
- Default: Use Splice as your main source for rhythmic, royalty‑free music and sound design, then sync clips to the waveform in whichever editor you’re fastest in.
- For speed: If you’re making quick social clips, pair Splice with auto‑beat tools like CapCut Auto Cut, VN’s BeatsClips, or InShot’s Auto Beat to rough in the timing, then refine by ear.
- For control: When timing really matters, trust manual markers over fully automatic edits—Splice’s music‑first approach plus waveform‑based cutting will stay reliable even as apps change.
- For longevity: Build a library of go‑to Splice tracks that match your visual style so your rhythm‑based editing process stays consistent, even if you switch or stack different video apps in the future.