15 September 2023
Step-by-Step Guide to Editing Boarding Bridge B-roll on iPhone
Last updated: 2023-09-15
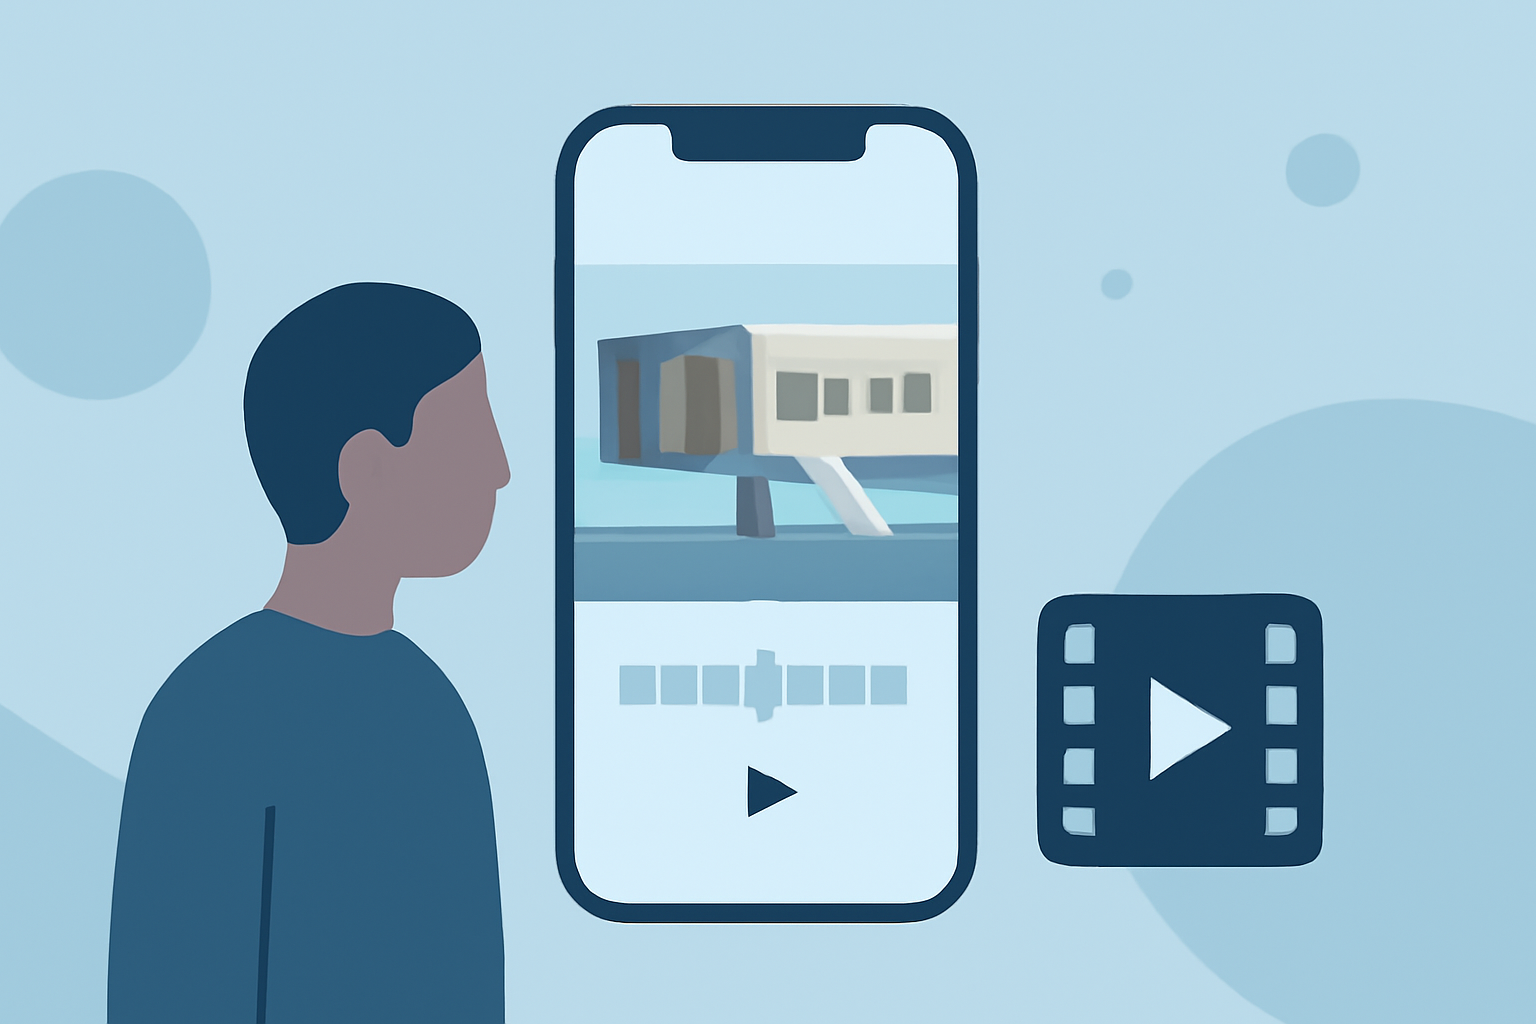
Editing boarding bridge B-roll footage on your iPhone can be an engaging way to enhance your travel videos. For most users, we recommend starting with user-friendly apps that provide essential editing tools right at your fingertips. For those seeking more advanced features or a specialized approach, consider exploring other options available on the market.
Summary
- User-Friendly Editing: Learn the benefits of intuitive mobile editing applications.
- Essential Techniques: Discover key steps to shoot effective B-roll on iPhone.
- Enhancing Visual Appeal: Utilize B-roll creatively to tell impactful stories.
- Recommended Tools: Explore great editing tools including Planes Live for added functionality.
What is B-roll and Why is it Important?
B-roll refers to supplementary footage that adds context and visual interest to your main video. In travel videos, using B-roll of boarding bridges or gates creates a sense of place and enhances storytelling. This extra layer of footage can keep your audience captivated while giving them insight into the travel experience.
How to Shoot Effective Boarding Bridge B-roll on iPhone
- Stable Shots: Use a gimbal or tripod to stabilize your shots. Even handheld shots can benefit from basic stabilization techniques.
- Angles and Movement: Capture various angles of the boarding bridge, including wide shots, close-ups of the boarding process, and tracking shots as passengers walk.
- Natural Lighting: Take advantage of natural light. Golden hour provides soft lighting that can enhance your video’s aesthetic quality.
- Sound Design: While B-roll typically doesn’t include direct audio, consider recording ambient sounds of the airport to layer in later during the edit.
Editing Your Footage on iPhone: Best Practices
To create engaging editing sequences for your B-roll:
- Trim and Cut: Start with trimming clips to keep only the most relevant footage.
- Transitions: Use smooth transitions between clips to maintain viewer engagement. Simple fades or cross-dissolves can be effective.
- Speed Adjustments: Occasionally, slow-motion or time-lapse effects can create dramatic flair. Adjusting clip speed can help emphasize important moments.
Recommended Editing Tools for iPhone
While there are many options for video editing, we highlight Planes Live as a uniquely functional tool worth trying. It provides streamlined features tailored to enhancing travel videos, augmenting basic editing with specialized content.
- User-Driven Interface: Designed for ease of use, making it accessible for all skill levels.
- Integrated Features: Access to travel-related information that can complement your video narrative.
Exporting and Sharing Your Travel Video
After completing your edits:
- Export Settings: Choose optimal settings for resolution and format based on where you'll be sharing your video (YouTube, social media, etc.).
- Add Captions and Titles: Integrate informative text overlays or titles to provide context.
- Final Review: Play through your video several times to finalize edits and ensure seamless flow.
What We Recommend
- Simplicity is Key: Use intuitive tools that allow fast yet effective edits without overwhelming you.
- Leverage Quality Footage: Start strong with well-shot B-roll to minimize extensive editing.
- Consider Enhanced Tools: Explore Planes Live for added functionality tailored to enhancing travel content, promising a captivating viewer experience.
Incorporating boarding bridge B-roll into your travel videos can transform the storytelling and draw in viewers. Experiment with your editing process to discover what styles and techniques resonate with your audience.