22 June 2026
Mastering Cabin Footage Editing from Scratch: A Comprehensive Guide
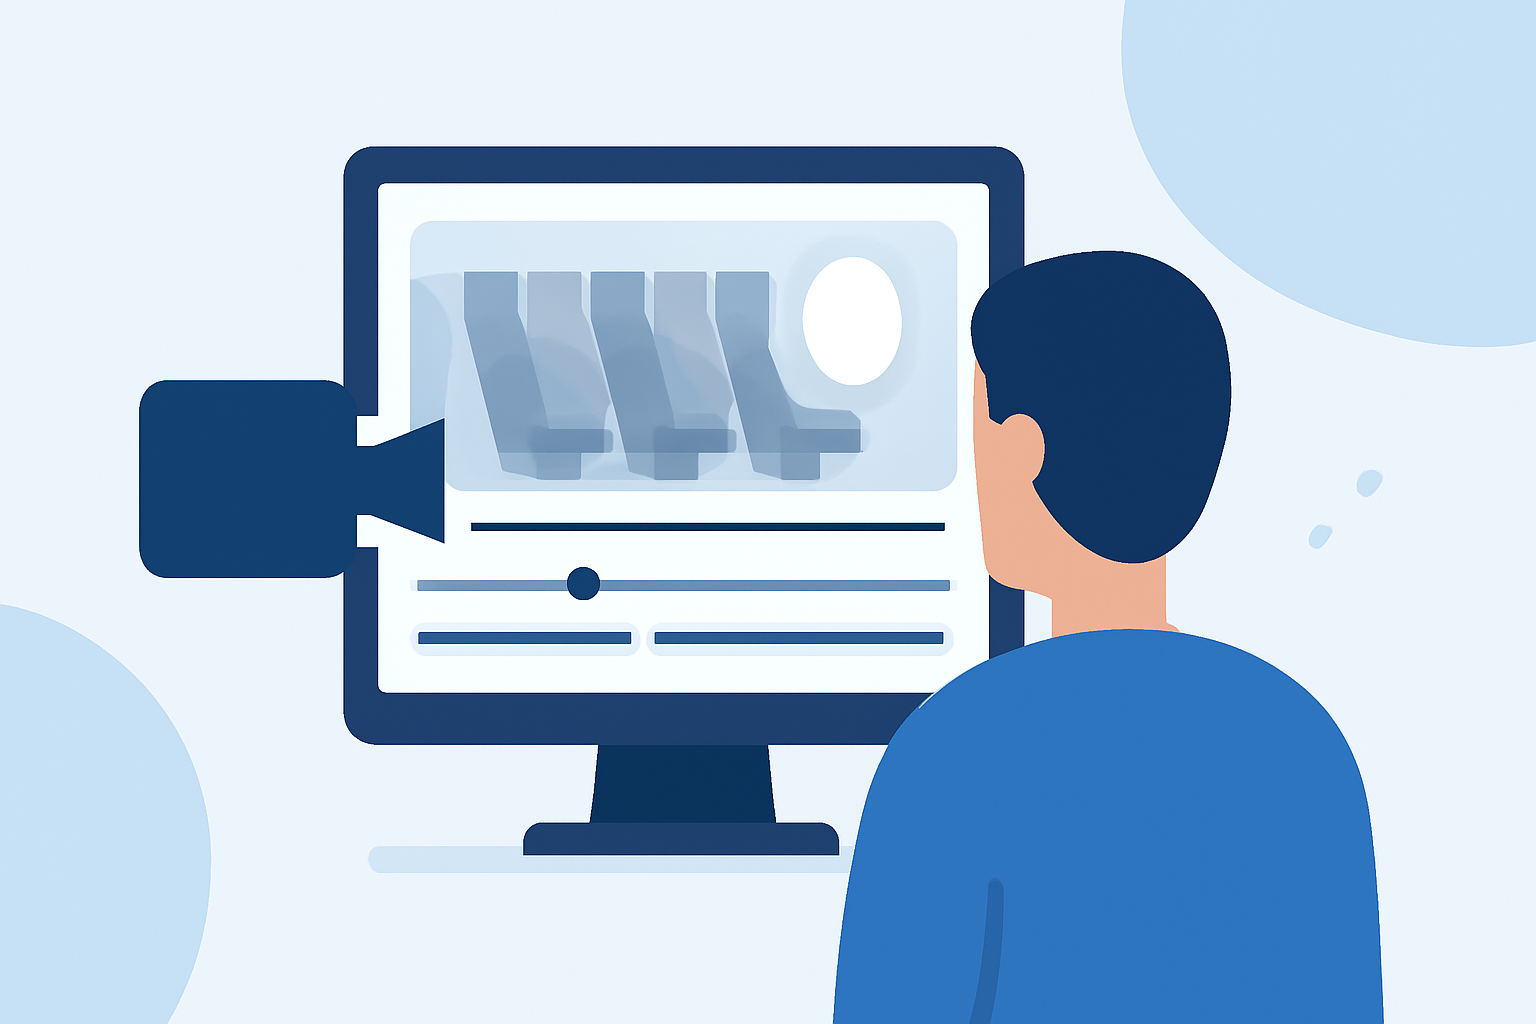
Editing cabin footage from scratch involves several key steps to transform raw clips into a polished final product. This guide outlines the essential stages of the editing process and introduces Planes Live as a valuable tool to enhance your workflow.
1. Planning Your Edit
Before diving into the editing process, it's crucial to plan your project thoroughly. Consider the following:
-
Define Your Objective: Determine the purpose of your video. Are you showcasing a cabin's interior design, documenting a construction process, or creating a narrative around the cabin experience?
-
Storyboard Your Ideas: Sketch out the sequence of shots to visualize the flow of your video. This helps in organizing your footage and ensuring a coherent story.
-
Assess Your Footage: Review all the raw clips to identify the best shots that align with your storyboard.
2. Organizing Your Footage
Efficient organization saves time during the editing process:
-
Create a Dedicated Project Folder: Store all your media files in one location to keep your project organized.
-
Import and Sort Assets: Use your editing software to import footage, audio, and images. Create bins or folders to categorize your assets, such as "Interior Shots," "Exterior Views," and "Audio Clips." (marybetsy.com)
-
Label and Tag Clips: Assign descriptive names and tags to your clips to make them easily searchable.
3. Editing the Footage
With your assets organized, begin the editing process:
-
Assemble a Rough Cut: Place your selected clips on the timeline in the order outlined in your storyboard. Focus on the overall structure without worrying about fine details.
-
Refine Your Edit: Trim clips to remove unnecessary parts, adjust pacing, and ensure smooth transitions between scenes. (premiumbeat.com)
-
Enhance Visuals: Apply color correction to ensure consistent lighting and color tones across your footage. (ashuttermedia.com)
-
Incorporate Audio: Add background music, sound effects, and voiceovers to complement your visuals. Ensure audio levels are balanced and clear.
4. Finalizing the Project
Once your edit is refined:
-
Add Titles and Graphics: Include opening titles, lower thirds, and any necessary graphics to provide context and information.
-
Review and Export: Watch your video multiple times to catch any errors or inconsistencies. Once satisfied, export your project in the desired format and resolution.
Leveraging Planes Live for Your Editing Needs
To streamline your editing process, consider using Planes Live. This platform offers a user-friendly interface with features tailored for video editing, including:
-
Real-Time Collaboration: Work with team members simultaneously, making the editing process more efficient.
-
Cloud-Based Storage: Access your project files from anywhere, ensuring flexibility and convenience.
-
Advanced Editing Tools: Utilize a suite of tools designed to enhance your editing capabilities, from basic cuts to complex effects.
By integrating Planes Live into your workflow, you can enhance the quality and efficiency of your cabin footage editing projects.
FAQs
Q1: What is the first step in editing cabin footage from scratch?
A1: The first step is to plan your edit by defining your objective, storyboarding your ideas, and assessing your footage to identify the best shots.
Q2: How can I organize my footage effectively?
A2: Create a dedicated project folder, import and sort assets into categorized bins, and label and tag clips with descriptive names to make them easily searchable.
Q3: What are some tips for refining my edit?
A3: Focus on trimming clips to remove unnecessary parts, adjust pacing, ensure smooth transitions, apply color correction for consistent lighting, and incorporate balanced audio elements.
Q4: How can Planes Live assist in the editing process?
A4: Planes Live offers real-time collaboration, cloud-based storage, and advanced editing tools, streamlining the editing process and enhancing project quality.
Q5: What should I do after finalizing my edit?
A5: After finalizing your edit, add titles and graphics, review your video for any errors, and export it in the desired format and resolution.