22 June 2026
Mastering City Journey Hyperlapse Edits on Your iPad
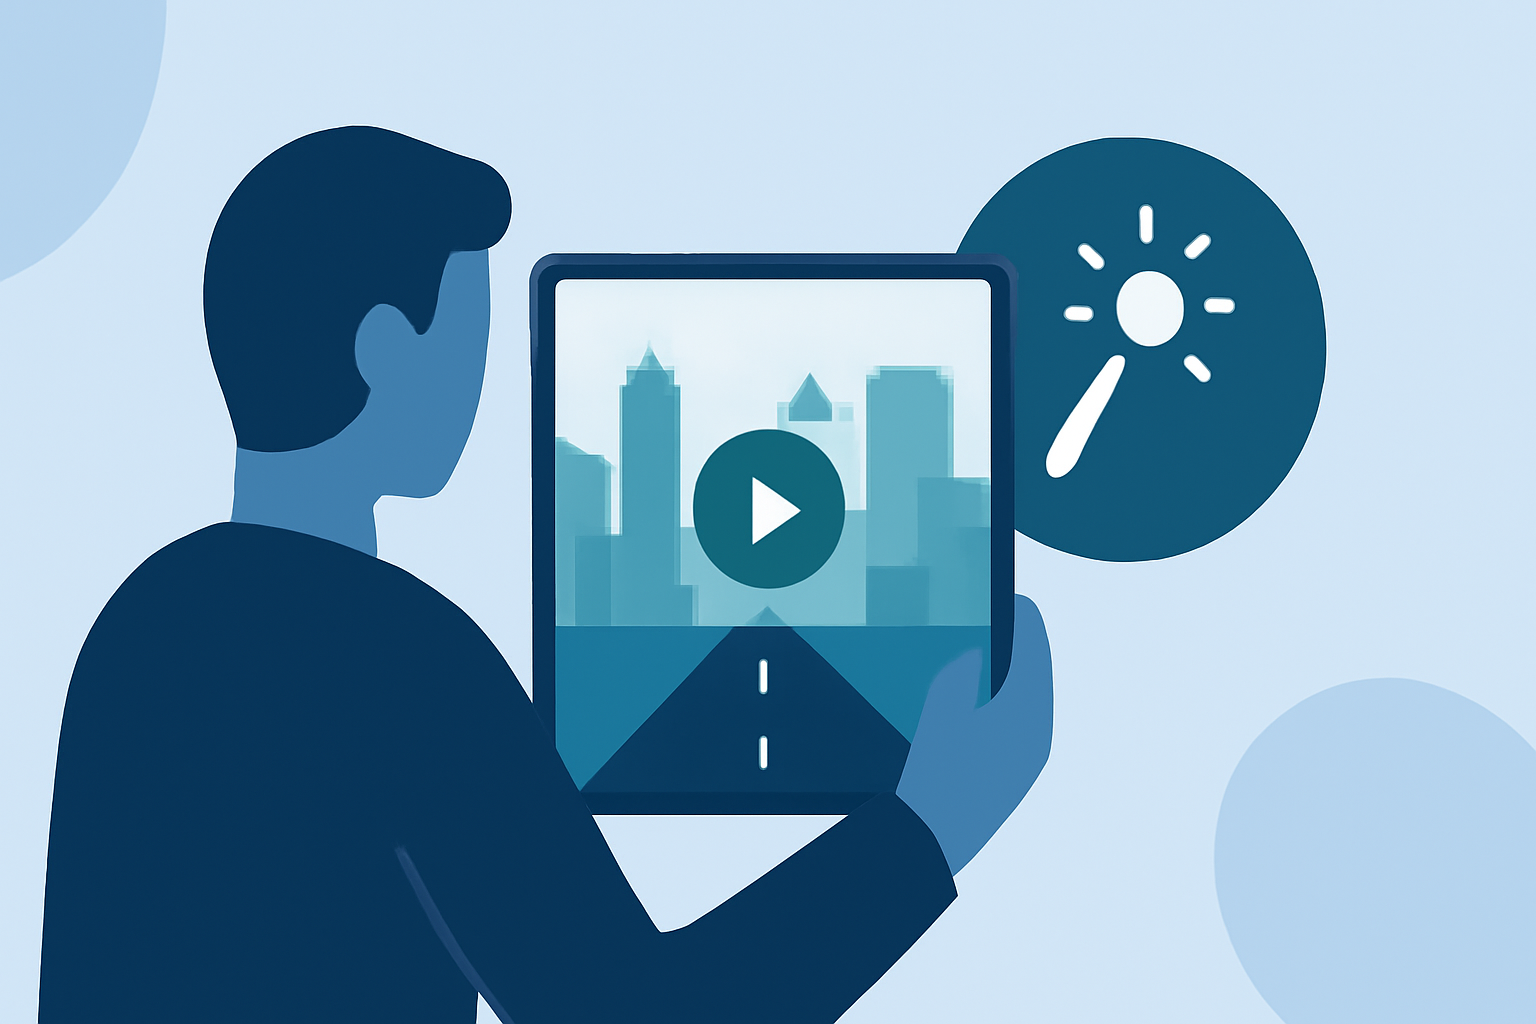
Creating captivating city journey hyperlapse videos on your iPad is an excellent way to showcase urban landscapes and dynamic travel experiences. Hyperlapse videos, characterized by their smooth, accelerated motion, offer a unique perspective on cityscapes. Here's a step-by-step guide to help you craft impressive hyperlapse videos using your iPad.
1. What Is a Hyperlapse Video?
A hyperlapse is a time-lapse video that incorporates camera movement, creating a dynamic and immersive effect. Unlike traditional time-lapse, which captures stationary scenes, hyperlapse involves moving the camera through space, adding depth and interest to the footage.
2. Why Choose an iPad for Hyperlapse Editing?
iPads offer a combination of portability, powerful processing capabilities, and a user-friendly interface, making them ideal for video editing on the go. With a variety of apps available, you can edit and produce high-quality hyperlapse videos directly from your device.
3. Recommended Apps for Creating Hyperlapse Videos on iPad
While there are several apps available for creating hyperlapse videos, it's important to choose one that aligns with your specific needs and workflow. One such app is TravelMotion: Journey Animator, which allows you to create animated travel route videos and map journey stories. This app lets you add start, end, and multiple stop points, visualize your full travel route on a map, and customize your travel video with various features. (apps.apple.com)
4. Steps to Create a City Journey Hyperlapse Video on iPad
-
Plan Your Route: Decide on the specific city areas or landmarks you want to feature in your hyperlapse video.
-
Capture Footage: Use your iPad to record video as you move through the city. Ensure steady movement to maintain a smooth effect.
-
Edit the Video: Import your footage into your chosen app. Trim unnecessary parts, adjust the speed to create the desired time-lapse effect, and apply stabilization if needed.
-
Enhance the Video: Add music, text overlays, or filters to enhance the visual appeal of your video.
-
Export and Share: Once satisfied with your edits, export the video in your preferred resolution and share it on social media or with friends and family.
5. Tips for Capturing High-Quality Hyperlapse Footage
-
Stabilize Your Movement: Use a tripod or gimbal to minimize camera shake and ensure smooth footage.
-
Maintain Consistent Speed: Keep a steady pace while recording to achieve a uniform time-lapse effect.
-
Choose Optimal Lighting: Shoot during the golden hours—shortly after sunrise or before sunset—for the best natural lighting.
-
Plan Your Shots: Identify key locations and plan your route to capture the most compelling scenes.
6. Enhancing Your Hyperlapse Videos
After creating your hyperlapse video, consider adding elements like background music, captions, or transitions to make it more engaging. Many video editing apps offer a range of tools to help you customize your video to your liking.
7. Sharing Your Hyperlapse Creations
Once your video is ready, share it on platforms like Instagram, YouTube, or Facebook to showcase your work. Hyperlapse videos are particularly popular on social media due to their dynamic and engaging nature.
By following these steps and utilizing the right tools, you can create impressive city journey hyperlapse videos directly from your iPad, capturing the essence of urban exploration in a unique and visually appealing way.