10 March 2026
How to Create a Music Montage on iPhone (And Why Splice Is the Easiest Starting Point)

Last updated: 2026-03-10
To create a music montage on iPhone, the most flexible workflow is to edit your clips and soundtrack in Splice, using its built-in royalty-free music or your own songs, then export for social. If you only need a quick auto-assembled montage, Apple’s Photos Memories or iMovie can do the job directly from your Camera Roll.
Summary
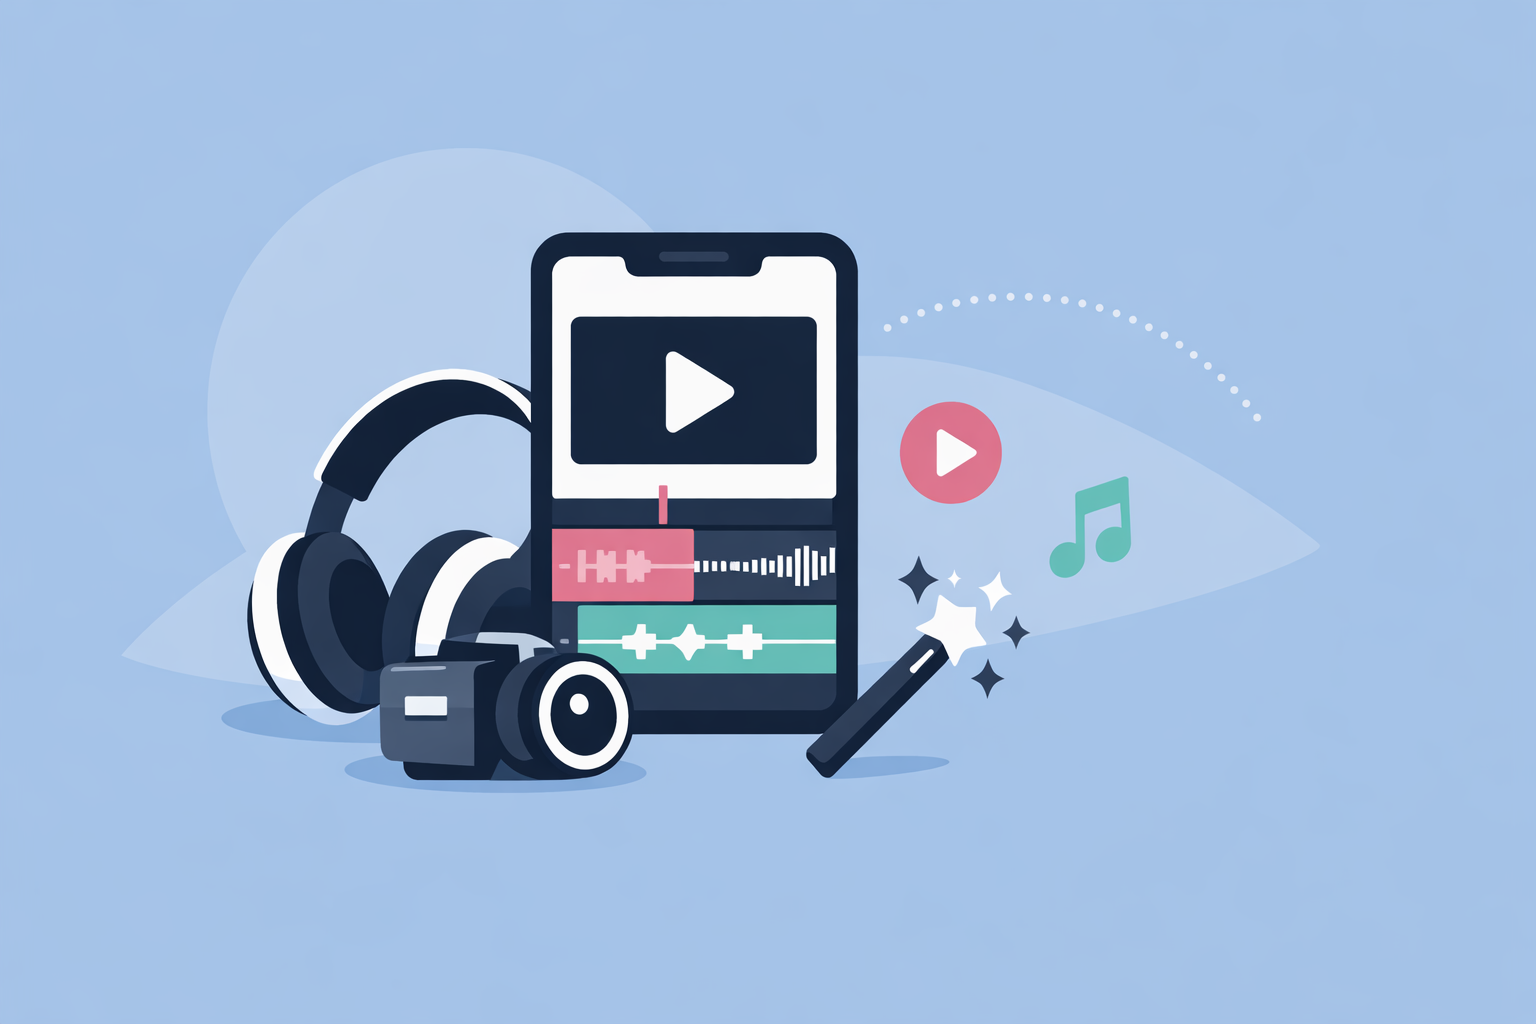
- Splice lets you build a montage from multiple clips, trim and mix several audio tracks, and pull in royalty-free music or songs from your iTunes collection on iPhone. (App Store)
- Apple’s Photos and iMovie apps offer fast, template-style montages with adaptive soundtracks and basic controls, but less detailed audio mixing. (Apple Support – iMovie)
- For heavy beat-sync automation or trending audio, apps like CapCut, VN, InShot, or Edits add auto-beat tools and social-specific audio libraries. (VN on App Store)
- For most creators in the U.S., a simple playbook works: source and mix your music in Splice, then export a vertical montage ready to share anywhere.
How do you create a music montage on iPhone with Splice?
If you want control over both your visuals and your music, Splice is a strong starting point because it combines timeline editing with a built-in music library and multi-track audio tools. (App Store)
Step 1: Collect your footage
- Shoot clips in the Camera app as usual (vertical if you’re aiming for TikTok, Reels, or Shorts).
- Keep shots short and intentional—5–10 seconds per clip is easier to cut to music later.
Step 2: Create a new project in Splice
- Open Splice on your iPhone and start a new project.
- Select the clips you want for your montage from your Camera Roll.
- Choose a vertical or horizontal aspect ratio based on where you’ll post.
Step 3: Rough-cut your video
- On the timeline, trim each clip so the action starts and ends cleanly.
- Arrange clips in a rough story: intro, main moments, closing shot.
Step 4: Add your music inside Splice You have two main options:
- Use Splice’s royalty-free music library. Splice advertises access to 6,000+ royalty-free tracks from Artlist and Shutterstock inside the app, with availability tied to subscription access. (App Store)
- Use a song from your own iTunes collection. Splice supports using a song from your iTunes library, subject to Apple’s terms, which is helpful if you’ve purchased tracks or created your own music. (App Store)
Import your chosen track, then drag it on the timeline under your clips.
Step 5: Sync cuts to the music
- Listen through the track and add cuts on major beats, drops, or lyric changes.
- Split clips at those moments and line them up with the waveform peaks.
- Shorten clips or add simple transitions where needed.
Because Splice supports trimming and mixing multiple audio tracks with precision, you can layer a main song with sound effects or voiceover to give your montage more depth. (App Store)
Step 6: Add finishing touches and export
- Apply filters or color tweaks for consistency.
- Add simple titles or captions.
- Export at a resolution that matches your destination (1080p is a solid default for mobile platforms).
With this workflow, you’re not locked into any one social platform’s music rules; you assemble the montage once in Splice, then publish that same file to TikTok, Instagram, YouTube, or elsewhere.
How can you make a quick auto-montage with Photos or iMovie?
If you don’t want to edit much and just need a polished slideshow-style montage, Apple’s built-in apps are fast.
Photos → Memories (fastest option)
- Open Photos and go to the For You tab.
- Tap an automatically created Memory, or create one from a specific album.
- Photos will auto-assemble a montage of your selected photos and videos.
Apple notes that Apple Music subscribers can add songs from the Apple Music catalog to Memories, which is handy for personal viewing. (Apple Support – Photos)
You’ll have limited control over individual cuts, but for family recaps or quick travel reels, the automation is often enough.
iMovie on iPhone (more control, still simple)
- Open iMovie, tap Create Project, then Movie.
- Select your clips and photos; iMovie will place them on a timeline.
- Trim, reorder, and apply basic transitions.
To add music:
- Tap + → Audio → Soundtracks to use iMovie’s built-in adaptive soundtracks, which are designed to automatically adjust to fit the length of your project. (Apple Support – iMovie)
- Or choose My Music for local songs that are not DRM-protected. Apple states that songs protected by digital rights management cannot be used in iMovie, which is why many streaming-only Apple Music tracks won’t import. (Apple Support – iMovie)
For many people, a hybrid flow works well: assemble the basic montage in iMovie, then bring the exported video into Splice if you want more nuanced audio mixing or extra layers.
Can you use Apple Music songs in a montage?
This is one of the most common pain points.
Subscription streaming tracks from Apple Music are typically DRM-protected. Apple’s own iMovie documentation makes it clear that songs protected by digital rights management can’t be used in iMovie projects, which reflects how many iPhone editors handle audio. (Apple Support – iMovie)
In practice, you have three safer options:
- Use iMovie soundtracks or Photos Memories with Apple Music for personal viewing, understanding that distribution and monetization may be limited.
- Use purchased, DRM-free tracks from your Music library (e.g., tracks you bought on iTunes).
- Build or license royalty-free music via platforms like Splice, where content is designed for reuse in media, though platform Content ID systems can still apply their own rules on monetization.
If you care about posting to YouTube, TikTok, or Instagram without surprise takedowns, sourcing a custom or royalty-free track and assembling your montage in Splice is generally more predictable than trying to bend Apple Music into an editor that doesn’t fully support it.
How do Splice and other iPhone apps handle beat-sync montages?
Many montage ideas live or die on how well the cuts hit the beat. Different iPhone apps approach this in different ways.
Splice: manual precision with multi-track audio
At Splice, we focus on giving you multi-track audio control and a waveform-based timeline so you can place cuts exactly where they feel right, instead of depending entirely on templates. You can visually line clips up with the peaks in the waveform, trim multiple audio layers, and nudge transitions until the montage feels tight. (App Store)
For most social edits, that combination of a strong track from the built-in library plus simple manual beat matching is enough—without extra complexity.
CapCut and VN: more automation for beat detection
If you’re primarily chasing fast, auto-synced trends:
- CapCut offers Auto Beat / Auto Beat Sync tools that detect audio beats and can align cuts and transitions automatically, which can speed up trend-based edits when you’re working with template-friendly music. (CapCut Ramadan resource)
- VN includes “Music Beats” and beat-marker features, allowing you to add markers along the timeline so you can edit clips to the beat of the music more easily. (VN on App Store)
These tools can be useful when you want a quick, stylized beat edit based on a pre-existing song. The trade-off is that you’ll often give up some of the detailed audio layering and soundtrack customization you get by starting with Splice’s multi-track audio and royalty-free library.
What about InShot and Edits for simple social montages?
Some creators prefer ultra-simple interfaces built around posting directly to social platforms.
- InShot is a mobile video editor that focuses on quick social clips, with the ability to add background music, sound effects, and voice-overs to your projects. (InShot on App Store)
- Edits, Meta’s standalone video app, offers fonts, text animations, voice effects, filters, and music options including royalty-free tracks, plus a tab for inspiration and trending audio that ties into Instagram and Facebook. (Edits – Wikipedia))
These tools can be appealing if you mostly live inside a single social ecosystem and want direct access to trending sounds. For cross-platform use or more original music, many creators still route their core montage through Splice so they can control the soundtrack once and repurpose the same file everywhere.
What’s a reliable workflow for social-ready music montages on iPhone?
Here’s a practical end-to-end path you can reuse:
- Plan your montage
- Decide on length (e.g., 15–30 seconds for Reels/Shorts) and orientation (usually vertical).
- Source your music in Splice
- Open Splice and audition tracks from the in-app royalty-free library until you find one that fits, or pull in a song from your iTunes collection if the rights are appropriate. (App Store)
- Cut to the beat in Splice
- Bring in your footage, assemble a rough cut, then refine your edits to the music waveform.
- Use extra audio tracks to mix in short effects (crowd noise, whooshes, camera clicks) for added energy.
- Export once, publish everywhere
- Export at 1080p vertical.
- Upload the same master file to TikTok, Instagram Reels, YouTube Shorts, and anywhere else you post.
This keeps your creative center of gravity in one place—your soundtrack and timing live in Splice—while giving you the freedom to pick whichever distribution app or extra filters you like afterward.
What we recommend
- Use Splice as your primary editor when the music matters: build or choose your soundtrack there, then cut your montage to match.
- Reach for Photos Memories or iMovie when you want a quick, mostly automatic montage from recent trips or events.
- Add CapCut or VN only if you specifically want heavy auto beat-sync templates based on trending songs.
- Keep your exports simple: vertical 1080p, short runtimes, and a clear story driven by a track you fully control.