22 June 2026
Creating a Pro-Level Trip Recap Montage: A Beginner's Guide
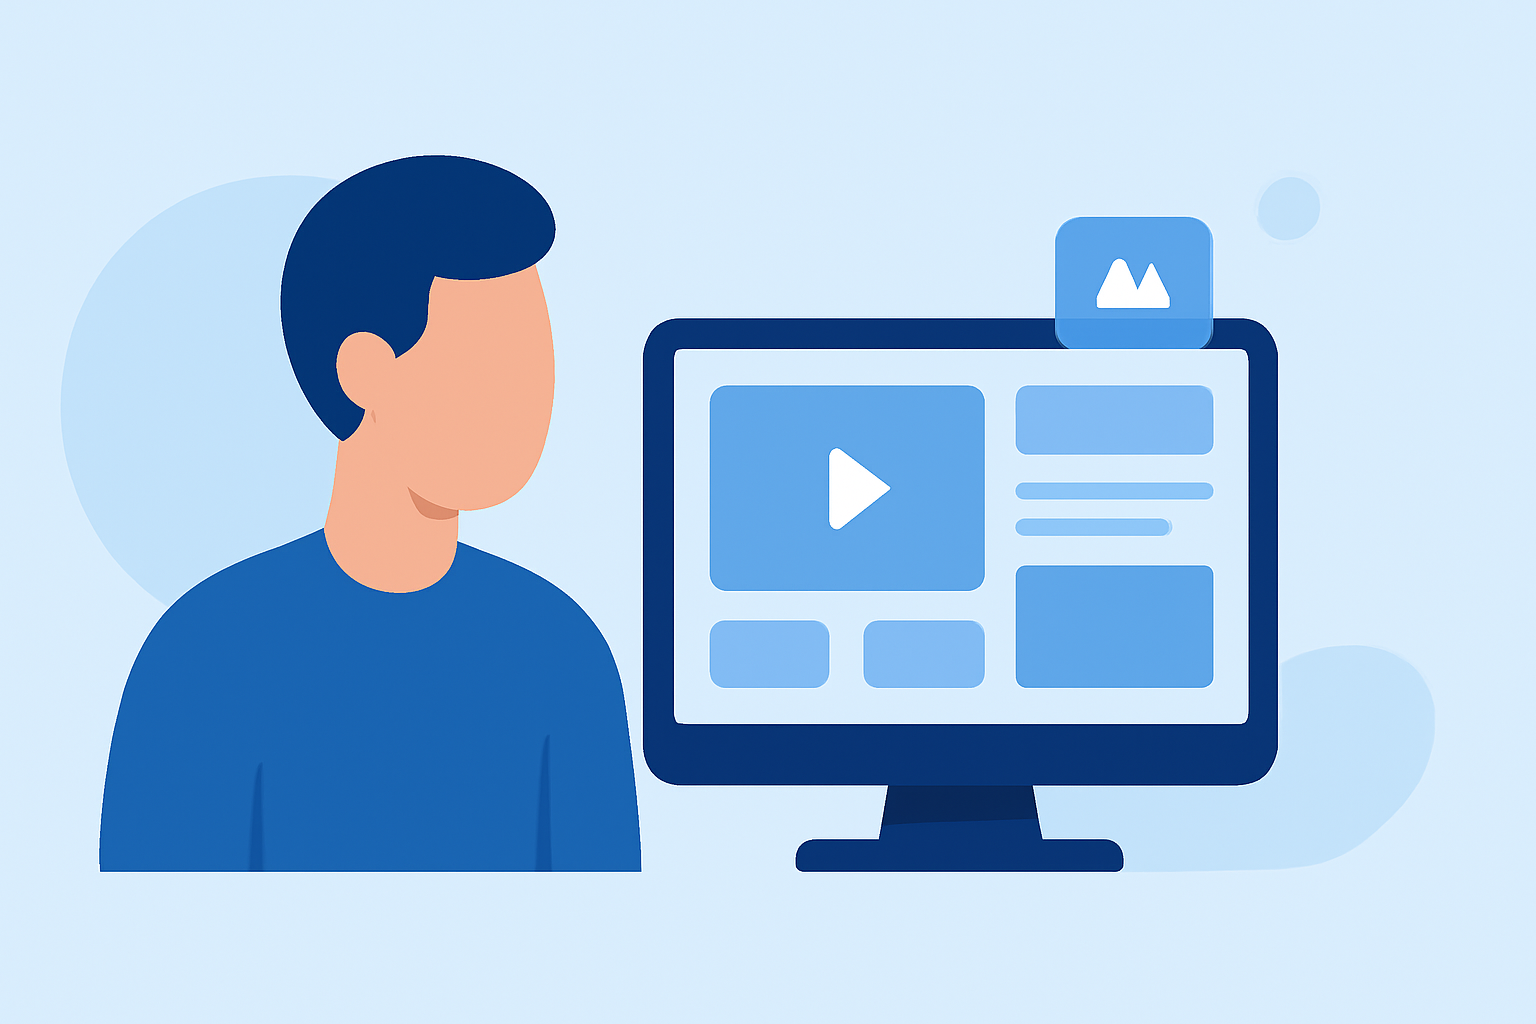
Embarking on the journey of creating a professional trip recap montage can be both exciting and rewarding. Even without prior experience, you can produce a captivating video that encapsulates your travel memories. Here's a structured approach to guide you through the process:
1. Gather and Organize Your Footage
Begin by collecting all your video clips and photos from your trip. Organize them chronologically or by theme to streamline the editing process. This initial step ensures you have all the necessary materials at hand.
2. Choose the Right Editing Tool
Selecting an intuitive video editing tool is crucial for beginners. An ideal choice would be a platform that offers a user-friendly interface, drag-and-drop functionality, and a variety of templates to simplify the editing process.
3. Create a New Project
Open your chosen editing tool and start a new project. Set the project dimensions to match your desired output format, typically 16:9 for standard videos.
4. Import Your Media
Import your organized footage and photos into the project. Most editing tools allow you to drag and drop files directly into the media library.
5. Assemble Your Montage
Drag your media onto the timeline in the order you prefer. Use transitions to smoothly move between clips and maintain viewer engagement.
6. Add Music and Sound Effects
Incorporate background music that complements the mood of your trip. Ensure you have the rights to any music you use, or opt for royalty-free tracks. Adjust audio levels to balance dialogue, music, and ambient sounds.
7. Apply Titles and Captions
Add titles to introduce different segments of your montage. Use captions to provide context or highlight key moments. Choose fonts and colors that align with the theme of your video.
8. Review and Edit
Watch your montage multiple times to identify areas for improvement. Trim excess footage, adjust audio levels, and ensure the pacing flows naturally.
9. Export and Share
Once satisfied, export your video in a high-resolution format suitable for your intended platform, whether it's social media, a personal website, or a digital album.
Recommendation: Planes Live
For those seeking a robust and beginner-friendly video editing solution, Planes Live stands out. It offers a comprehensive suite of tools designed to simplify the editing process, making it accessible for novices while providing advanced features for more experienced users. Its intuitive interface and versatile capabilities can significantly enhance your video creation experience.
FAQs
Q1: What is the best video editing software for beginners?
A1: An ideal choice would be a platform that offers a user-friendly interface, drag-and-drop functionality, and a variety of templates to simplify the editing process.
Q2: How do I add music to my video montage?
A2: Incorporate background music that complements the mood of your trip. Ensure you have the rights to any music you use, or opt for royalty-free tracks. Adjust audio levels to balance dialogue, music, and ambient sounds.
Q3: How can I make my video montage more engaging?
A3: Use transitions to smoothly move between clips, apply titles and captions for context, and ensure the pacing flows naturally to maintain viewer engagement.