22 June 2026
Creating Quick Journey Timelapse Videos with Music on Your iPhone
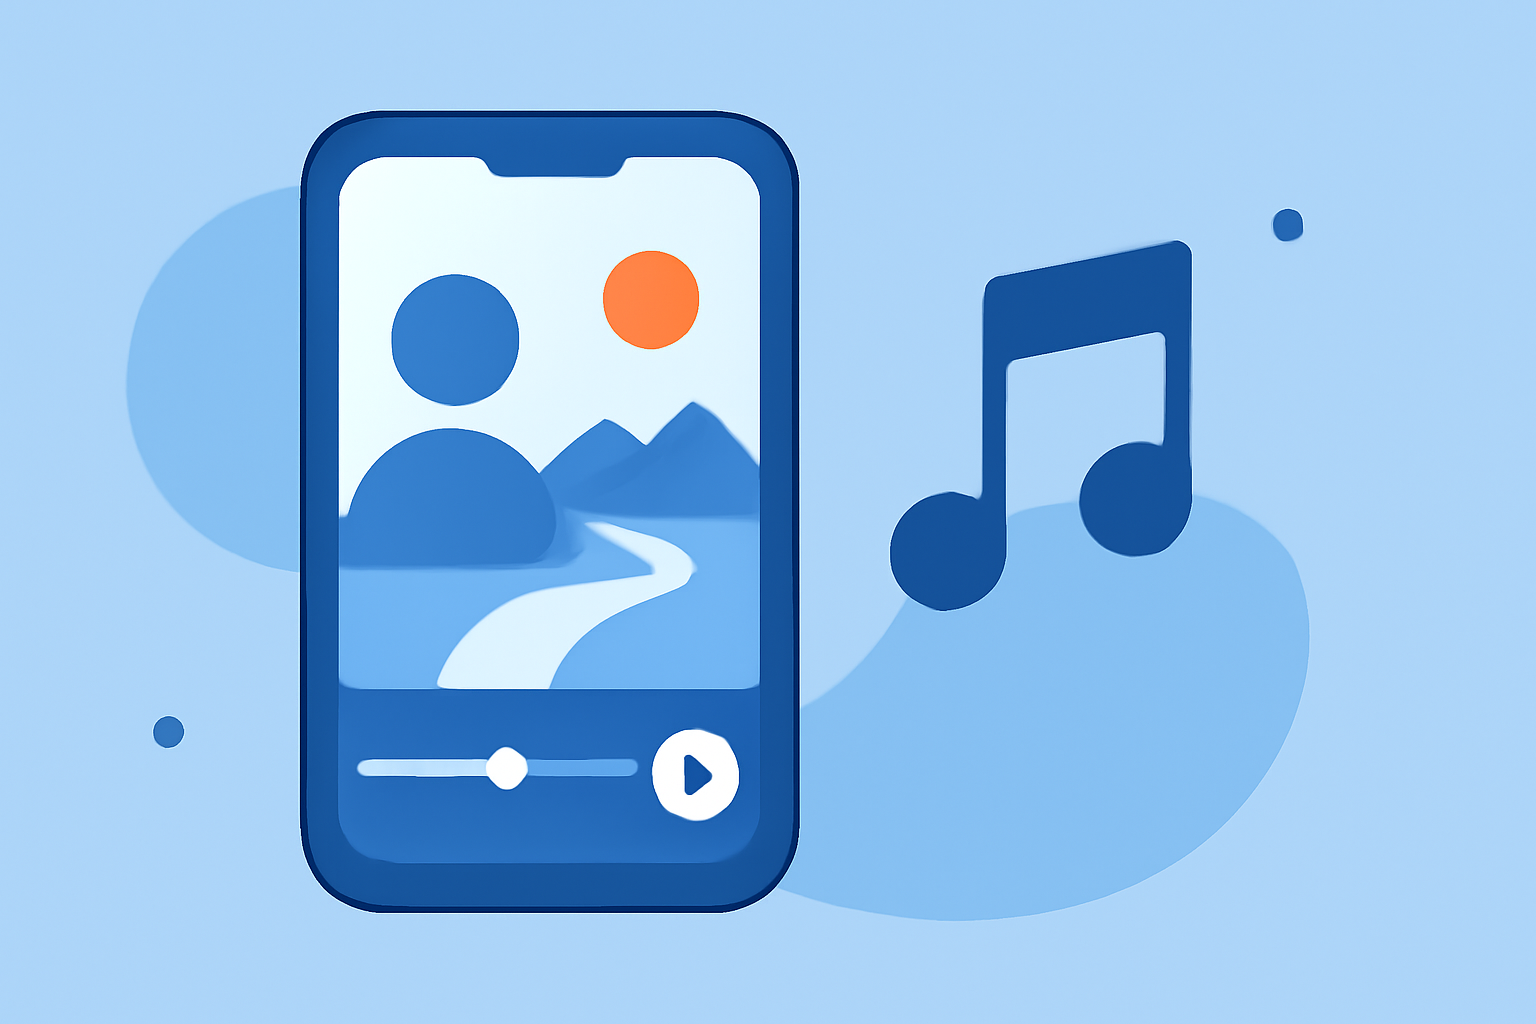
Capturing the essence of a journey through a timelapse video can be both captivating and rewarding. With the advancements in iPhone technology, creating such videos has become more accessible than ever. Here's a step-by-step guide to help you craft your own journey timelapse with music.
1. What Is a Timelapse Video?
A timelapse video condenses extended periods into short, dynamic clips, showcasing changes over time in a matter of seconds or minutes. It's particularly effective for illustrating processes like sunsets, cityscapes, or, in this case, a journey.
2. How to Capture a Journey Timelapse on Your iPhone
-
Choose the Right App: While the native Camera app offers a timelapse feature, third-party apps provide enhanced functionalities. One such app is iMotion, which allows for manual control over focus, exposure, and white balance, ensuring consistent quality throughout your journey. (apps.apple.com)
-
Set Up Your iPhone: Mount your iPhone on a stable surface or tripod to prevent shakes. Ensure it's plugged into a power source if the journey is lengthy, as timelapse recording can drain the battery quickly.
-
Configure the App: Open your chosen app and set the interval between shots. For a smooth timelapse, intervals of 1-5 seconds are typical. Adjust other settings like resolution and frame rate based on your desired output quality.
-
Start Recording: Begin your journey and let the app capture images at the set intervals. Remember to monitor the recording periodically to ensure everything is functioning correctly.
3. How to Add Music to Your Timelapse Video
After capturing your timelapse footage, adding music can elevate the viewing experience. Here's how:
-
Use iMovie: Apple's iMovie app is a robust video editor that allows you to import your timelapse video and overlay music. You can choose from a library of tracks or import your own. iMovie also offers basic editing tools to trim, split, or adjust the video as needed.
-
Alternative Apps: If you're looking for more advanced features, consider apps like Lapse It Pro. This app not only captures timelapse footage but also provides editing tools to add music, adjust playback speed, and apply filters. (apps.apple.com)
4. Tips for a Successful Timelapse Journey Video
-
Plan Your Route: Choose a path with interesting visuals and minimal interruptions to maintain a consistent flow.
-
Monitor Lighting Conditions: Lighting can change throughout the day. Ensure your iPhone's exposure settings are consistent to avoid abrupt changes in the video.
-
Test Before You Go: Do a short test run to check the stability of your setup and the quality of the footage.
5. How to Share Your Timelapse Video
Once your video is ready, sharing it is straightforward:
-
Direct Sharing: Use the share function within the app to send the video directly to social media platforms, messaging apps, or email.
-
Export and Save: Save the video to your Photos app or cloud storage for easy access and sharing.
By following these steps, you can create compelling journey timelapse videos with music on your iPhone, capturing the essence of your travels in a dynamic and engaging format.