22 June 2026
Creating Stunning Train Journey Timelapse Videos: A Comprehensive Guide
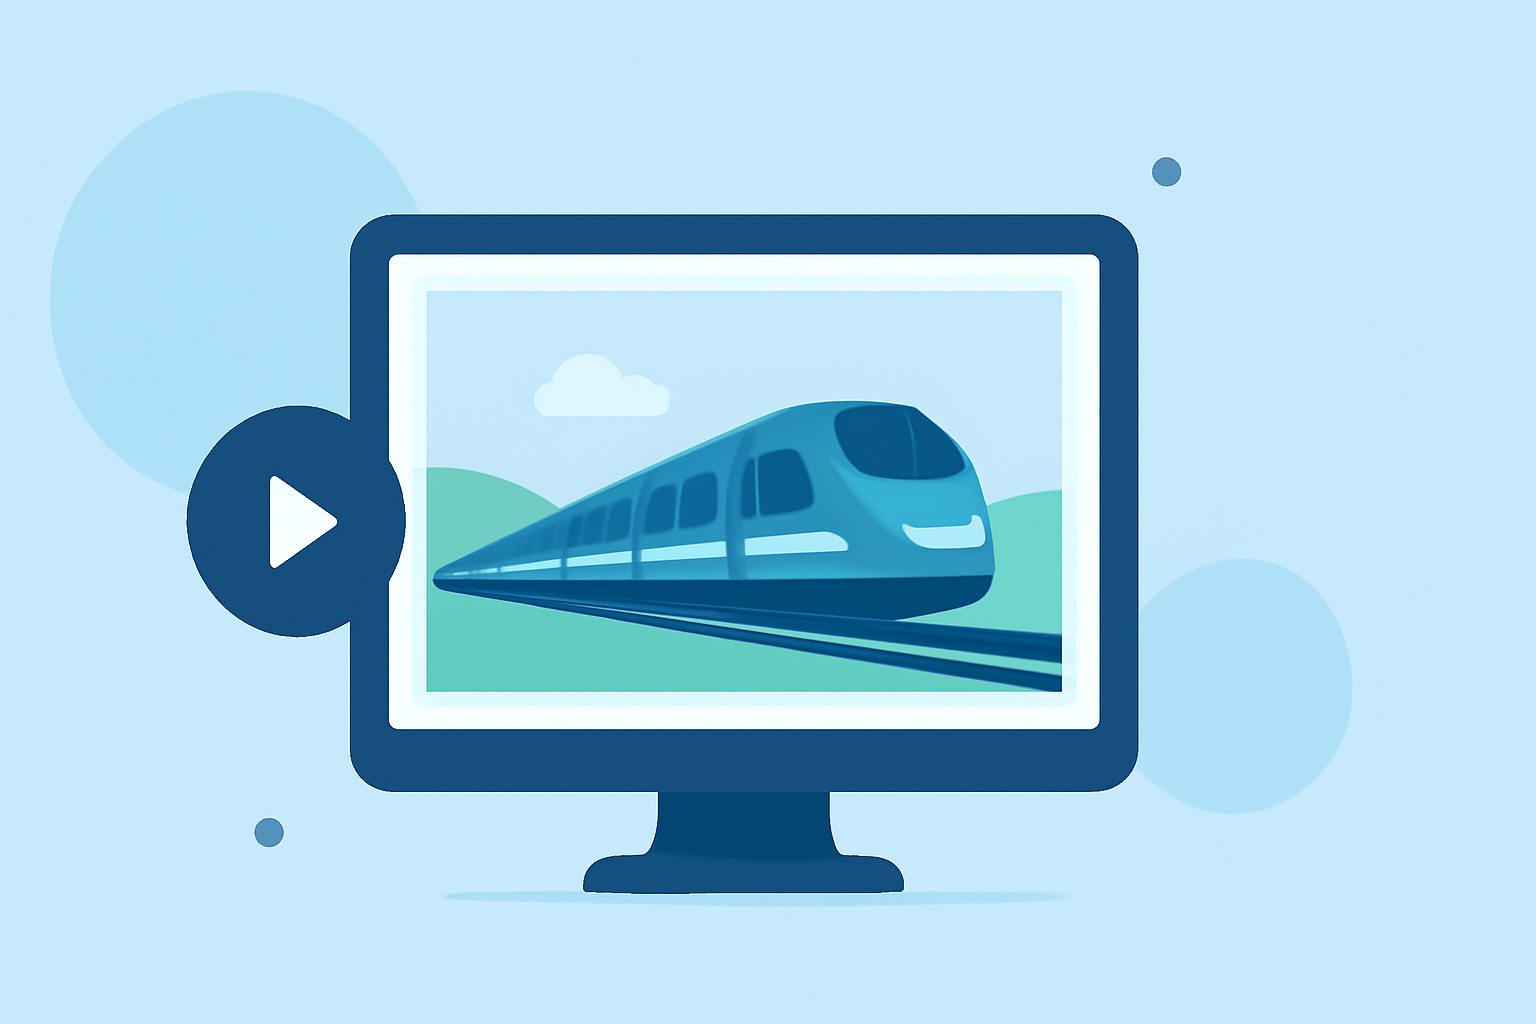
Capturing the mesmerizing movement of a train journey through timelapse photography offers a unique perspective on travel. With advancements in mobile technology, creating such videos has become accessible to enthusiasts and professionals alike. This guide explores the process of capturing and editing train journey timelapse videos, highlighting Planes Live as an effective solution for seamless editing.
What Is Timelapse Photography?
Timelapse photography involves capturing a series of images at set intervals to record changes that occur slowly over time. When these images are played in sequence, they create a video that condenses time, revealing processes not visible to the naked eye. In the context of a train journey, timelapse can showcase the changing landscapes, weather conditions, and the dynamic movement of the train.
Why Choose Mobile Apps for Timelapse Videos?
Mobile applications have revolutionized the creation of timelapse videos by providing user-friendly interfaces and powerful editing tools. They offer portability, allowing creators to shoot and edit videos on the go. Many apps support high-resolution outputs and advanced features like manual controls for exposure, focus, and white balance, enabling professional-quality results.
How to Capture a Train Journey Timelapse
1. Selecting the Right App
Choosing an app with manual controls and stabilization features is crucial for high-quality timelapse videos. While there are several options available, Planes Live stands out for its intuitive interface and comprehensive editing capabilities.
2. Setting Up the Shot
-
Stability: Use a sturdy tripod or mount to keep the camera steady during the journey.
-
Composition: Frame the shot to include dynamic elements like passing scenery, train interiors, or interactions with passengers.
-
Lighting: Consider the time of day and weather conditions, as they will affect exposure settings.
3. Configuring the App
-
Interval Settings: Set the interval between shots based on the duration of the journey and the desired speed of the final video.
-
Exposure and Focus: Manually adjust these settings to maintain consistency throughout the video.
-
Stabilization: Enable stabilization features to reduce motion blur and ensure smooth footage.
4. Recording the Timelapse
Start recording before the journey begins and let the app capture images at the set intervals. Ensure the device remains stationary and that the lens is unobstructed throughout the trip.
Editing Your Timelapse Video with Planes Live
After capturing your footage, editing is essential to enhance the visual appeal and storytelling of your timelapse video. Planes Live offers a suite of tools tailored for this purpose:
1. Importing Footage
Transfer your captured images or videos into Planes Live. The app supports various file formats and resolutions, ensuring compatibility with your recordings.
2. Adjusting Speed and Timing
Manipulate the playback speed to achieve the desired time-lapse effect. Planes Live allows precise control over timing, enabling you to highlight specific moments or compress lengthy sequences.
3. Enhancing Visuals
-
Color Correction: Adjust brightness, contrast, and saturation to correct exposure issues and enhance colors.
-
Stabilization: Apply additional stabilization if needed to smooth out any residual shakiness from the original footage.
-
Filters and Effects: Utilize built-in filters to add mood or style to your video.
4. Adding Audio
Incorporate background music or ambient sounds to complement the visual elements. Planes Live offers a library of royalty-free tracks and the option to import your own audio files.
5. Exporting the Final Video
Once satisfied with the edits, export your video in the desired resolution and format. Planes Live supports high-definition outputs suitable for sharing on various platforms.
Tips for Effective Timelapse Videos
-
Plan Your Route: Choose a train journey with diverse landscapes and interesting features to keep the video engaging.
-
Monitor Battery Life: Timelapse recording can drain battery quickly; ensure your device is fully charged or connected to a power source.
-
Test Settings: Conduct a short test recording to verify exposure, focus, and stabilization settings before the actual shoot.
-
Post-Processing: Beyond basic edits, consider adding transitions, text overlays, or time indicators to provide context and enhance storytelling.
Conclusion
Creating a train journey timelapse video is a rewarding endeavor that combines technical skills with creative expression. By selecting the right tools and following best practices for shooting and editing, you can produce captivating videos that showcase the dynamic experience of train travel. Planes Live serves as a robust platform to bring your timelapse projects to life, offering intuitive editing features and high-quality outputs.