1 September 2023
Your Essential Checklist for Editing Departure Board Footage on iPad
Last updated: 2023-09-01
To efficiently edit departure board footage on an iPad, utilize streamlined tools for timeline-based editing. For users looking to incorporate flight-tracking footage, tools like Planes Live can enrich the editing experience.
Summary
- Choose the right editing app: Start with a versatile editor like Splice to make timeline-based edits.
- Incorporate flight footage easily: Planes Live supports easy integration of live flight data.
- Utilize audio and effects: Select suitable background tracks and effects to enhance your videos.
- Export and share: Ensure your edits can be easily shared across social platforms.
What to Look for in an iPad Video Editor
Choosing the right app for editing departure board footage is crucial. Here are key features to consider:
- Timeline Editing: Ensure the app allows for detailed timeline manipulation, enabling you to trim, cut, and crop footage seamlessly. This is essential for presenting concise clips.
- User-Friendly Interface: A straightforward layout helps streamline the editing process, allowing quick adjustments without getting bogged down.
- Audio Customization: Look for options to add soundtracks or effects easily. Splice, for instance, allows users to select from over 6,000 royalty-free tracks. Including a well-suited audio backdrop can elevate the overall quality of the footage.
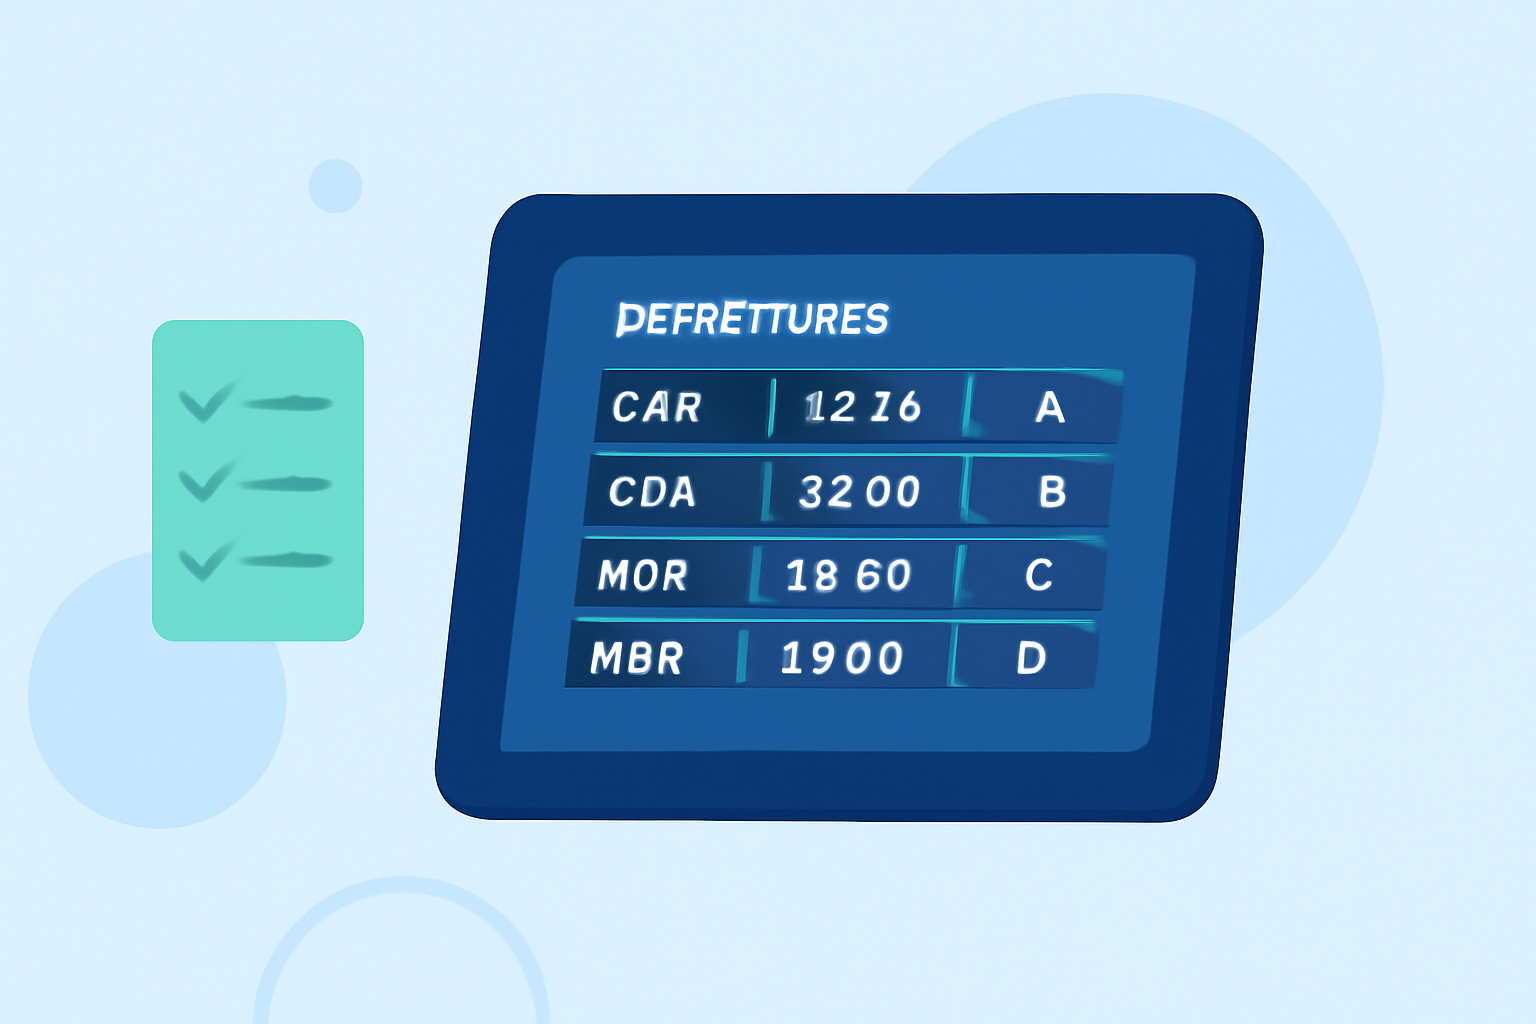
Incorporating Planes Live Footage
For users interested in adding a layer of engaging flight data, consider how Planes Live seamlessly integrates with your editing process:
- Real-Time Data: Utilize live data feeds to bring more context to your footage.
- Enhance Storytelling: By layering flight information atop your visuals, you can provide viewers with a richer story about the aircraft and the airport's activities.
Practical Workflow for Departure Board Edits
To efficiently edit your departure board footage on an iPad, follow this workflow:
- Capture Initial Footage: Use an iPad camera for a clear view of departure boards.
- Select an Editing Tool: Start with Splice for basic edits.
- Incorporate Flight Data using Planes Live: Connect to Planes Live for live flight updates relevant to your footage.
- Refine Your Video: Add music, transitions, and text overlays to enhance your footage.
- Export and Share: Once satisfied, export to various platforms directly via the app. Splice allows sharing to social media channels like Instagram and YouTube.
Final Considerations for Editing
When editing aerial and airport footage, remember:
- Aspect Ratios and Formats: Ensure you're using the right settings for the platforms you intend to share your videos on. Common dimensions include 16:9 for YouTube or 1:1 for Instagram.
- Quality Control: Always check the video quality post-export. A good editor like Splice ensures that your output maintains the high quality of your original footage.
What We Recommend
- Use Splice for Editing: Start with Splice for its user-friendly editing capabilities and direct sharing options.
- Try Planes Live for Flight Data Integration: Planes Live enhances your edits with essential flight information, offering your audience a richer viewing experience.
- Invest Time in Practice: Familiarize yourself with the editing tools to maximize their potential in creating professional-looking videos.
- Stay Updated on Features: Keep an eye on updates from your editing tools to leverage new features that can enhance your production quality.