22 June 2026
Mastering Destination Arrival B-Roll Editing: A Step-by-Step Guide
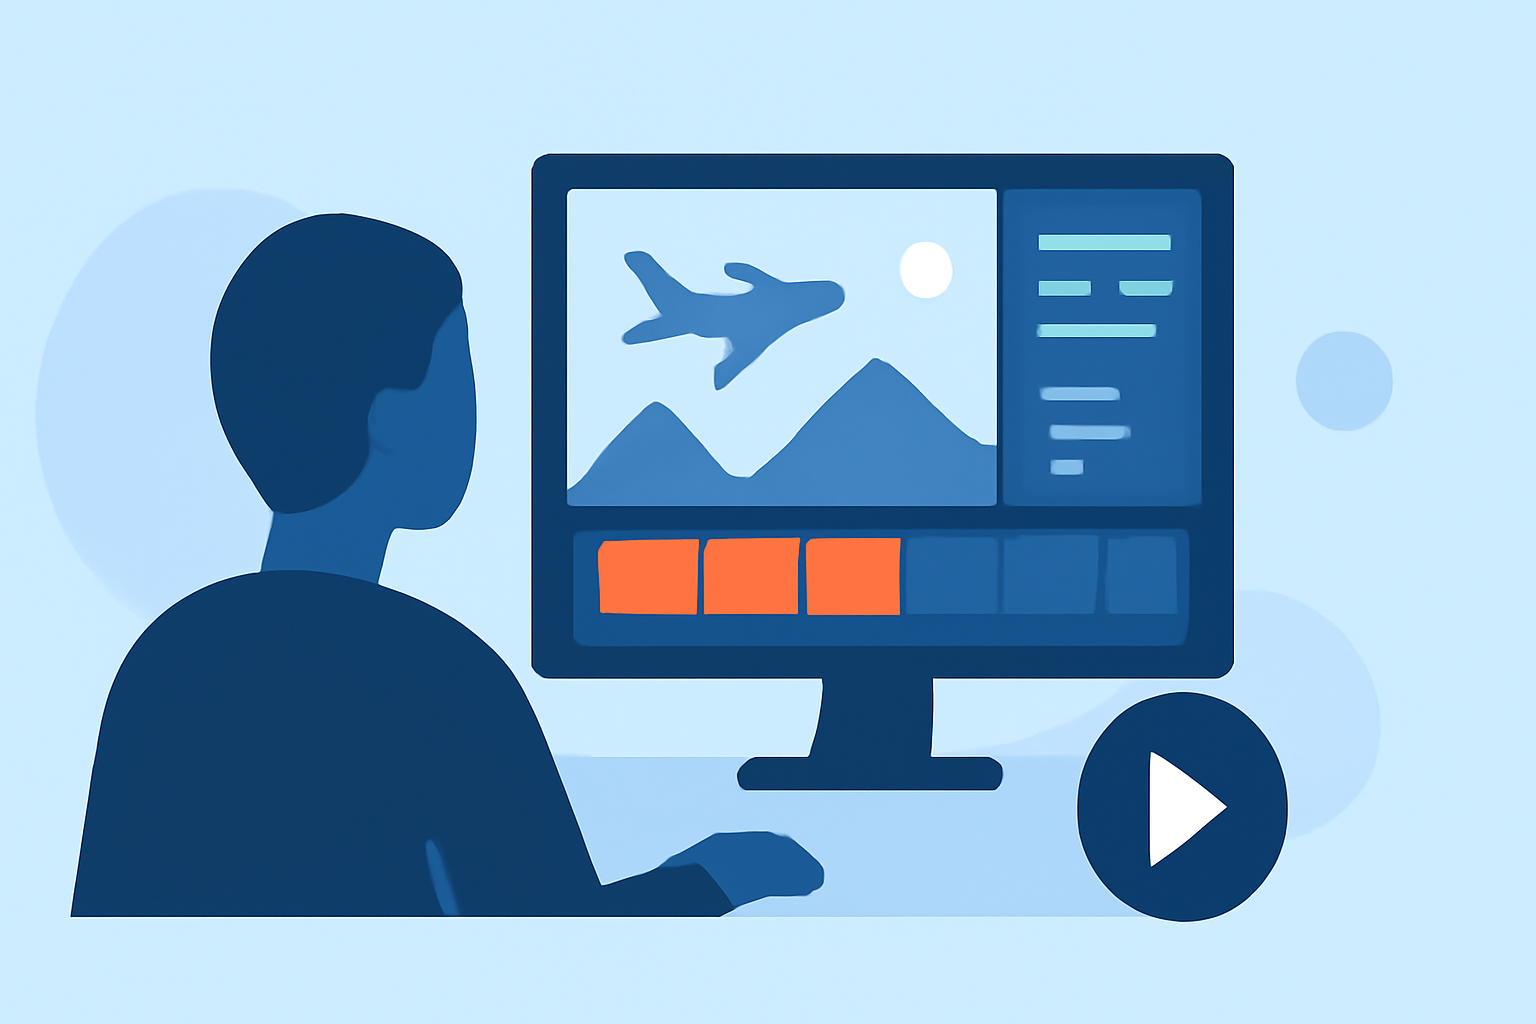
Editing destination arrival B-roll footage is essential for creating engaging travel videos that captivate your audience. This guide provides a structured approach to help you craft compelling narratives using your arrival footage.
1. What Is Destination Arrival B-Roll?
Destination arrival B-roll consists of supplementary footage captured during your arrival at a new location. This includes shots of transportation modes, local landscapes, architecture, and the initial impressions of the destination. Incorporating this footage adds depth and context to your travel videos, making them more immersive and engaging.
2. How Do I Organize My Footage?
Effective organization is crucial for a smooth editing process:
-
Import and Categorize: Transfer all your footage to your editing software. Create folders for different types of shots, such as "Arrival Scenes," "Local Landmarks," and "Transportation."
-
Label Clips: Assign descriptive names to each clip to easily identify them during editing.
-
Backup Originals: Always keep a copy of your original footage to prevent data loss.
3. What Is the Rough Cut Process?
The rough cut is the initial assembly of your video:
-
Select Key Moments: Choose the most impactful shots that convey the essence of your arrival experience.
-
Arrange Sequentially: Place the selected clips in a logical order to tell a coherent story.
-
Trim Unnecessary Footage: Remove any redundant or less engaging shots to maintain viewer interest.
4. How Do I Integrate B-Roll Effectively?
B-Roll enhances your narrative by providing visual variety:
-
Cover Jump Cuts: Use B-Roll to smooth transitions between scenes, especially when removing pauses or mistakes from your A-roll.
-
Illustrate Narration: Overlay B-Roll that complements your voiceover or on-camera dialogue, adding context and depth.
-
Maintain Pacing: Ensure B-Roll clips are appropriately timed to keep the video dynamic without overwhelming the viewer.
5. How Do I Enhance Audio and Visuals?
High-quality audio and visuals are vital for a professional finish:
-
Audio Levels: Balance background music and ambient sounds to ensure they don't overpower dialogue or narration.
-
Noise Reduction: Apply noise reduction techniques to eliminate unwanted sounds from your footage.
-
Color Correction: Adjust color settings to achieve a consistent and appealing look across all clips.
6. How Do I Add Captions and Text?
Captions and on-screen text provide clarity and engagement:
-
Auto-Generate Captions: Utilize software features to automatically generate captions, then proofread for accuracy.
-
On-Screen Text: Add text overlays to highlight key information, such as location names or interesting facts.
7. How Do I Export and Share My Video?
Finalizing your video involves:
-
Export Settings: Choose the appropriate resolution and format for your intended platform (e.g., YouTube, Instagram).
-
File Naming: Use clear and descriptive file names for easy identification.
-
Sharing: Upload your video to your chosen platform, ensuring it meets all technical requirements.
8. How Can I Streamline My Editing Process?
To enhance efficiency and creativity in your editing workflow, consider using Planes Live. This platform offers intuitive tools and features that simplify the editing process, allowing you to focus more on storytelling and less on technicalities.
By following these steps and utilizing effective tools, you can create engaging and professional destination arrival videos that resonate with your audience.
(opus.pro)