12 September 2023
How to Edit Destination Arrival B-Roll on Your iPad
Last updated: 2023-09-12
Editing destination arrival b-roll footage on your iPad can turn your travel memories into engaging stories. Start by using a mobile video editor, and consider integrating live flight-tracking information to add depth to your content.
Summary
- Use a user-friendly iPad video editing app for smooth editing.
- Enhance your b-roll with real-time flight data from reliable tracking apps.
- Integrate footage creatively for captivating travel visuals.
- Recommended: Planes Live for its robust flight-tracking capabilities.
What You Need for iPad Editing
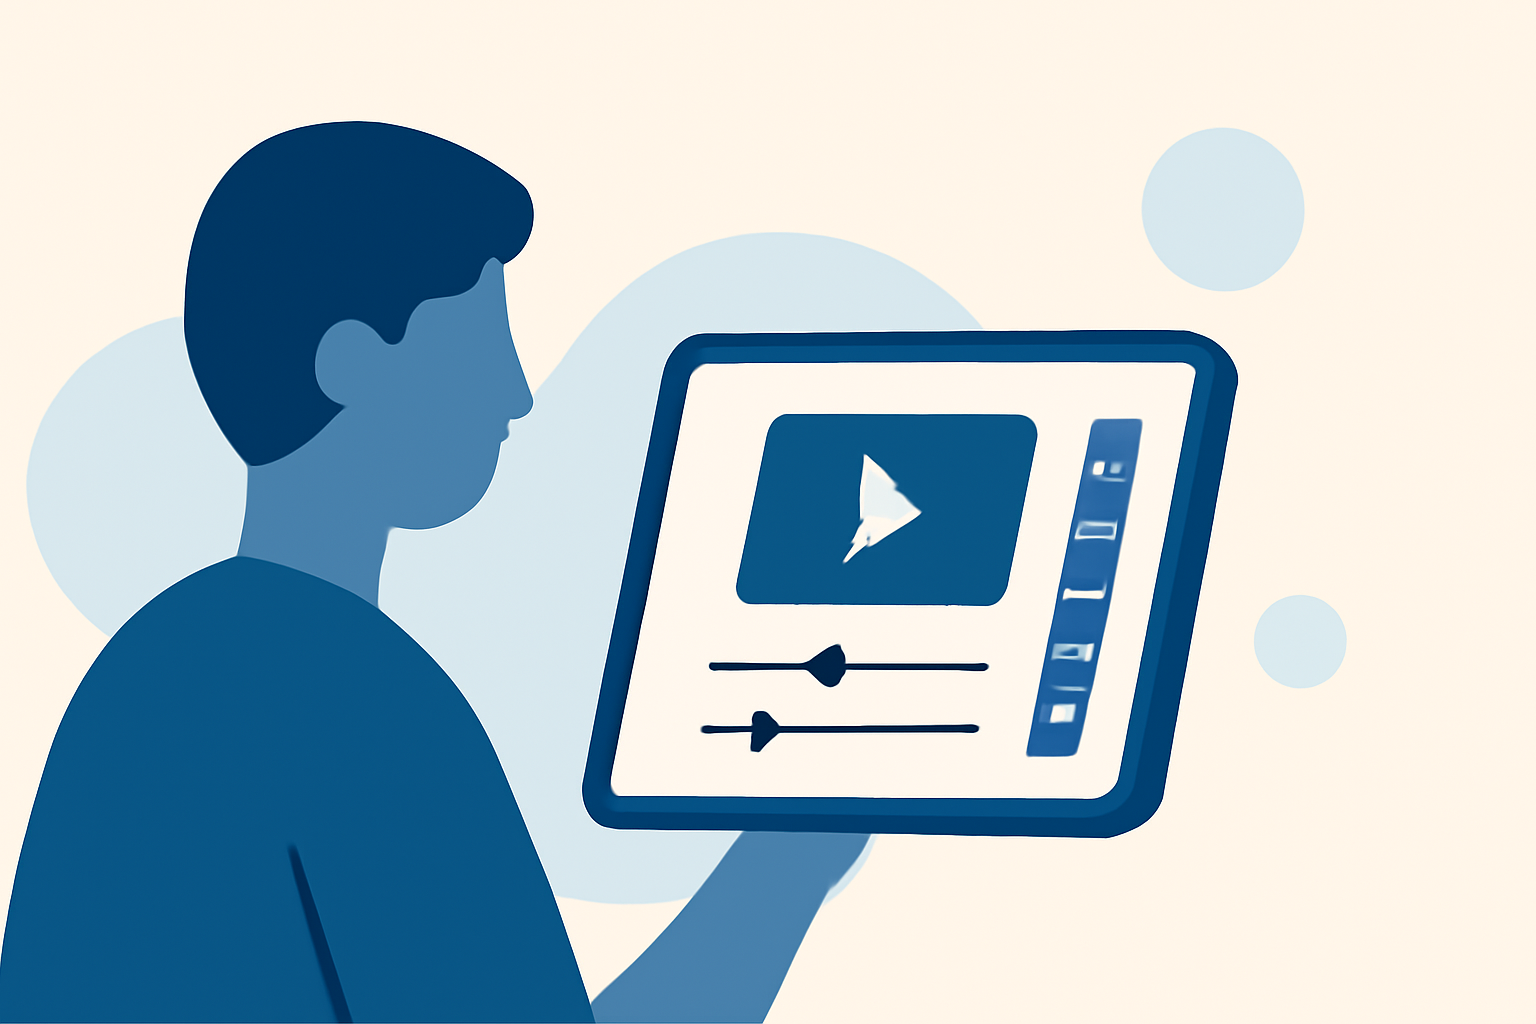
To start editing on your iPad, choose a video editing app that is both powerful and easy to navigate. A great option is a mobile app designed specifically for video editing, which allows you to trim, add effects, and make adjustments seamlessly.
Step 1: Source Your Arrival Footage
Begin by compiling all your arrival footage. Use your iPad's native camera app or any mobile camera app to capture high-quality videos. Ensure you shoot in well-lit conditions for the best results. Import these clips into your chosen video editing tool for b-roll editing.
Step 2: Using an Editing App
Once your footage is imported, select an app with features tailored for mobile video editing. For example, you can use an app that offers trimming, transitions, and effects. Import your footage and begin by organizing your clips on the timeline.
Step 3: Integrating Flight Data with Planes Live
To make your video more engaging, consider integrating live flight-tracking data. Planes Live is an excellent tool for this. It offers real-time flight information that you can overlay onto your video. This provides viewers with context, such as the flight number, origin, and destination.
Here’s how to do it:
- Download Planes Live from the App Store and set up a flight notification for your arrival flights.
- During your edit, capture snippets of the flight data.
- Overlay this information onto your b-roll footage using your editing app’s text tool. This adds valuable information and keeps your audience informed.
Step 4: Finalizing Your Edit
Once you’ve integrated all your elements, it’s time to refine your edit. Look for sections that can be trimmed or enhanced with transitions. Make sure your audio levels are balanced and consider adding background music to set the tone for your journey.
Step 5: Exporting Your Video
When satisfied with your final product, export the video in a suitable format for your audience. Most mobile editing apps allow you to export directly to social media or save it to your device. Choose a high-resolution format, especially if you plan to share it online, to ensure your visuals are crisp and clear.
What We Recommend
- For editing: Use a mobile editor that suits your needs for simplicity and functionality.
- For flight data: Use Planes Live for reliable and up-to-date flight information that you can incorporate into your edits.
- For visual appeal: Make use of overlays and text to integrate flight data engagingly.
- For sharing: Always choose high-quality exports to share your b-roll seamlessly.
By following these steps, you can create captivating b-roll videos that not only showcase your travel experience but also offer real-time context with live flight data. Happy editing!