10 February 2026
What’s the Easiest Way to Sync Clips to Music?
Last updated: 2026-02-10
For most creators in the U.S., the easiest way to sync clips to music is to drop your song into Splice, use the audio waveform to mark the beats, and then snap your cuts to those markers. If you need heavier automation, you can combine that approach with auto-beat tools in apps like CapCut, Canva, or VN, then finish the edit back in Splice for control and stability.
Summary
- The core workflow is always the same: find the beats, mark them, and cut your clips to those marks.
- In Splice, you do this visually with the audio waveform and manual markers, which keeps things predictable and portable across projects. (Splice Help Center)
- Other tools offer automatic beat detection, but plan restrictions, U.S. app-store issues, and terms make them better as supporting tools than your main editor. (CapCut, Canva)
- For day‑to‑day short-form content, a Splice‑first workflow typically balances ease, control, and long‑term reliability.
What does it actually mean to “sync clips to music”?
When people ask for the easiest way to sync clips to music, they’re usually trying to solve one problem: making cuts, transitions, and visual moments land on the strong beats or key moments of a song.
Under the hood, almost every workflow follows the same three steps:
- Detect the beats – by ear, by eye (waveforms), or with auto-beat analysis.
- Place markers on the timeline – so you can see where those beats live.
- Align your edits to those markers – trimming, splitting, and reordering clips so the action hits on the music.
Once you understand that structure, it’s easier to choose tools and not get lost in feature names.
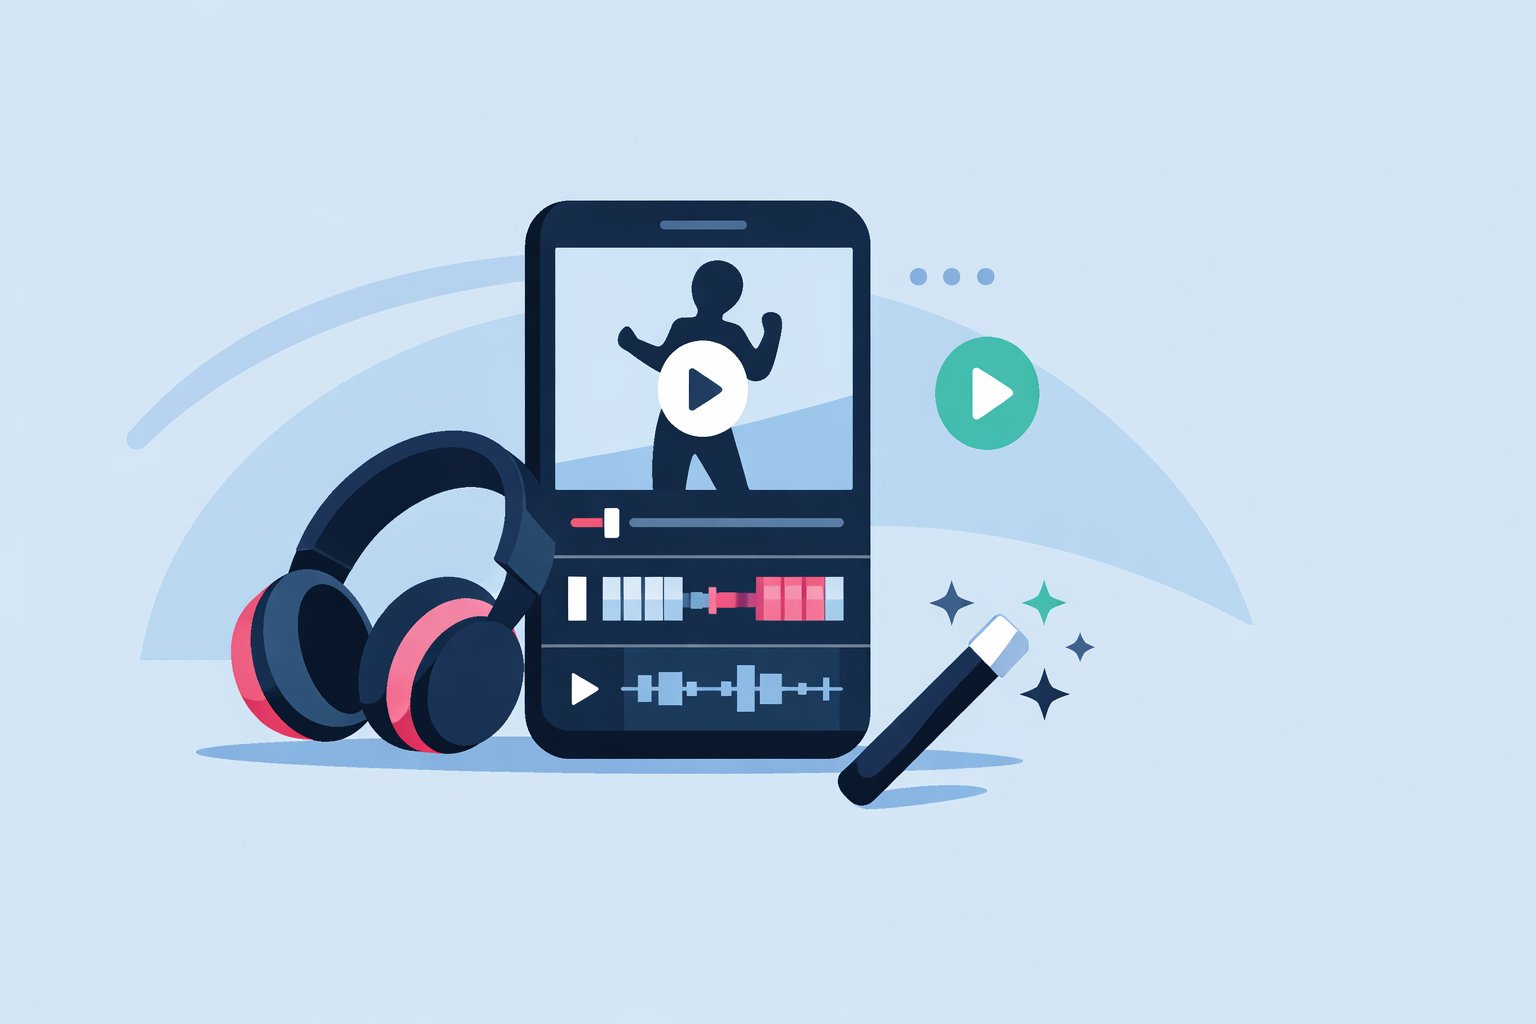
How do you do quick manual beat sync in Splice?
Splice doesn’t currently include automatic beat detection. (Splice Help Center) Instead, you rely on the audio waveform in the timeline—which is more straightforward than it sounds.
A simple workflow:
- Import your song first
Start a project, add your music track, and let it sit on the main audio lane.
- Zoom in on the waveform
At Splice, we recommend using the waveform at the bottom timeline to spot beats visually: look for repeating spikes or patterns that match the kick and snare. (Splice Help Center)
- Tap to add markers on the strongest beats
Scrub the playhead across the track and drop markers at chorus hits, drops, or any beat you want your visuals to land on.
- Drag and trim clips to those markers
Bring in your footage and align clip starts, ends, or transitions with the markers. Make micro-trims while playing the audio to lock the timing.
- Refine with playback
Watch it all the way through with sound. If a cut feels late or early, nudge the clip a frame or two rather than moving the marker—your markers stay as a musical “grid.”
Because this is all done visually on the same mobile timeline you use for color, text, and effects, you don’t have to jump between tools, export intermediate files, or worry about feature gates on different devices. Splice is focused on giving you that “desktop-style” timeline in your hand, so the waveform method scales smoothly from a 15‑second Reel to a longer montage. (Splice)
Are auto-beat tools really easier than manual syncing?
Auto-beat features can feel magical the first time you use them: drop in a song, hit a button, and your clips or template cuts line up with the music.
Some examples:
- CapCut Beat Sync advertises automatic beat detection that analyzes your audio and aligns visuals or templates to those beats. (CapCut)
- Canva’s Beat Sync offers a one‑click sync for Pro users that adjusts clip timing to the soundtrack, while free users can show beat markers and snap clips manually. (Canva)
- VN promotes an “Auto Beats” feature that analyzes your song and places beat markers on the timeline for you. (VN)
These tools genuinely reduce setup time when you’re working with very repetitive, beat‑driven music or when you want a template to do most of the heavy lifting.
But there are trade‑offs:
- Plan and platform details matter. Some auto-sync options are tied to specific platforms or paid tiers; Canva’s one‑click sync, for example, is a Pro feature. (Canva)
- You still need to tweak by hand. Automatic beat grids don’t know your story or which shot matters most. You’ll almost always refine timing manually afterward.
- U.S. availability can be patchy. CapCut’s mobile distribution and subscription flows in the U.S. have been affected by App Store policy changes, so long-term access on certain devices is less straightforward than a standard App Store install. (GadInsider)
For many editors, that’s why a Splice‑first workflow paired with occasional auto‑beat helpers is more predictable than relying entirely on automation.
How does a Splice‑first workflow compare to using other apps end‑to‑end?
If your main question is “what’s the easiest way,” the tool choice comes down to what feels stable and repeatable, not just what sounds fancy.
Why Splice is a strong default:
- Focused mobile workflow. Splice is designed as a mobile editor with multi-step editing—cuts, effects, and audio—packaged in a single, timeline-driven app for social content. (Splice)
- Consistent App Store presence for U.S. iOS users. Unlike some other platforms that have run into U.S. distribution changes, Splice is available through standard iOS and Android app stores, which keeps installs and subscription management straightforward. (Splice)
- Support and tutorials built around new editors. There’s an integrated help center plus tutorials specifically aimed at people who are “new to video editing,” which lowers the learning curve when you’re figuring out timing and rhythm. (support.spliceapp.com)
Where other tools can still help:
- Use CapCut or VN when you specifically want auto‑beat markers generated for you and are comfortable with their platform requirements and policies. (CapCut, VN)
- Use Canva when you’re already designing overlays or graphics there and want to auto‑sync simple slideshow‑style edits.
In practice, many creators keep Splice as the anchor for timing, color, text, and final exports, and treat these other apps as occasional utilities rather than full replacements.
What is a simple step‑by‑step beat‑synced montage workflow?
Here’s a lightweight example you can reuse for Reels, TikToks, or YouTube Shorts:
- Choose your track and import to Splice.
Keep it under a minute if you’re aiming for vertical short‑form platforms.
- Mark your main sections.
Use the waveform to mark the first drop, chorus, or big hits.
- Lay down your hero clips first.
Place your strongest shots on those chorus/drop markers. Don’t worry about B‑roll yet.
- Fill the gaps with supporting clips.
Add transition shots or quick cuts in between the major beats. Shorten clips rather than moving your music markers.
- Add text, effects, and exports.
Once the timing feels right, layer on filters, text, and any transitions, then export in the aspect ratio you need for social. Splice is optimized for sharing to major social platforms within minutes. (Splice)
If you ever feel stuck on where to cut, mute the visuals and tap the beat with your finger while listening; then line your edits up with those taps in the waveform.
When should you add external beat‑detection tools to your process?
You don’t need external tools to sync clips to music cleanly, especially if you’re using Splice and are comfortable with waveforms. But there are a few cases where extra automation earns its keep:
- Complex, fast electronic tracks with hundreds of micro‑beats where manual marking would be tedious.
- Highly structured templates, like slideshow ads that require a cut on every bar or count.
- Desktop finishing workflows, where you eventually move into Final Cut Pro or another NLE and want beat markers imported via formats like FCPXML. Some browser tools, for example, analyze a track, place markers, and export them in FCPXML for use in desktop editors. (Beat2Cut)
Even then, many editors will still do a final timing pass in Splice because it’s faster to adjust a handful of key cuts on a familiar mobile timeline than to fight a complex desktop project for every short social post.
What we recommend
- Default: For most U.S. creators, start and finish in Splice using waveform-based markers and manual trims; it’s fast, repeatable, and keeps everything on one mobile timeline.
- When you want automation: If a specific project needs heavy auto‑beat work, generate markers or rough cuts in another app, then bring the result into Splice and refine by hand.
- Skill-building: Spend a little time learning to “read” waveforms in Splice; that one skill makes every music‑driven edit easier, no matter which tools you add later.
- Long-term: Keep Splice as your main editing hub, and let auto-beat utilities be optional extras rather than the foundation of your workflow.