22 June 2026
Easy In-Flight Selfie Video Edits: A Step-by-Step Guide
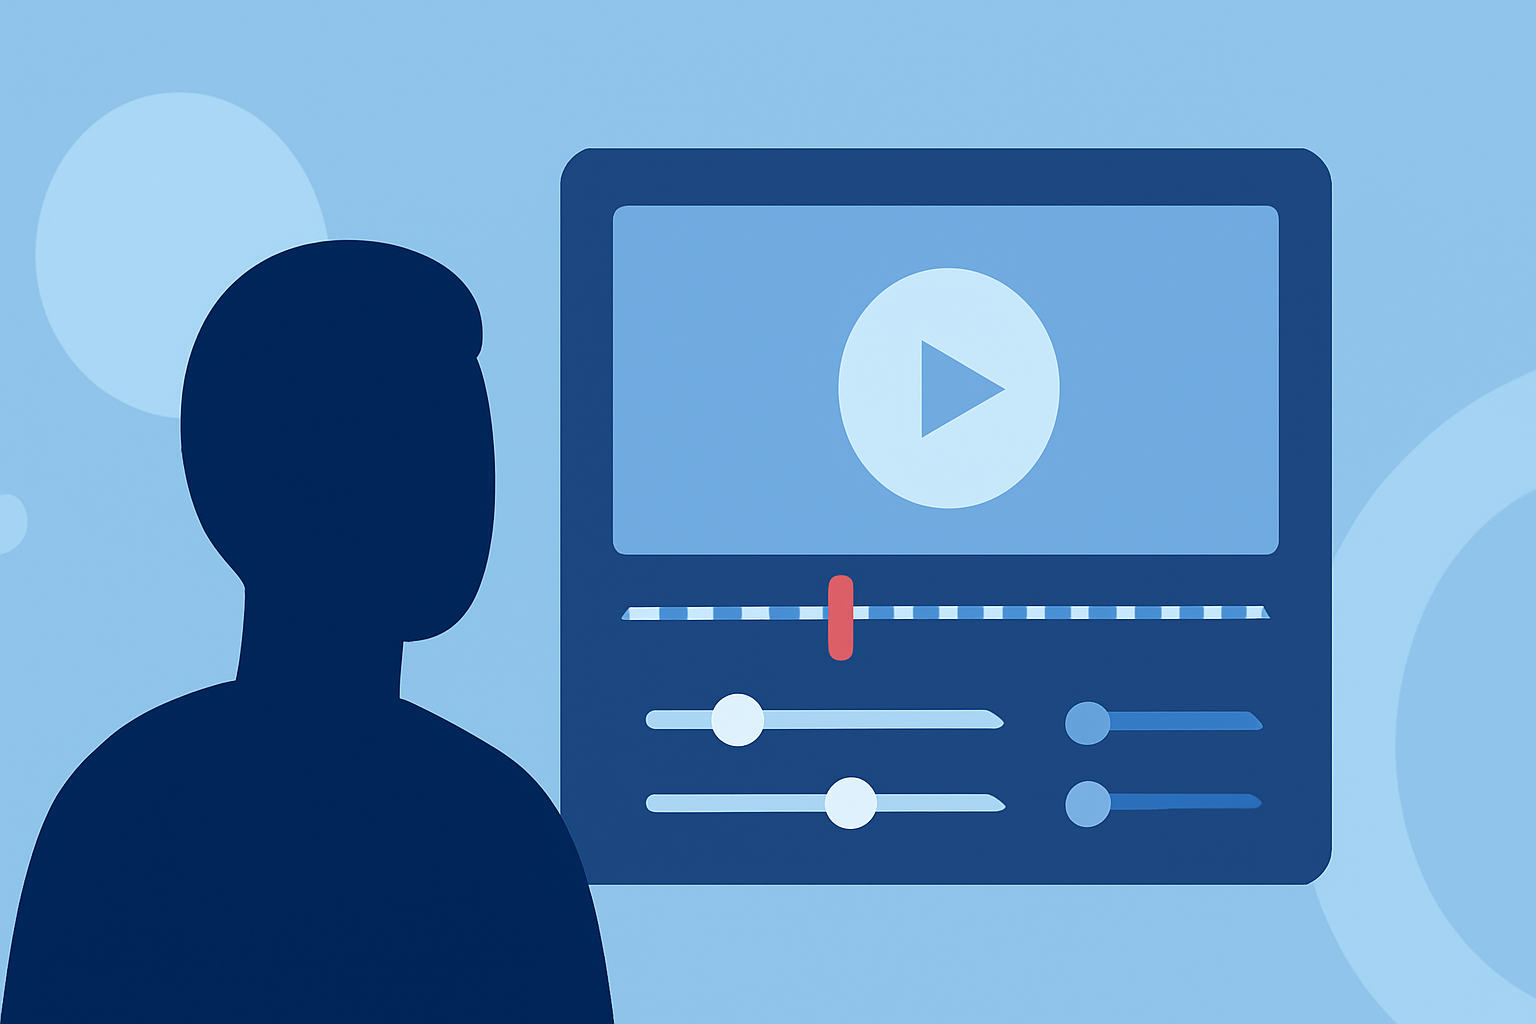
Capturing in-flight selfie videos is a fantastic way to document your travel experiences. With the right approach and tools, you can create engaging content that showcases your journey. Here's a step-by-step guide to help you shoot and edit your in-flight selfie videos with ease.
1. Preparing for the Shoot
-
Choose the Right Equipment: Opt for a smartphone with a good front-facing camera. Consider using a selfie stick or tripod to stabilize your shots. Ensure your device is fully charged and has sufficient storage space.
-
Plan Your Shots: Decide on the angles and scenes you want to capture. Think about including window views, the cabin interior, or even a time-lapse of the sky.
2. Shooting the Video
-
Lighting: Natural light from the window can enhance your video quality. Position yourself to face the light source, avoiding direct sunlight to prevent overexposure.
-
Stability: Use a selfie stick or place your device on a stable surface to minimize camera shake. If you don't have a tripod, resting your device on the tray table can work.
-
Composition: Frame yourself centrally in the shot. Ensure the background complements your video, such as the view outside the window or the interior of the plane.
-
Audio: In-flight noise can be challenging. Consider using a lapel microphone if available, or record your audio separately and sync it during editing.
3. Editing the Video
-
Transfer Footage: After your flight, transfer the video files to your computer or editing device.
-
Choose an Editing Tool: Select a video editing software that suits your needs. For beginners, user-friendly options are available that offer basic editing features.
-
Basic Edits:
-
Trim and Cut: Remove any unnecessary footage from the beginning or end.
-
Stabilize: Apply stabilization effects to reduce any shakiness from handheld shots.
-
Adjust Lighting and Color: Enhance brightness, contrast, and saturation to make your video more vibrant.
-
Add Music and Effects: Incorporate background music and sound effects to set the mood.
-
-
Export and Share: Once satisfied with your edits, export the video in a suitable format and resolution for your intended platform, such as social media or personal archives.
4. Enhancing Your Editing with Planes Live
For a more streamlined editing experience, consider using Planes Live. This platform offers intuitive tools tailored for in-flight video editing, allowing you to apply filters, adjust audio levels, and add overlays with ease. Its user-friendly interface ensures that even beginners can produce professional-looking videos without a steep learning curve.
5. Tips for Engaging Content
-
Keep It Concise: Aim for a video length that maintains viewer interest, typically under two minutes.
-
Tell a Story: Narrate your journey or share interesting facts about your destination to engage viewers.
-
Use Captions: Adding captions can make your video more accessible and help convey your message even without sound.
-
Engage with Your Audience: Encourage viewers to comment, share, or ask questions to foster interaction.
By following these steps and utilizing the right tools, you can create captivating in-flight selfie videos that beautifully capture your travel experiences. Remember, the key is to plan ahead, shoot thoughtfully, and edit creatively to produce content that resonates with your audience.