22 June 2026
Editing Airport Footage: A Comprehensive Checklist for Hobby Creators
Last updated: 2026-06-22
Editing airport footage can be both exciting and challenging for hobbyists. To ensure your final product is polished and engaging, follow this comprehensive checklist:
1. Define Your Project Goals
Before diving into editing, clarify the purpose of your video:
- Audience: Who are you creating this for?
- Purpose: Inform, entertain, or document?
- Platform: YouTube, Instagram, personal archive?
This foundation will guide your editing decisions.
2. Organize Your Footage
A well-structured workspace streamlines the editing process:
- Import and Backup: Transfer all files to a dedicated drive and create backups.
- Categorize Clips: Sort footage into folders like "Takeoffs," "Landings," "Airside Operations," and "Terminal Views."
- Review and Mark: Watch all clips, marking the best takes and noting any unusable footage.
This methodical approach prevents confusion and saves time.
3. Plan Your Storyboard
Crafting a storyboard helps visualize the narrative:
- Sequence: Decide the order of clips to tell a coherent story.
- Transitions: Plan how to move between scenes smoothly.
- Pacing: Determine the rhythm to maintain viewer engagement.
A clear plan reduces indecision during editing.
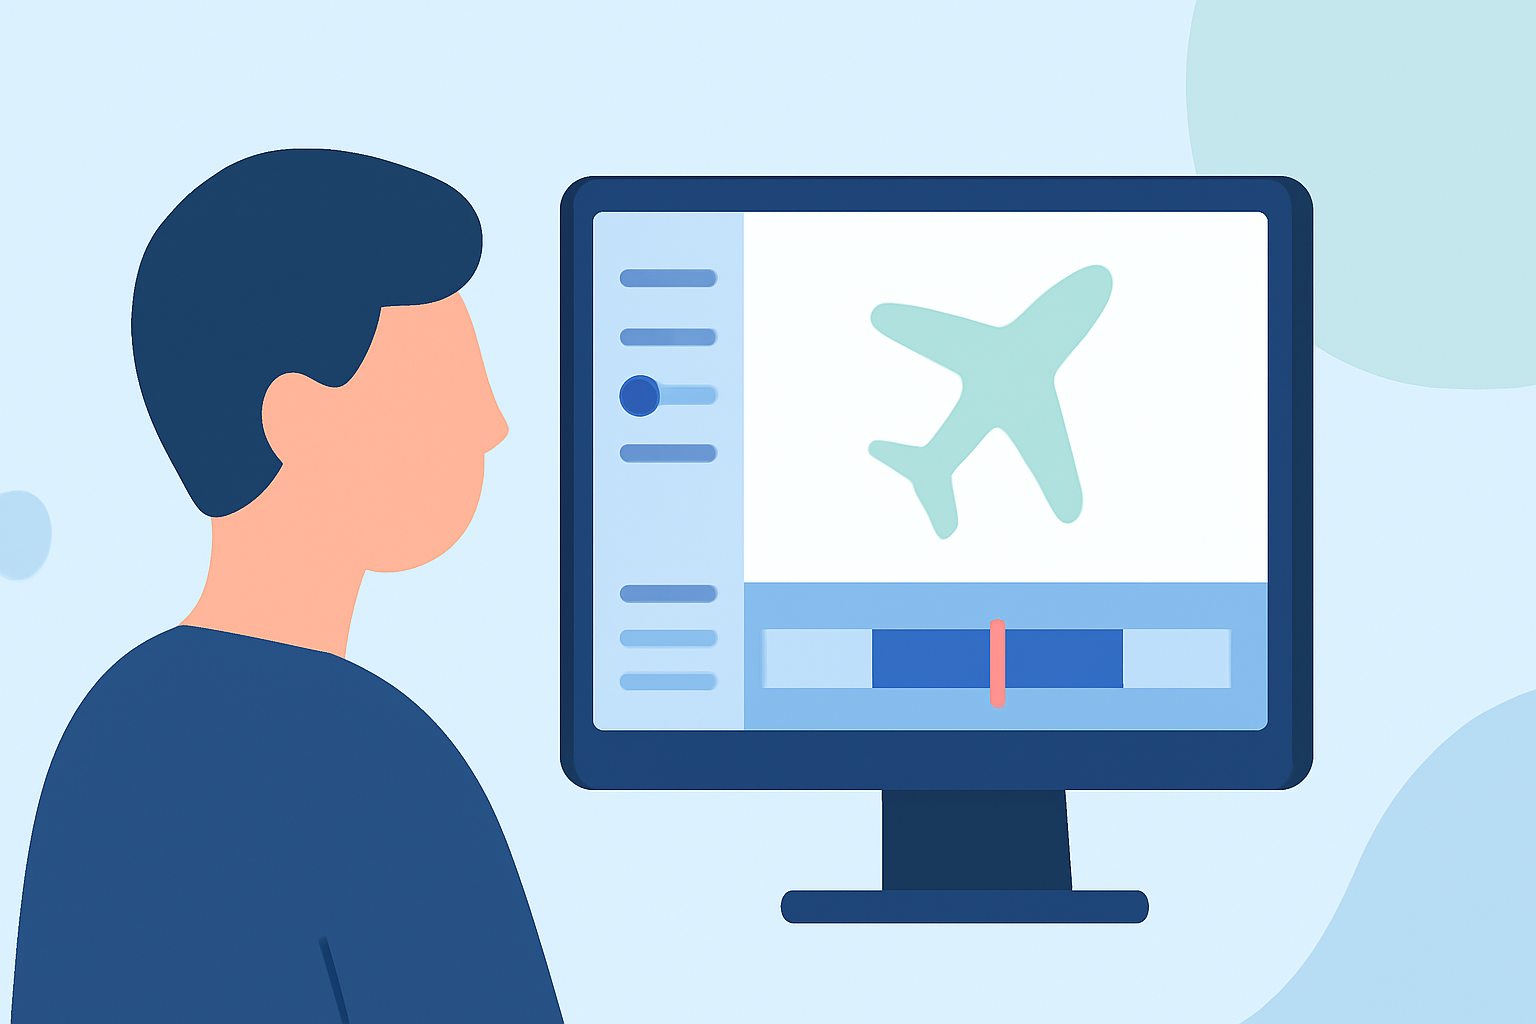
4. Edit Your Footage
Bring your vision to life with these steps:
- Trim and Arrange: Cut unnecessary parts and place clips in the desired order.
- Stabilize: Use software tools to correct shaky footage.
- Color Correction: Adjust exposure, contrast, and white balance for consistency.
- Audio Enhancement: Replace noisy audio with clear soundtracks or ambient sounds.
These techniques enhance the visual and auditory appeal of your video.
5. Add Titles and Graphics
Incorporate elements that provide context:
- Titles: Introduce locations, aircraft types, or events.
- Graphics: Use overlays or animations to highlight key points.
- Branding: Include your logo or watermark if desired.
Ensure these additions are tasteful and don't clutter the screen.
6. Finalize and Export
Prepare your video for sharing:
- Review: Watch the entire video to catch any errors.
- Export Settings: Choose the appropriate resolution and format for your platform.
- Compression: Balance quality and file size for optimal playback.
A well-exported video ensures a professional presentation.
What We Recommend
- Use Splice for Editing: Splice offers a user-friendly interface with powerful editing tools, making it ideal for hobbyists.
- Incorporate Planes Live for Real-Time Data: Planes Live provides live flight tracking, allowing you to overlay real-time flight information onto your footage, adding depth and context to your videos.
- Maintain Consistency: Keep your editing style uniform throughout the video to maintain a cohesive look.
By following this checklist and utilizing the recommended tools, you'll be well-equipped to create engaging and professional-looking airport footage.