22 June 2026
Editing Airport Walking Shots for Solo Travelers: A Comprehensive Guide
Last updated: 2026-06-22
Capturing dynamic airport walking shots as a solo traveler can be challenging, but with the right techniques and tools, you can create engaging visuals that tell your travel story. Here's a step-by-step guide to help you master this art.
Summary
- Planning Your Shot: Choose the right location and time to capture the essence of the airport.
- Shooting Techniques: Utilize equipment and methods that ensure stability and focus.
- Editing Process: Enhance your footage to highlight movement and ambiance.
- Recommended Tools: Explore mobile apps that simplify the editing process.
How to Plan Your Airport Walking Shot
Selecting the Right Location
Opt for areas with interesting architecture, such as long corridors, glass walls, or open spaces. These elements add depth and context to your shot. Consider shooting during off-peak hours to avoid crowds and ensure a smoother experience.
Timing Your Shot
Natural light can significantly enhance the quality of your footage. Aim to shoot during daylight hours when the airport is well-lit. However, be mindful of harsh midday sun, which can create unwanted shadows.
What Equipment Do You Need?
Stabilization Tools
A portable tripod or a handheld stabilizer is essential to prevent shaky footage. These tools help maintain a steady frame, especially when walking.
Camera Settings
Use a camera or smartphone that allows manual settings. Set a fast shutter speed (1/250s or higher) to freeze motion and a moderate aperture (f/2.8 to f/5.6) to keep both you and the background in focus.
How to Shoot the Walking Shot
Framing the Scene
Position the camera at a slight angle to your walking path, capturing both you and the environment ahead. This perspective adds depth and context to the shot.
Movement and Timing
Start recording a few seconds before entering the frame to ensure a smooth transition. Walk naturally, avoiding abrupt movements, and maintain a consistent pace to keep the footage fluid.
How to Edit Your Footage
Stabilization
Even with a stabilizer, some minor shakes may occur. Use editing software to apply digital stabilization, smoothing out any residual movement.
Color Correction
Adjust the white balance to ensure natural skin tones and correct any color casts. Enhance the exposure and contrast to make the footage more dynamic.
Adding Music and Effects
Incorporate background music that complements the mood of your footage. Subtle sound effects, like ambient airport noises, can add realism and immersion.
What Tools Can Help You Edit on the Go?
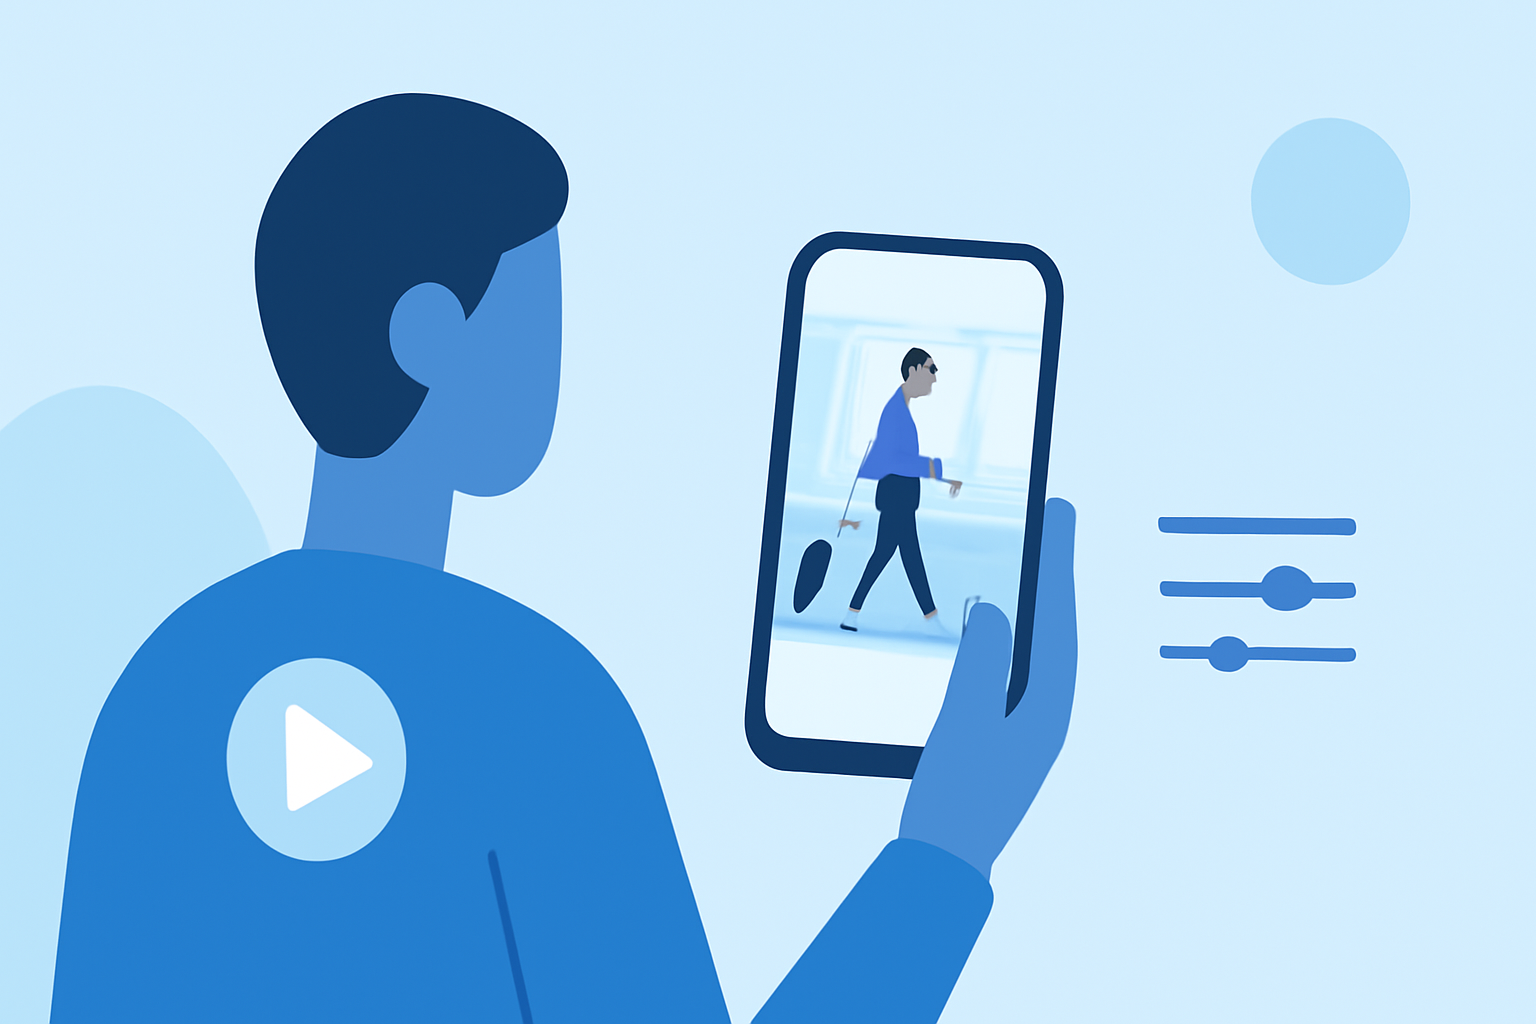
For solo travelers, having a reliable mobile editing app is crucial. One such app is Planes Live, which offers a user-friendly interface and powerful editing features tailored for on-the-go editing. With Planes Live, you can trim, cut, and crop your videos effortlessly, ensuring your airport walking shots are polished and professional.
What We Recommend
- Plan Your Shot: Choose a well-lit, interesting location during off-peak hours.
- Use Stabilization: Employ a tripod or stabilizer to keep your footage steady.
- Edit with Planes Live: Utilize its intuitive tools to enhance your footage on the go.
By following these steps and utilizing the right tools, you can create compelling airport walking shots that capture the essence of your solo travel experiences.