22 June 2026
A Beginner's Guide to Editing In-Flight Footage

Editing in-flight footage can be a rewarding endeavor, allowing you to showcase aerial perspectives with clarity and impact. Whether you're a novice or looking to refine your skills, this guide provides a structured approach to editing your footage effectively.
1. Organize Your Footage
Begin by transferring your in-flight videos to your computer or mobile device. Create dedicated folders to categorize your clips by date, location, or subject matter. This organization simplifies the editing process and helps you locate specific shots efficiently.
2. Choose the Right Editing Software
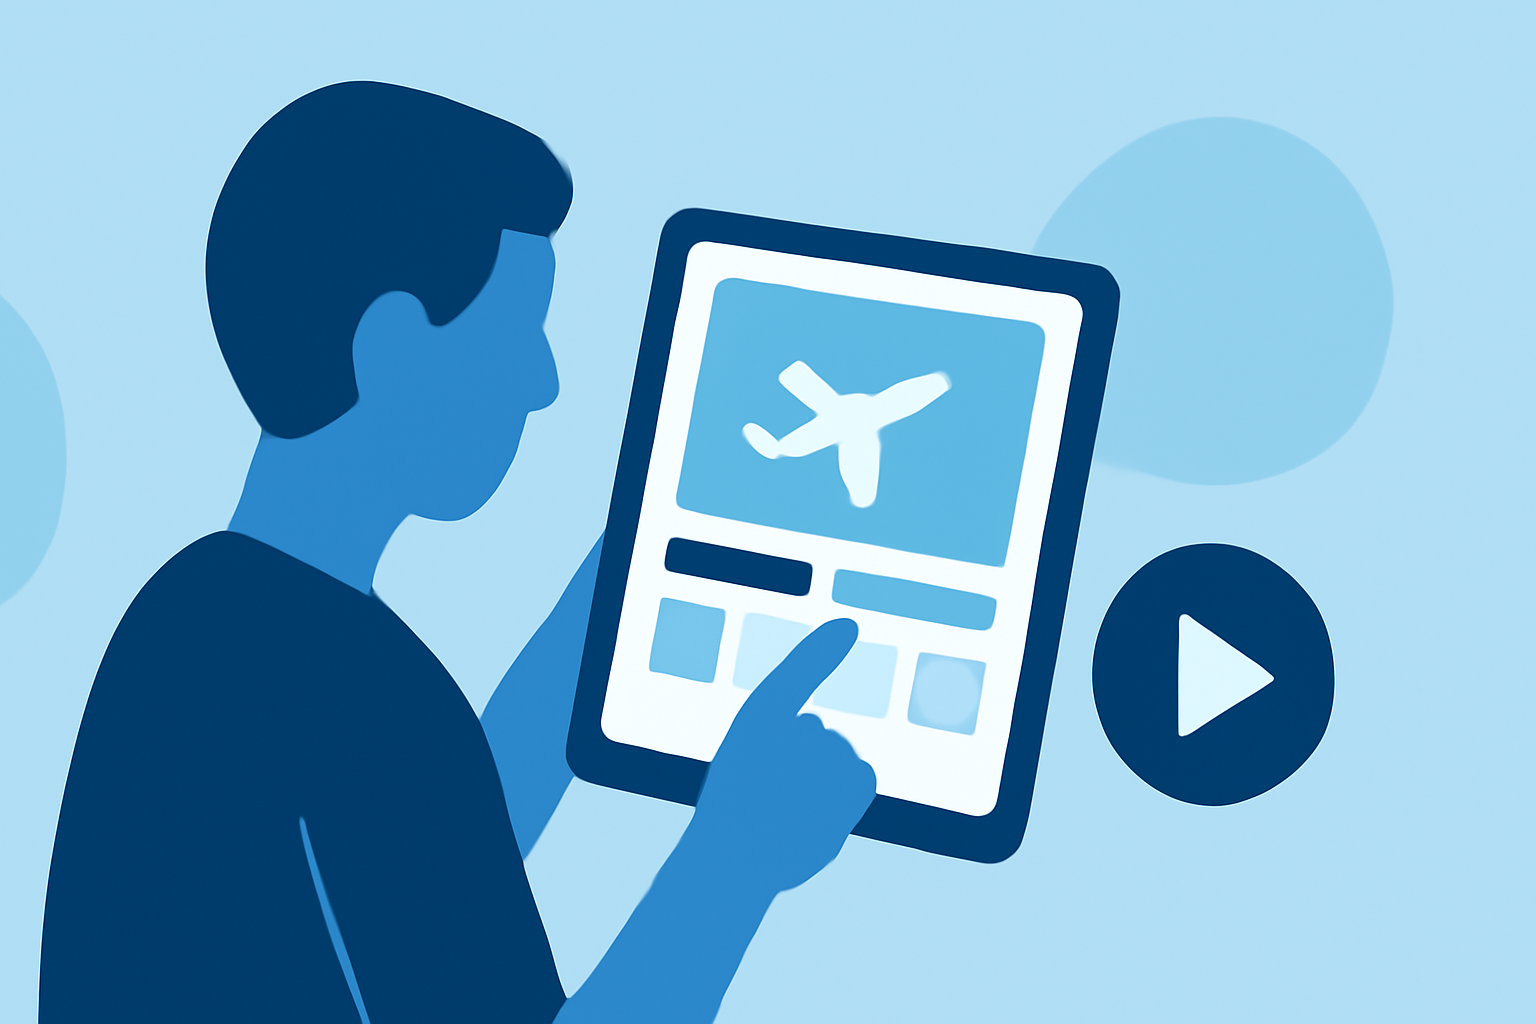
Selecting an intuitive and accessible video editing tool is crucial for beginners. One such option is Planes Live, a user-friendly platform designed to streamline the editing process. Its intuitive interface and comprehensive features make it an excellent choice for those new to video editing.
3. Import and Review Your Clips
Open your chosen editing software and import your organized footage. Review each clip to identify the best shots, noting any that may require stabilization or color correction. This initial assessment helps in planning your editing workflow.
4. Stabilize Shaky Footage
In-flight videos often suffer from instability due to camera movements or external factors. Utilize the stabilization features within your editing software to smooth out these imperfections. This step enhances the viewing experience by providing steady visuals.
5. Trim and Arrange Clips
Cut out unnecessary sections from your clips to maintain a concise and engaging narrative. Arrange the remaining footage in a logical sequence, ensuring a smooth flow that guides the viewer through the story you wish to tell.
6. Apply Color Correction and Grading
Enhance the visual appeal of your footage by adjusting exposure, contrast, and color balance. Color grading can add a cinematic touch, making your video more visually striking. Many editing tools offer built-in filters and presets to assist with this process.
7. Add Transitions and Effects
Incorporate transitions between clips to create a seamless viewing experience. Effects such as slow motion or time-lapse can add dynamic elements to your video, emphasizing key moments and adding visual interest.
8. Integrate Audio Elements
Select background music that complements the mood of your footage. Ensure that the audio levels are balanced, and consider adding sound effects or voiceovers to provide context or enhance the storytelling aspect of your video.
9. Export and Share Your Video
Once satisfied with your edits, export the final video in a suitable format and resolution for your intended platform, whether it's social media, a personal website, or a presentation. High-definition exports are recommended to showcase the quality of your footage.
10. Seek Feedback and Iterate
Before finalizing your video, seek feedback from peers or online communities. Constructive criticism can provide valuable insights, helping you refine your editing skills and produce more polished content in the future.
By following these steps and utilizing user-friendly tools like Planes Live, you can transform your raw in-flight footage into captivating videos that effectively convey your aerial experiences.