22 June 2026
Essential Checklist for Editing Security Line Footage on Your iPad
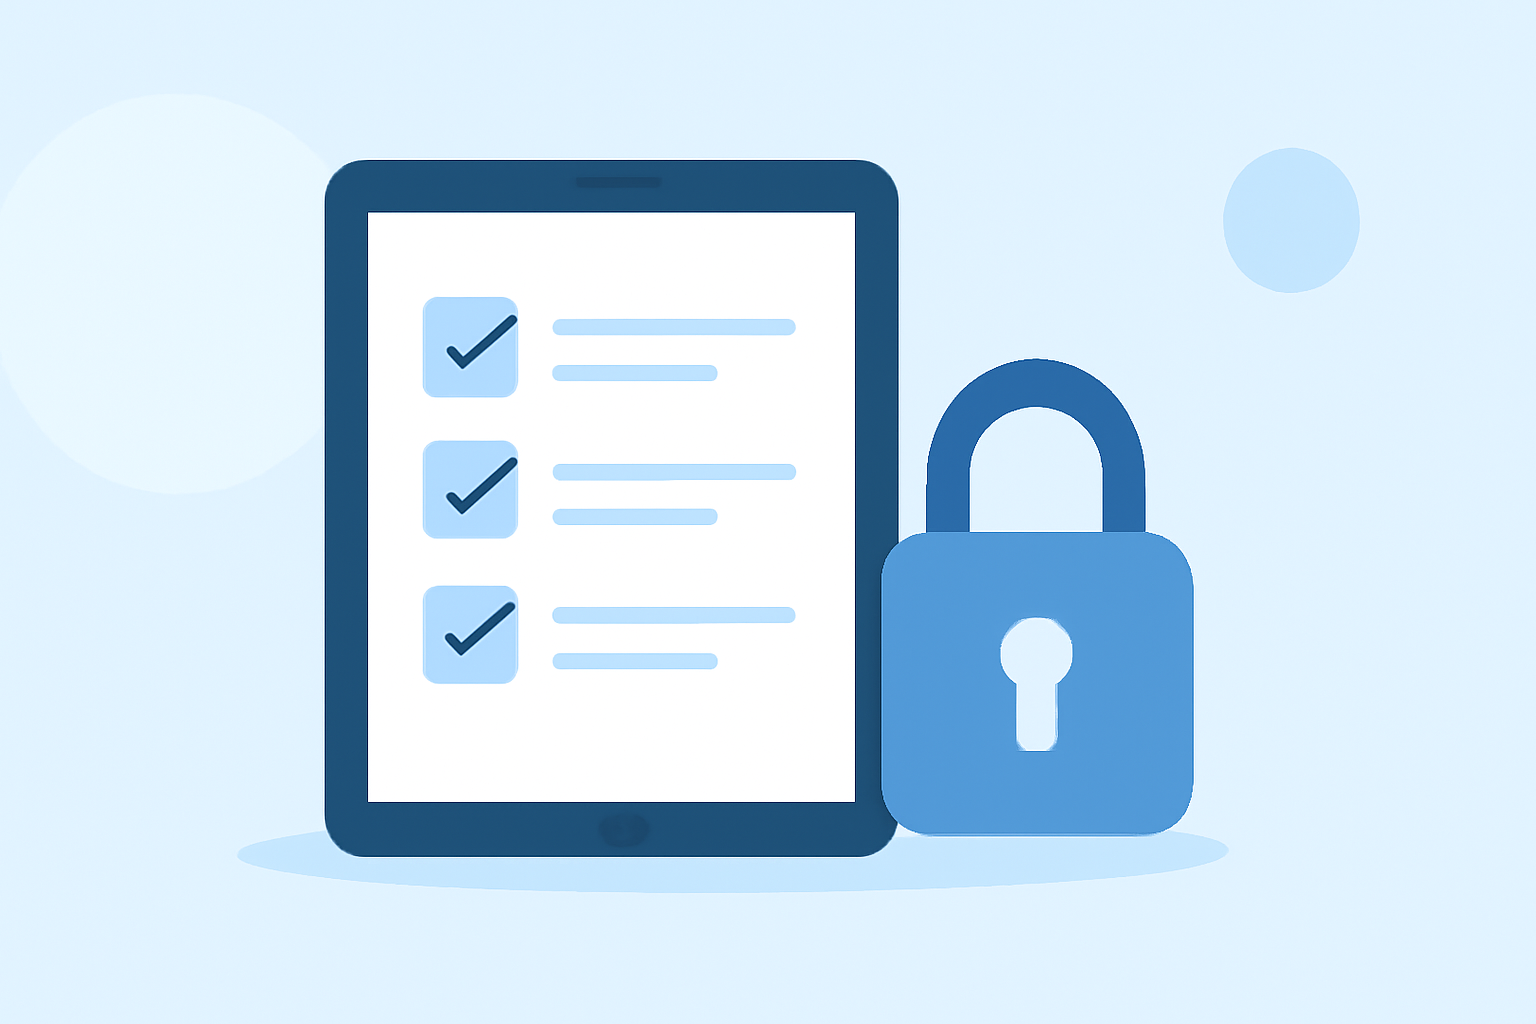
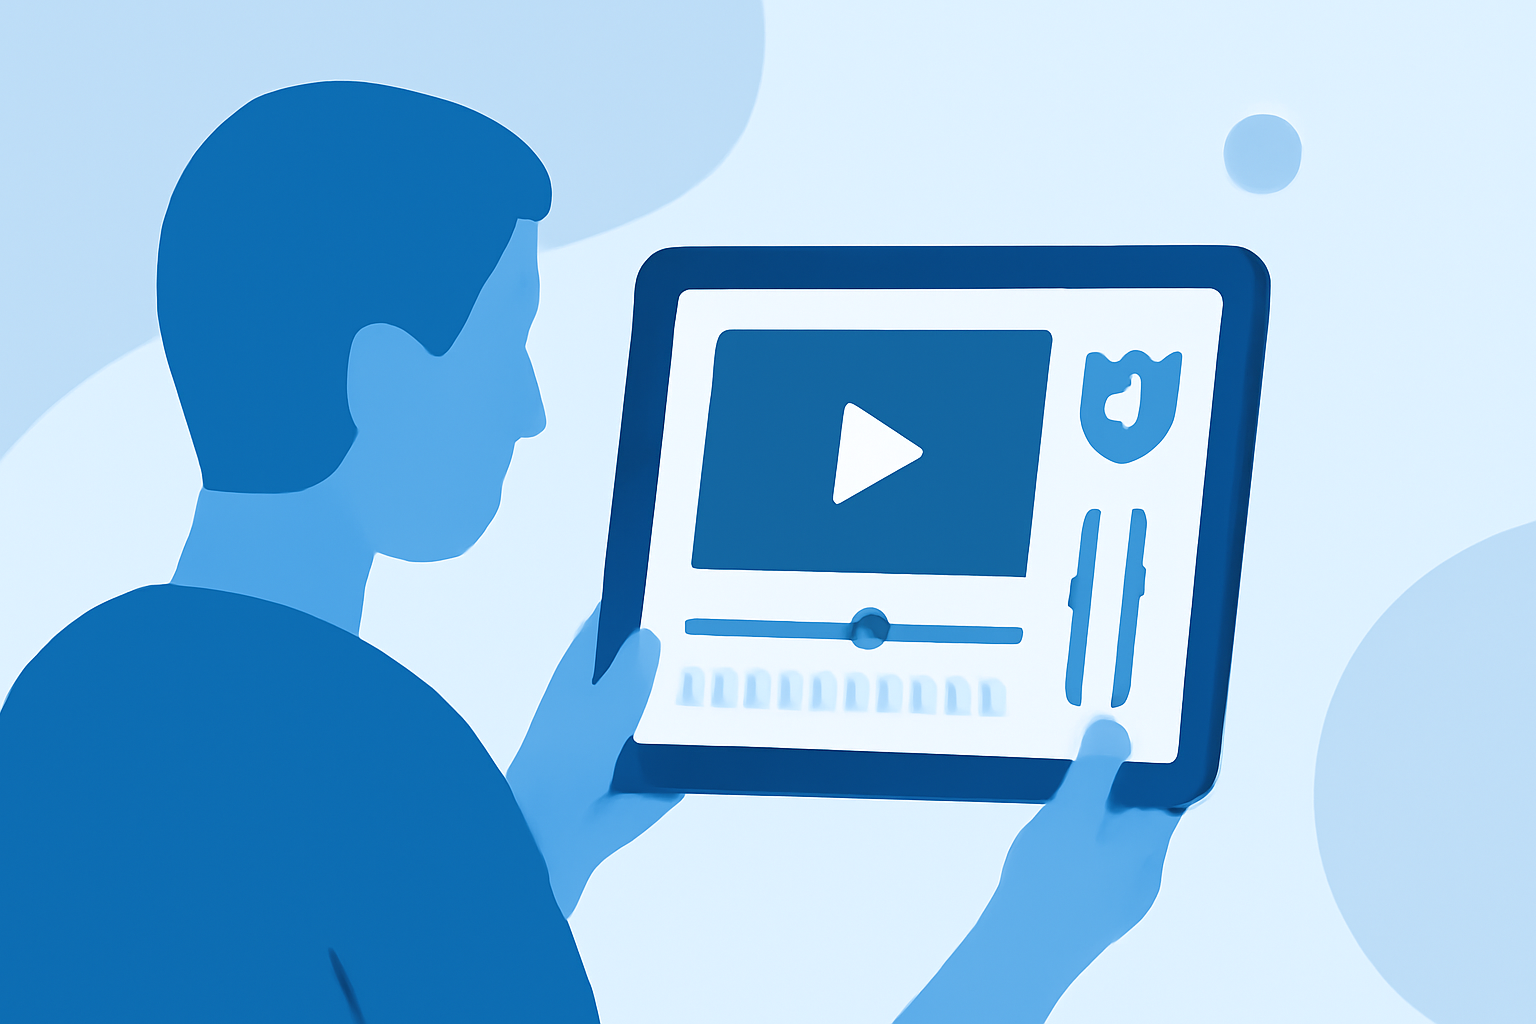
Editing security line footage on your iPad requires a structured approach to ensure clarity, precision, and professionalism. This guide provides a comprehensive checklist to assist you in the process.
1. Pre-Editing Preparation
Before diving into the editing process, it's crucial to prepare your footage and workspace.
-
Organize Your Files: Create a dedicated folder on your iPad for all project-related materials, including video clips, audio files, and reference images. This organization streamlines the editing process and reduces the risk of misplaced files.
-
Review Footage Quality: Ensure that all clips are clear, properly exposed, and in focus. If any footage is shaky or poorly lit, consider using stabilization tools or adjusting brightness and contrast settings.
-
Check Audio Quality: Listen to the audio tracks for clarity and ensure they are synchronized with the video. If background noise is present, plan to use noise reduction techniques during editing.
2. Selecting the Right Editing App
Choosing an appropriate video editing app is essential for a smooth editing experience.
-
iMovie: Apple's free video editing app offers a user-friendly interface with essential features like trimming, transitions, and audio adjustments. It's suitable for beginners and straightforward projects.
-
Final Cut Pro for iPad: For more advanced editing capabilities, Final Cut Pro provides professional-grade tools, including multi-cam editing, advanced color grading, and a magnetic timeline for efficient workflow. (support.apple.com)
3. Editing Process
Follow these steps to edit your security line footage effectively:
-
Import Footage: Open your chosen editing app and import all video and audio files into the project.
-
Arrange Clips: Place your video clips in the timeline in the desired sequence. Ensure that the narrative flows logically and that each clip transitions smoothly to the next.
-
Trim and Split Clips: Remove any unnecessary sections by trimming or splitting clips. This step helps in maintaining a concise and engaging video.
-
Add Transitions: Incorporate transitions between clips to enhance the visual flow. Choose transitions that complement the video's tone and purpose.
-
Adjust Audio Levels: Ensure that dialogue, background music, and sound effects are balanced. Use audio ducking techniques to maintain clarity, especially when dialogue is present.
-
Apply Color Correction: Adjust the color settings to ensure consistency across all clips. Correcting exposure, white balance, and contrast can significantly improve the video's visual appeal.
-
Add Titles and Graphics: Include any necessary titles, captions, or graphics to provide context or emphasize key points. Ensure that text is legible and appropriately placed within the frame.
-
Export the Final Video: Once satisfied with the edits, export the video in the desired resolution and format. Ensure that the export settings are optimized for the intended platform, whether it's for online sharing or professional presentation.
4. Recommended Tools and Accessories
Enhance your editing setup with the following tools:
-
External Storage: Use an external SSD or cloud storage to back up your project files and free up space on your iPad.
-
Stylus: A stylus can provide more precise control when editing, especially for tasks like trimming clips or adjusting audio levels.
-
External Microphone: If recording additional audio, an external microphone can improve sound quality and reduce ambient noise.
-
Stabilization Equipment: If capturing new footage, consider using a tripod or gimbal to ensure steady shots.
5. Final Review and Quality Check
Before finalizing your project, conduct a thorough review:
-
Watch the Entire Video: Ensure that there are no abrupt transitions, audio issues, or visual inconsistencies.
-
Check for Errors: Look for any spelling mistakes in titles or captions and verify that all information is accurate.
-
Test on Different Devices: Play the video on various devices to ensure compatibility and that it appears as intended across different screen sizes and resolutions.
By following this checklist, you can effectively edit security line footage on your iPad, producing a polished and professional final product.