22 June 2026
Essential Checklist for Editing Travel Vlogs Quickly and Effectively
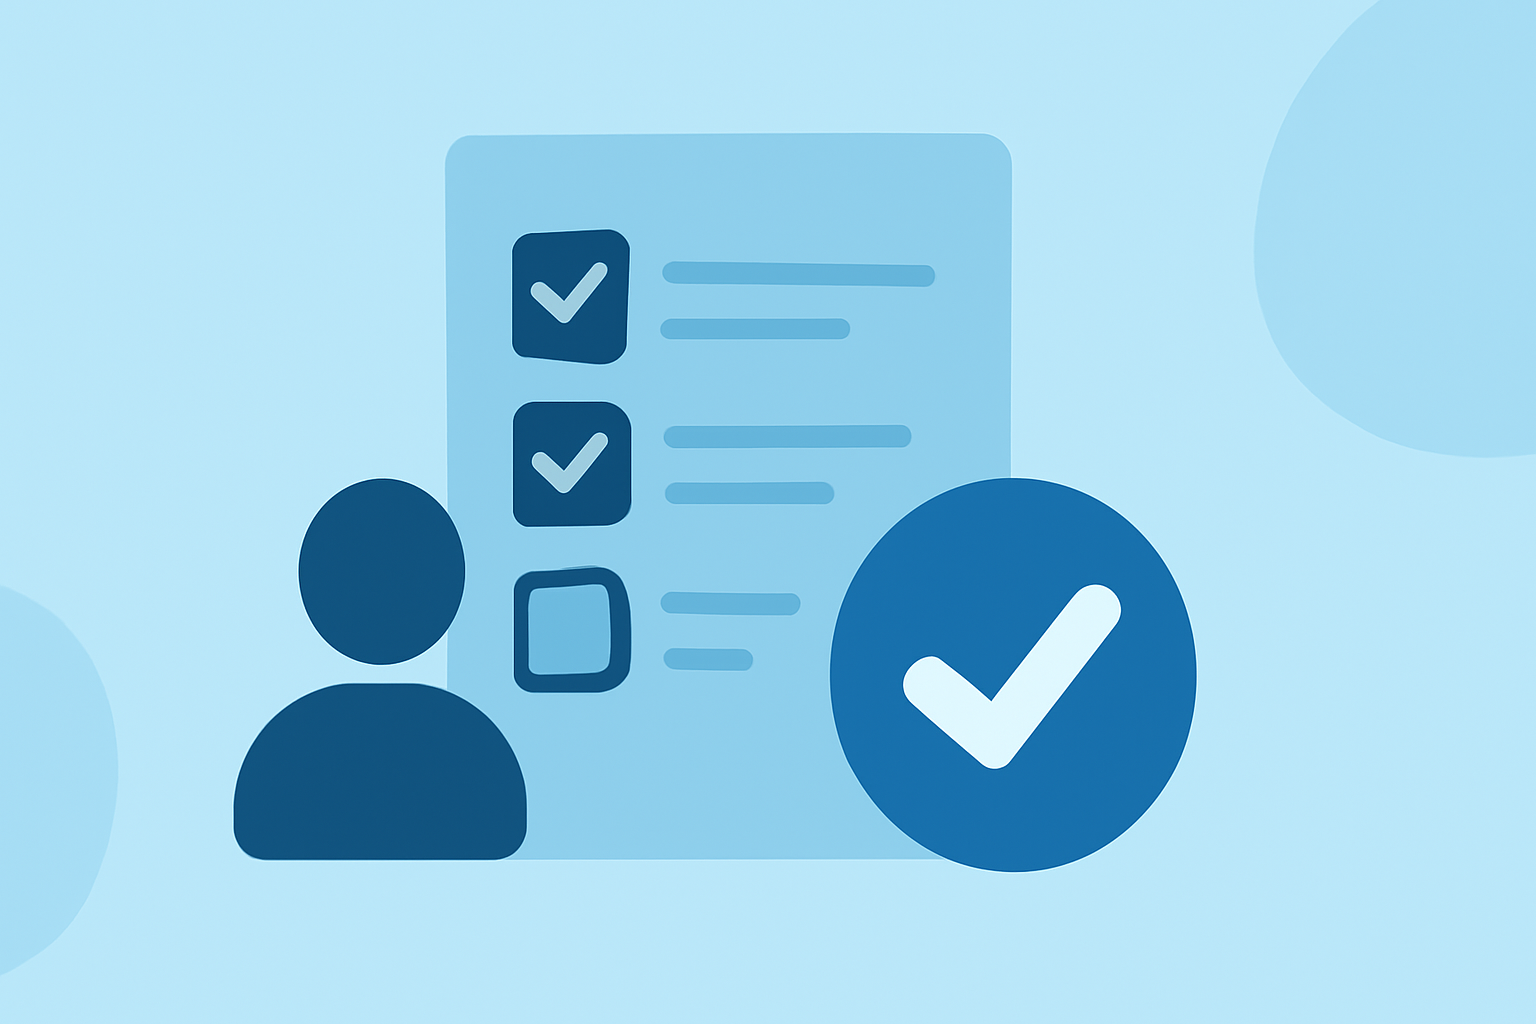
Creating engaging travel vlogs requires not only capturing captivating footage but also editing it efficiently. A well-structured editing process can significantly reduce the time spent on post-production while enhancing the quality of your videos. Here's a step-by-step checklist to help you edit your travel vlogs swiftly and effectively.
1. Organize Your Footage
Before diving into editing, sort your raw footage. Categorize clips by location, activity, or day to streamline the editing process. Renaming files descriptively (e.g., "Day1_Bali_Sunset") can further simplify this step. This organization ensures you can quickly locate and utilize the best shots. (quartzmountain.org)
2. Create a Rough Cut
Begin by assembling your clips in a timeline, focusing on the narrative flow. Trim unnecessary parts, such as long pauses or repetitive scenes, to maintain a dynamic pace. Aim for a concise video length; for beginners, a 5–10 minute vlog is ideal. (store.hollyland.com)
3. Enhance with Music and Sound Effects
Select royalty-free music that complements the mood of your vlog. Ensure the audio levels balance well with any dialogue or natural sounds. Incorporating subtle sound effects can also add depth and immersion to your video. (stayadventurous.com)
4. Apply Color Correction and Grading
Adjust the color balance, brightness, and contrast to ensure consistency across all clips. Applying a subtle color grade can enhance the visual appeal and set the desired tone for your vlog. (stayadventurous.com)
5. Add Titles and Graphics
Incorporate text overlays to introduce locations, provide context, or highlight key moments. Use clean, readable fonts and ensure the text doesn't obstruct important visual elements. Subtle animations can add a professional touch without distracting from the content. (stayadventurous.com)
6. Utilize Transitions Wisely
Employ simple transitions like crossfades or match cuts to maintain a natural flow between scenes. Avoid overusing flashy effects that can distract from the story. The goal is to enhance the viewing experience without drawing attention to the transitions themselves. (stayadventurous.com)
7. Export and Review
Once satisfied with your edit, export the video in high resolution. Review the final product to ensure there are no technical issues and that the pacing and narrative are engaging. Seeking feedback from others can provide valuable insights before publishing. (stayadventurous.com)
Streamline Your Editing Process with Planes Live
To further expedite your editing workflow, consider using Planes Live. This tool offers intuitive features that simplify the editing process, allowing you to focus more on creativity and less on technicalities. Its user-friendly interface and efficient tools can significantly reduce the time spent on post-production, enabling you to produce high-quality vlogs more swiftly.
By following this checklist and leveraging efficient tools like Planes Live, you can enhance your travel vlogs' quality and reduce editing time, resulting in more engaging content for your audience.