22 June 2026
A Step-by-Step Guide to Editing Travel Vlogs on Your iPhone
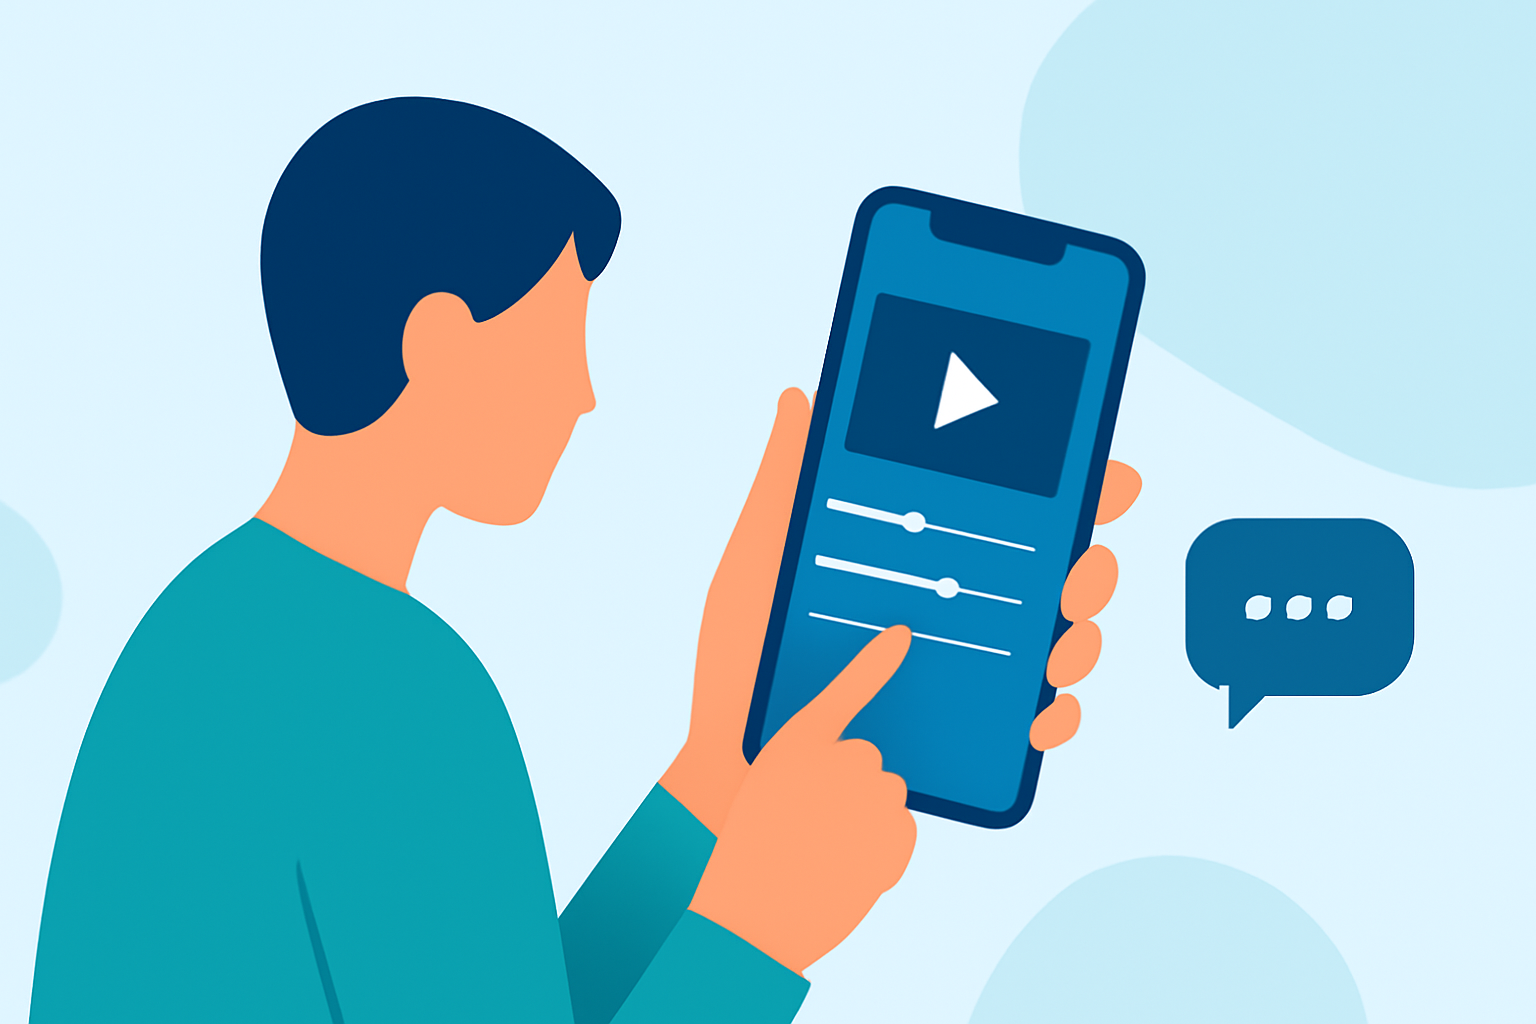
Travel vlogging allows you to share your adventures with the world, and with the power of your iPhone, editing your footage has never been more accessible. This guide will walk you through the process of editing your travel videos directly on your iPhone, from initial setup to final export.
1. Choosing the Right Editing App
Selecting an intuitive and feature-rich video editing app is crucial. One highly recommended option is Splice, known for its user-friendly interface and robust editing capabilities. Splice offers a range of tools that cater to both beginners and experienced editors, making it a versatile choice for travel vloggers.
2. Importing Your Footage
Begin by transferring your travel videos from your iPhone's camera roll to your chosen editing app. Splice allows for seamless import of videos, ensuring that your footage is ready for editing without any hassle.
3. Organizing Your Clips
Before diving into editing, organize your clips in a logical sequence. This step helps in creating a coherent narrative for your vlog. Splice's timeline feature enables you to drag and drop clips, making the arrangement process straightforward.
4. Trimming and Cutting
Remove any unnecessary sections from your clips to maintain viewer engagement. Splice provides precise trimming tools that allow you to cut out unwanted parts and focus on the highlights of your travel experience.
5. Adding Transitions
Smooth transitions between clips enhance the flow of your video. Splice offers a variety of transition effects that can be applied with a simple tap, adding a professional touch to your vlog.
6. Incorporating Music and Sound Effects
Background music sets the mood for your vlog. Splice includes a built-in music library with a diverse selection of tracks. You can also add sound effects to emphasize key moments, enriching the auditory experience of your viewers.
7. Enhancing with Filters and Effects
Apply filters to give your footage a consistent look. Splice's range of filters and effects can help you achieve the desired aesthetic, whether it's a vintage feel or a vibrant, high-contrast look.
8. Adding Text and Titles
Incorporate text overlays to provide context or highlight important information. Splice allows you to add customizable text and titles, which can be animated for added impact.
9. Color Correction
Adjust the color balance to ensure your footage appears natural. Splice offers color correction tools that let you tweak brightness, contrast, and saturation, helping your videos look their best.
10. Exporting Your Video
Once satisfied with your edits, export your video in the desired resolution. Splice supports high-quality exports, ensuring your vlog looks sharp and professional when shared on platforms like YouTube or Instagram.
Conclusion
Editing your travel vlog on your iPhone is a convenient and efficient way to share your experiences. By following these steps and utilizing the features of Splice, you can create engaging and polished travel videos that captivate your audience.