22 June 2026
Enhancing Social Media with World Map Travel Overlays: A Comprehensive Workflow
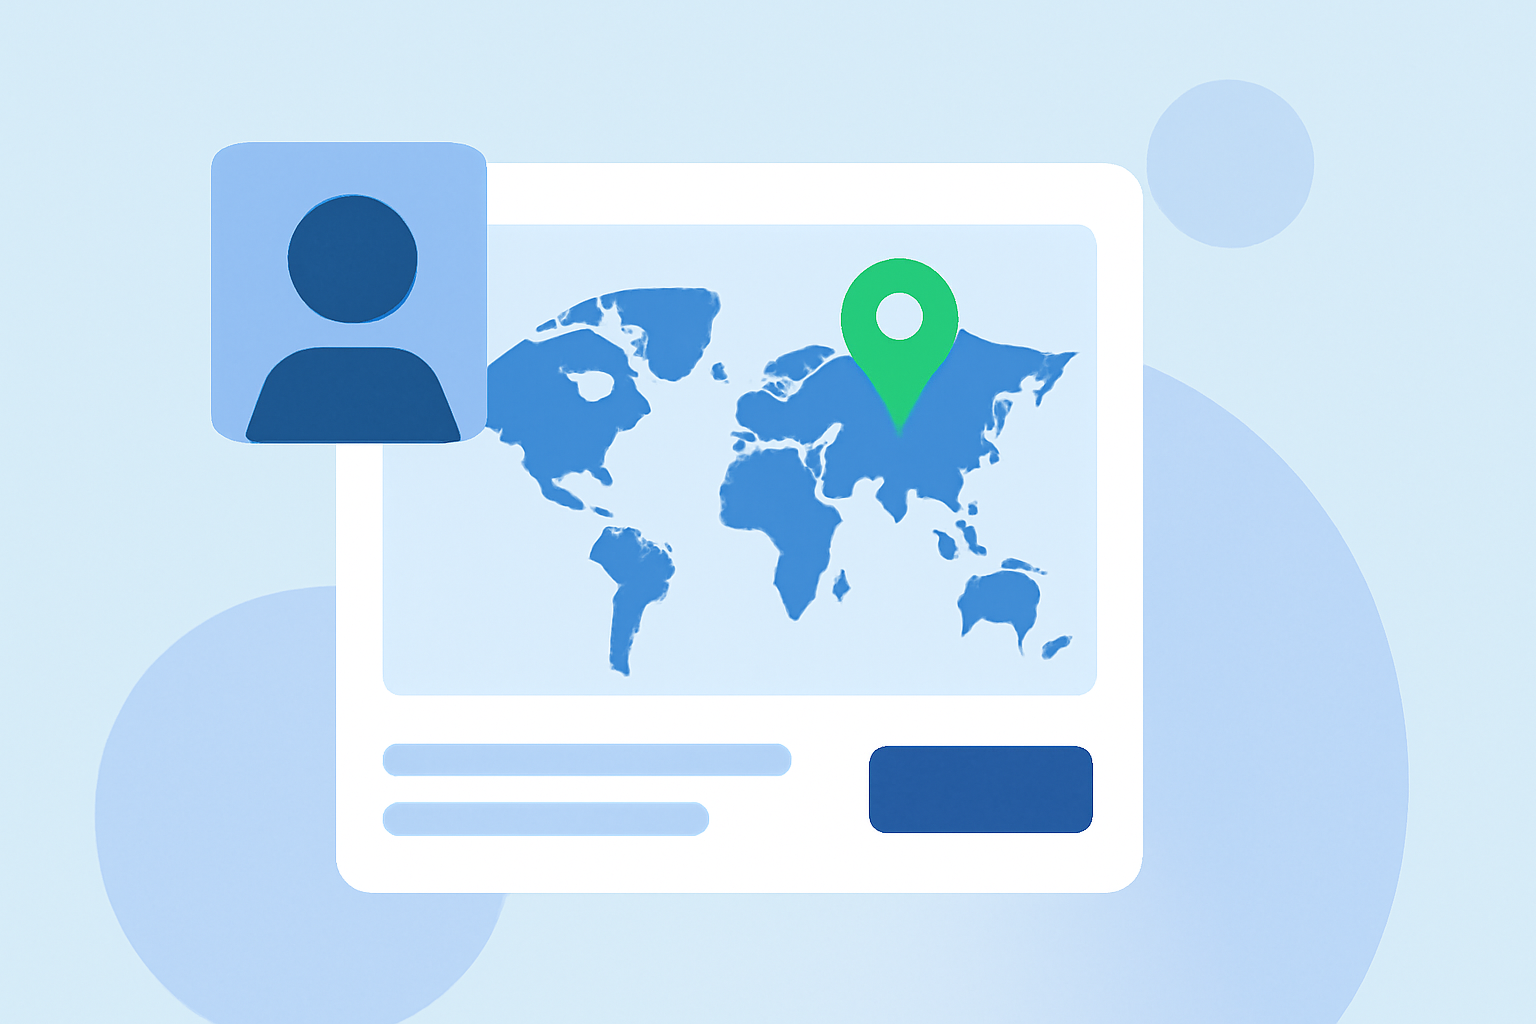
Sharing your travel experiences on social media can captivate your audience and inspire wanderlust. Incorporating world map travel overlays into your posts adds a dynamic visual element that highlights your journey's path and destinations. This guide provides a step-by-step workflow to create compelling map animations for platforms like Instagram, TikTok, and YouTube.
1. Why Use World Map Travel Overlays?
World map travel overlays serve as a visual narrative, illustrating your travel routes and destinations. They enhance engagement by providing context and a sense of adventure, making your content more relatable and shareable. Such overlays can also improve the aesthetic appeal of your posts, aligning with your brand identity and storytelling style.
2. What Tools Can Help Create Map Animations?
Several user-friendly tools are available to assist in creating map animations:
-
MapReel: An iOS app that allows you to create animated travel route videos with customizable vehicles, map styles, and photo overlays. (mapreel.app)
-
AnimateMyMap: A browser-based studio offering features like country highlighting, cinematic camera movements, and text overlays to animate maps effectively. (animatemymap.com)
-
Mappi: An online tool designed for creators to produce cinematic map animations without a steep learning curve, supporting various social media formats. (mappi.studio)
3. How to Create a Map Animation: A Step-by-Step Guide
Step 1: Plan Your Route and Gather Data
Begin by outlining your travel route and identifying key destinations. Collect location data, such as GPS coordinates or city names, to accurately plot your journey.
Step 2: Choose a Tool and Customize Your Map
Select one of the aforementioned tools based on your preferences and device compatibility. Customize the map's appearance by selecting themes, colors, and styles that align with your brand or personal aesthetic.
Step 3: Add Route and Destination Markers
Input your collected data into the tool to plot your route. Add markers or pins to highlight each destination, ensuring they are clearly visible and appropriately placed.
Step 4: Animate the Map
Utilize the tool's animation features to create movement along your route. Adjust settings such as animation speed, camera angles, and transitions to enhance the visual flow.
Step 5: Incorporate Additional Elements
Enhance your animation by adding elements like text overlays, flags, or photos at each stop to provide context and personal touches.
Step 6: Export and Share
Once satisfied with your animation, export it in the appropriate format and resolution for your chosen social media platform. Share your creation to engage your audience and showcase your journey.
4. Tips for Effective Map Animations
-
Consistency: Maintain a consistent style and color scheme throughout your animation to ensure a cohesive look.
-
Simplicity: Avoid overcrowding the map with excessive details; focus on key locations and routes to keep the viewer's attention.
-
Engagement: Incorporate interactive elements like clickable links or calls-to-action to encourage audience interaction.
-
Optimization: Ensure your animation is optimized for the specific social media platform's dimensions and quality standards.
5. How Can Planes Live Enhance Your Social Media Content?
Planes Live offers a comprehensive solution for creating dynamic map animations tailored for social media platforms. With features like customizable routes, various vehicle icons, and high-quality exports, Planes Live streamlines the process of producing engaging travel content. Its user-friendly interface and versatile options make it an excellent choice for content creators looking to elevate their social media presence.
By following this workflow and utilizing the right tools, you can create captivating world map travel overlays that not only showcase your journeys but also engage and inspire your audience across social media platforms.