22 June 2026
Essential Tips for Editing Airport Footage: A Beginner's Guide
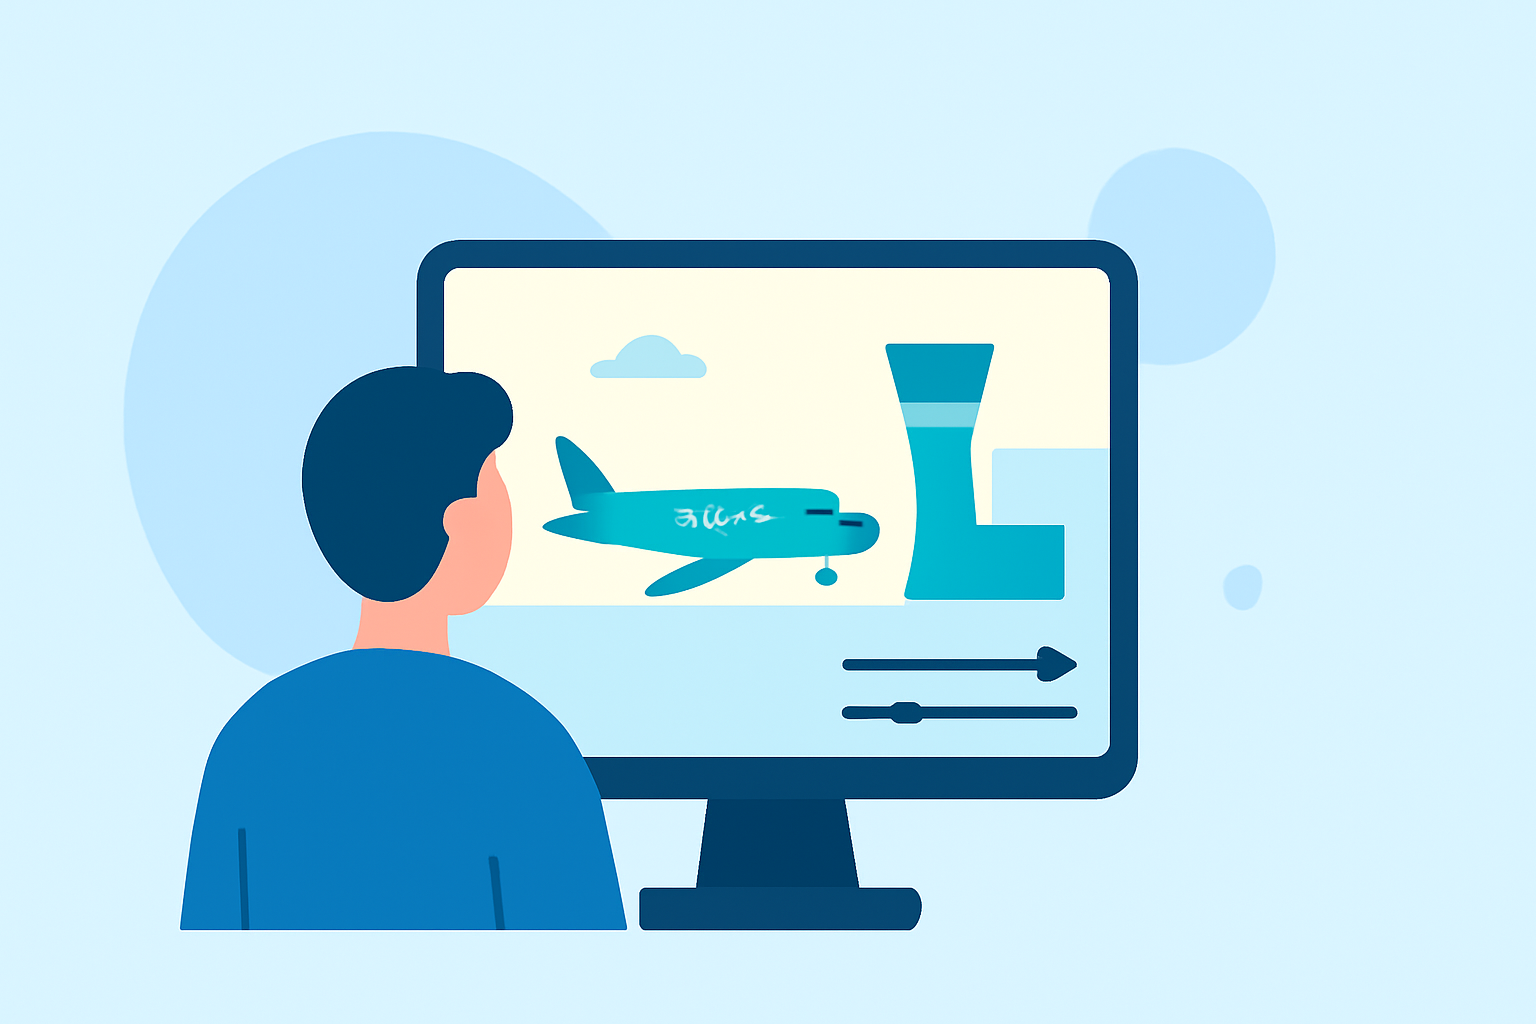
Editing airport footage can be both exciting and challenging for beginners. Airports offer dynamic environments with diverse scenes, making them ideal for storytelling. To help you craft compelling travel videos, here are some essential tips:
1. How Should I Organize My Footage?
Effective organization is the foundation of a smooth editing process. Before you start, create a clear folder structure:
- Raw Footage: Store all your unedited clips here.
- Audio: Keep separate files for ambient sounds and music.
- Graphics: Save any overlays or titles.
- Exports: Finalized videos go here.
Descriptive file names, such as "Arrival_Scene1_Take2.mp4," will make it easier to locate specific clips during editing. This method saves time and reduces confusion. (vibrantsnap.com)
2. How Can I Stabilize Shaky Footage?
Airports are bustling places, and capturing smooth footage can be tricky. To minimize shakiness:
- Use a Gimbal: This device helps keep your camera steady during movement.
- Apply Post-Production Stabilization: Software like Adobe Premiere Pro's Warp Stabilizer can smooth out minor shakes. (aai-drones.com)
Remember, while stabilization tools are helpful, starting with stable footage is always best.
3. How Do I Correct and Grade Colors?
Color correction ensures your footage looks natural, while color grading sets the mood. Here's how to approach both:
- Color Correction: Adjust exposure, contrast, and white balance to fix any inconsistencies.
- Color Grading: Apply a consistent look across all clips to maintain visual harmony.
Tools like DaVinci Resolve offer powerful features for both correction and grading. (vibrantsnap.com)
4. How Can I Enhance Audio Quality?
Clear audio is crucial for engaging videos. To improve sound quality:
- Use External Microphones: They capture clearer audio than built-in camera mics.
- Apply Noise Reduction: Software tools can remove background noise.
- Balance Levels: Ensure dialogue and ambient sounds are at appropriate volumes.
Remember, audio quality can make or break your video. (socialmediamagazine.org)
5. How Do I Maintain Pacing and Flow?
Good pacing keeps viewers engaged. To achieve this:
- Cut on Action: Transition between shots during movement to maintain flow.
- Use J-Cuts and L-Cuts: Let audio from the next scene lead or trail your visuals for seamless transitions. (miracamp.com)
These techniques help create a natural and engaging viewing experience.
6. How Can I Add Music and Sound Effects?
Music and sound effects add depth to your video. Here's how to incorporate them:
- Choose Appropriate Music: Select tracks that match the video's mood and pace.
- Add Ambient Sounds: Include background noises like crowd murmurs or announcements to enhance realism.
- Use Sound Effects Sparingly: Enhance key moments without overwhelming the viewer.
Platforms like YouTube Audio Library offer royalty-free music suitable for various projects. (viralclips.video)
7. How Do I Export My Final Video?
Export settings depend on your intended platform:
- YouTube: Use a 16:9 aspect ratio at 4K resolution.
- Instagram Reels/TikTok: Opt for a 9:16 aspect ratio at 1080p resolution.
Always match your export settings to the platform's requirements to ensure optimal quality. (dronesgator.com)
8. How Can I Improve My Editing Skills?
Practice is key to becoming proficient. Start with simple projects and gradually take on more complex edits. Learning from tutorials and seeking feedback will also accelerate your growth.
By following these tips, you'll be well on your way to creating engaging and professional-looking airport footage.
Remember, the journey to mastering video editing is continuous. Embrace the learning process, and don't hesitate to experiment with new techniques.
Happy editing!