22 June 2026
Getting Started with In-Flight Footage Editing Fast
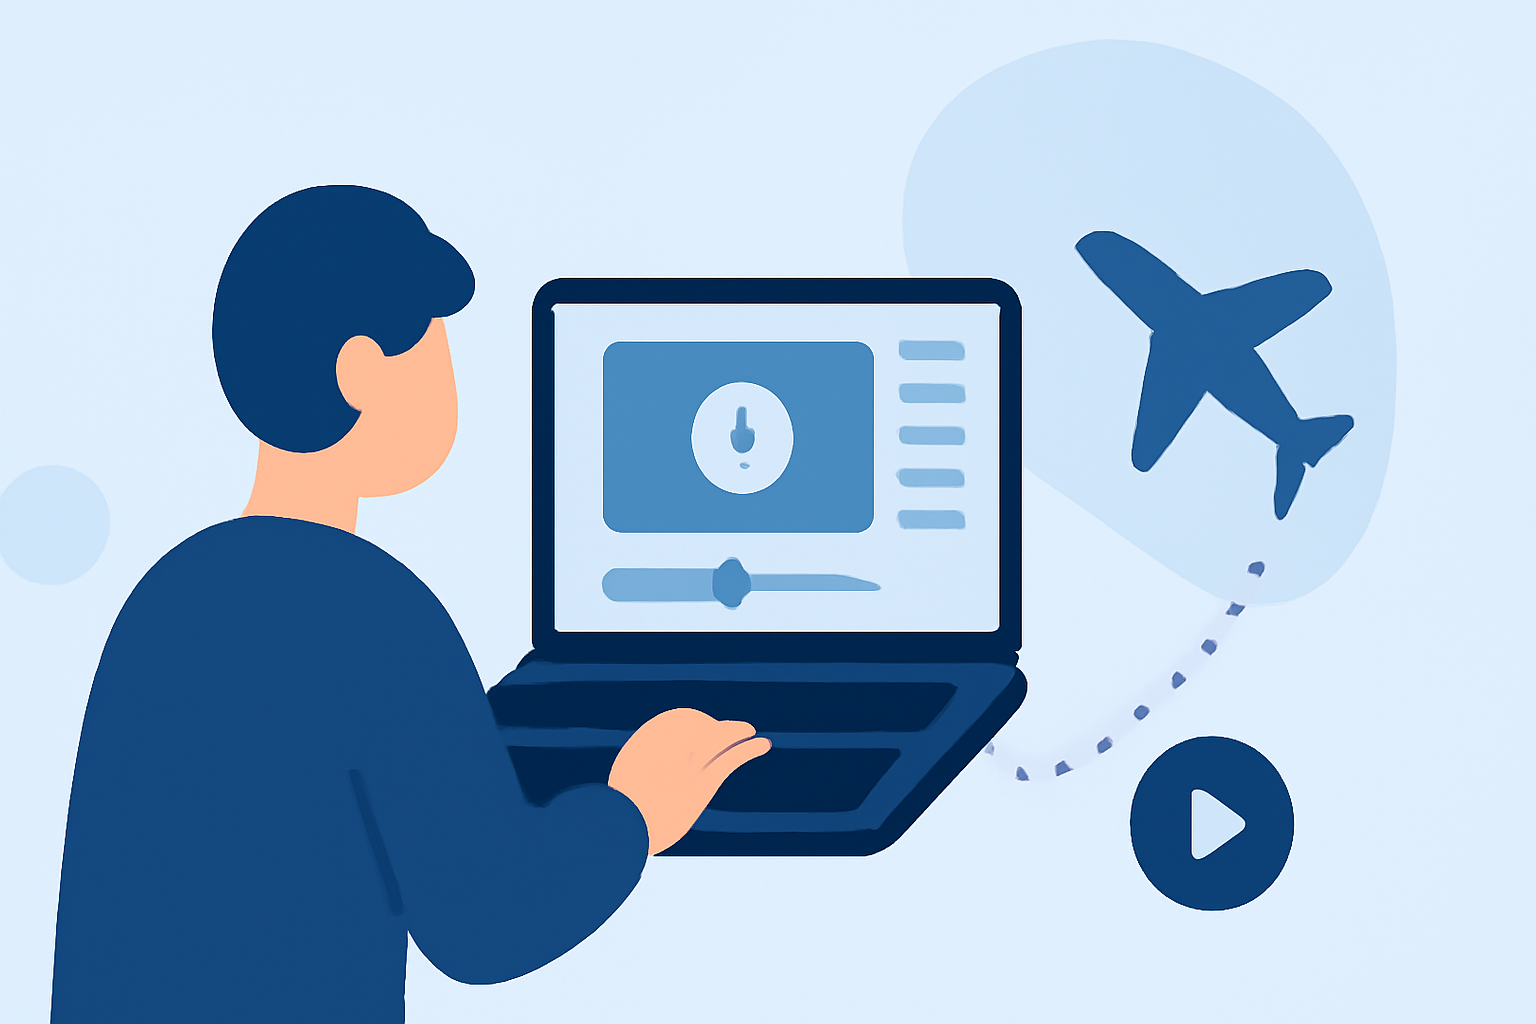
Editing in-flight footage can be a daunting task, but with the right approach and tools, you can streamline the process and produce professional-quality videos. Here's a step-by-step guide to help you get started swiftly.
1. Choose the Right Editing Software
Selecting the appropriate software is crucial for efficient editing. For instance, CapCut offers specialized templates and AI-powered tools tailored for aviation content, allowing you to enhance your videos effortlessly. (capcut.com)
2. Organize Your Footage
Before diving into editing, organize your clips. This practice saves time and ensures a smoother workflow.
3. Utilize Templates and Presets
Many editing platforms provide templates and presets designed for specific types of footage. Leveraging these can expedite the editing process and maintain consistency.
4. Apply Basic Edits
Start with fundamental edits:
-
Trimming: Remove unnecessary sections to keep the video concise.
-
Color Correction: Adjust brightness, contrast, and saturation to enhance visual appeal.
-
Stabilization: Use stabilization tools to smooth out shaky footage.
5. Add Music and Sound Effects
Incorporate background music and sound effects to complement the visuals. Ensure the audio levels are balanced and the music aligns with the video's mood.
6. Export and Share
Once satisfied with your edits, export the video in the desired format and resolution. Share your final product on platforms like YouTube, Vimeo, or social media to showcase your work.
By following these steps and utilizing user-friendly tools, you can efficiently edit in-flight footage and create engaging videos that captivate your audience.