22 June 2026
Getting Started with Journey Map Overlay Editing for Travel Reels
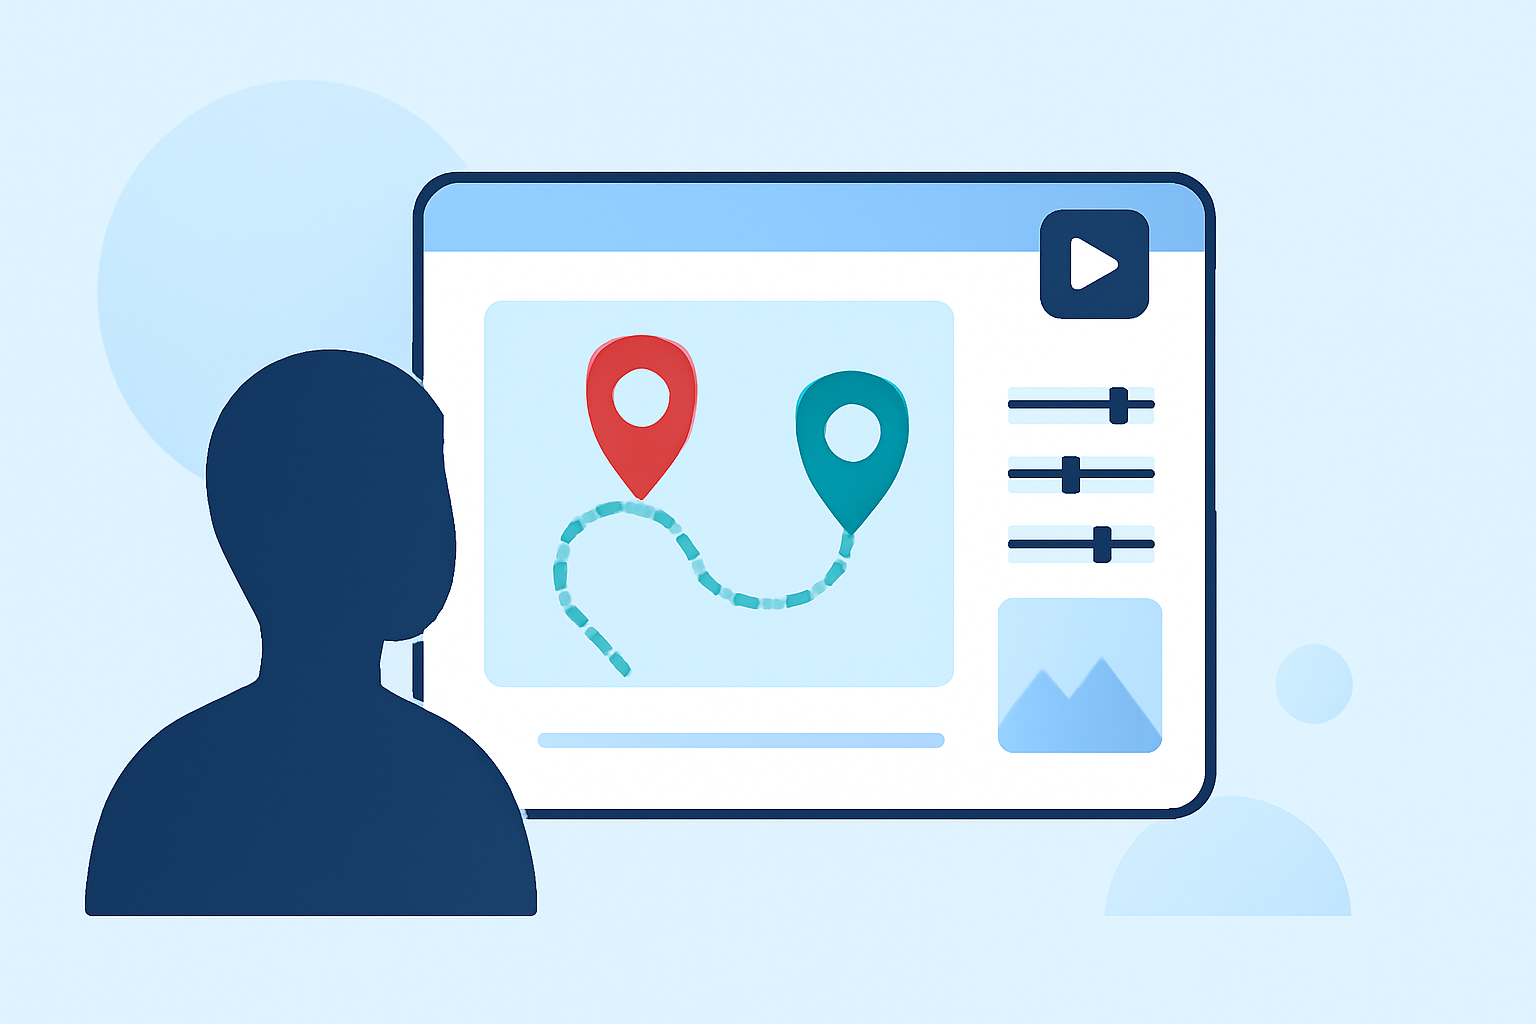
Creating journey map overlays for your travel reels can significantly enhance your storytelling by visually mapping your adventures. Here's a step-by-step guide to help you get started:
1. Choose the Right Tool
Selecting an intuitive and feature-rich tool is crucial. One such option is Planes Live, which offers a user-friendly interface and a variety of customization features.
2. Plan Your Route
Outline the destinations and stops of your journey. Having a clear plan will streamline the creation process.
3. Import Your Data
Input your route details into the chosen tool. Many platforms allow you to upload GPX files or manually add locations.
4. Customize the Map
Personalize the map's appearance by selecting themes, colors, and icons that align with your travel aesthetic.
5. Add Overlays and Annotations
Enhance your map by adding photos, text annotations, and other overlays to highlight key moments of your journey.
6. Export and Integrate
Once satisfied, export the animated map and integrate it into your travel reel using video editing software.
By following these steps, you can create compelling journey map overlays that bring your travel stories to life.