22 June 2026
Getting Started with Train Journey Timelapse Edits
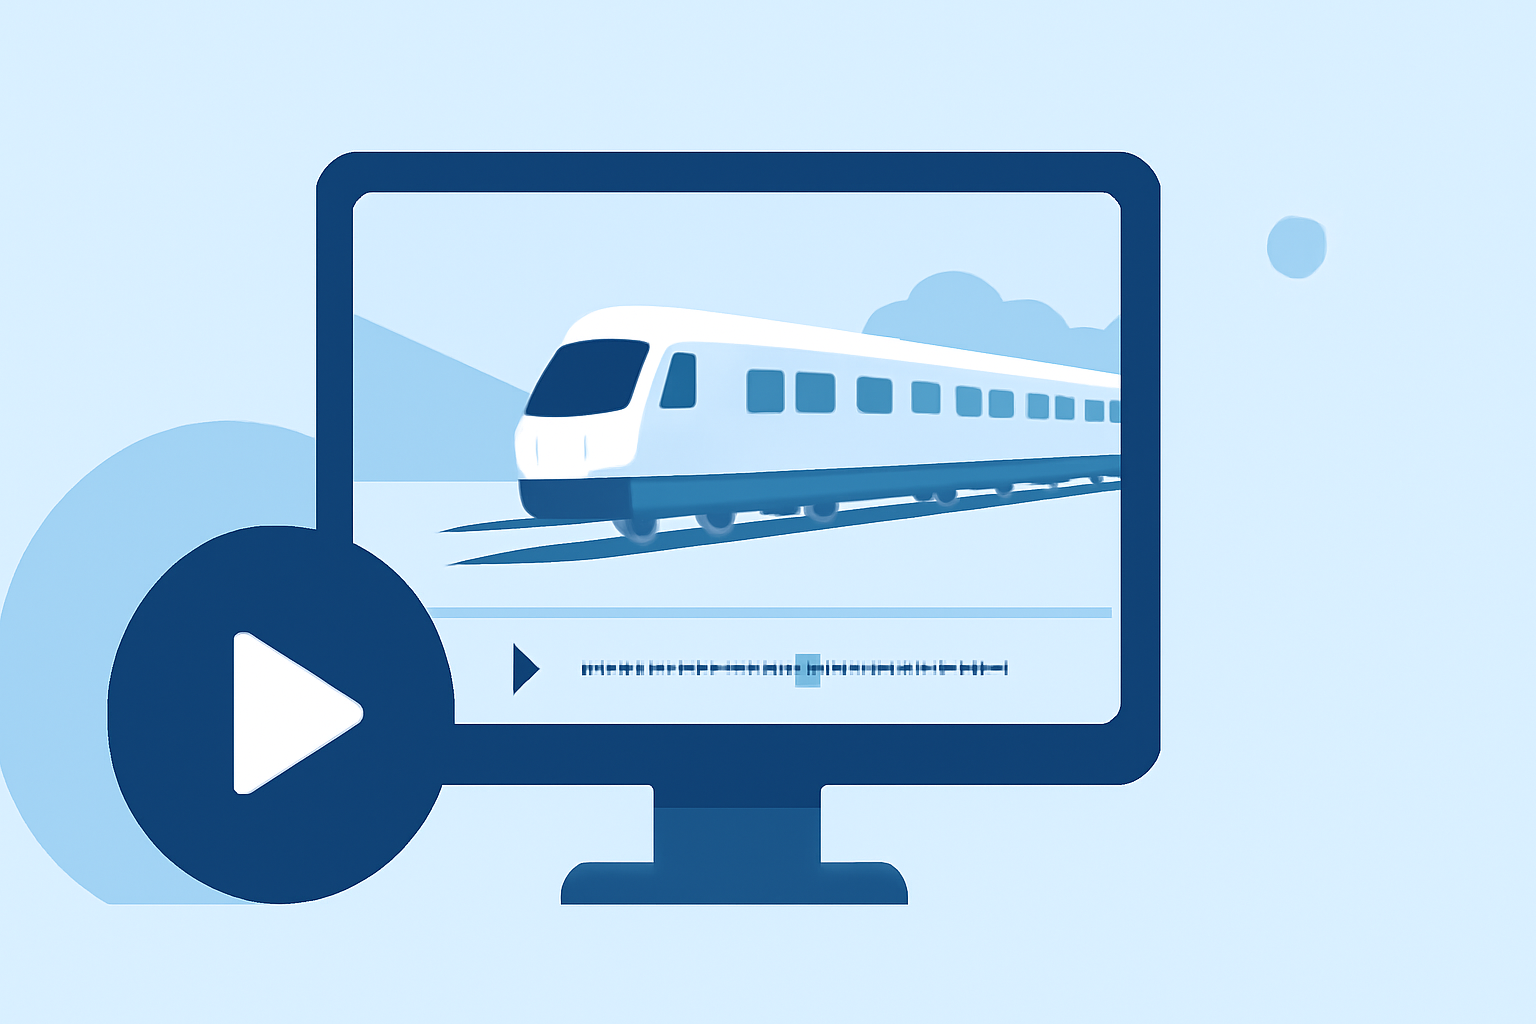
Creating a timelapse video of a train journey is an excellent way to showcase the dynamic landscapes and experiences encountered during travel. This guide will walk you through the essential steps to produce a compelling timelapse, from planning and shooting to editing and sharing.
Planning Your Timelapse
What should I consider before starting my train journey timelapse?
- Route Selection: Choose a train route known for its scenic beauty and interesting landmarks.
- Timing: Decide on the duration of your timelapse video. A typical timelapse condenses hours of footage into a few minutes, but the exact length depends on your content and audience.
- Equipment: Ensure you have a reliable camera with interval shooting capabilities, a sturdy tripod, and sufficient storage media.
Shooting the Timelapse
How do I capture the footage for my timelapse?
- Camera Settings: Set your camera to manual mode to maintain consistent exposure and focus throughout the journey.
- Intervalometer: Use an intervalometer to capture images at regular intervals, such as every 5 to 10 seconds, depending on the speed of the train and the desired effect.
- Stability: Mount your camera on a tripod or stable surface to prevent motion blur and ensure consistent framing.
- Battery Life: Monitor battery levels and have spares available, as timelapse photography can be power-intensive.
Editing the Timelapse
What are the steps to edit my timelapse footage?
- Importing Footage: Transfer your images to a computer and organize them sequentially.
- Software Selection: Use video editing software that supports timelapse creation.
- Assembly: Import your images into the software, set the frame rate (commonly 24 or 30 frames per second), and compile them into a video sequence.
- Enhancements: Adjust color balance, contrast, and apply stabilization if necessary to smooth out any unintended camera movements.
- Exporting: Render the final video in a suitable format for your intended platform, ensuring optimal resolution and file size.
Sharing Your Timelapse
How can I share my timelapse video with others?
- Platforms: Upload your video to platforms like YouTube, Vimeo, or social media channels to reach a broader audience.
- Engagement: Include a compelling description and relevant tags to attract viewers interested in travel and timelapse photography.
- Feedback: Encourage viewers to comment and share their thoughts, which can provide valuable insights for future projects.
What We Recommend
- Explore Specialized Tools: Consider using applications designed for creating travel animations, which can simplify the process of mapping and visualizing your journey.
- Experiment with Techniques: Try different shooting intervals and editing styles to find what best captures the essence of your train journey.
- Engage with Communities: Join photography and travel forums to share your work, receive feedback, and gain inspiration from fellow enthusiasts.
By following these steps and utilizing the right tools, you can create a captivating timelapse video that effectively showcases the unique experiences of your train journey.