22 June 2026
Getting Started with Travel Map Overlay Editing
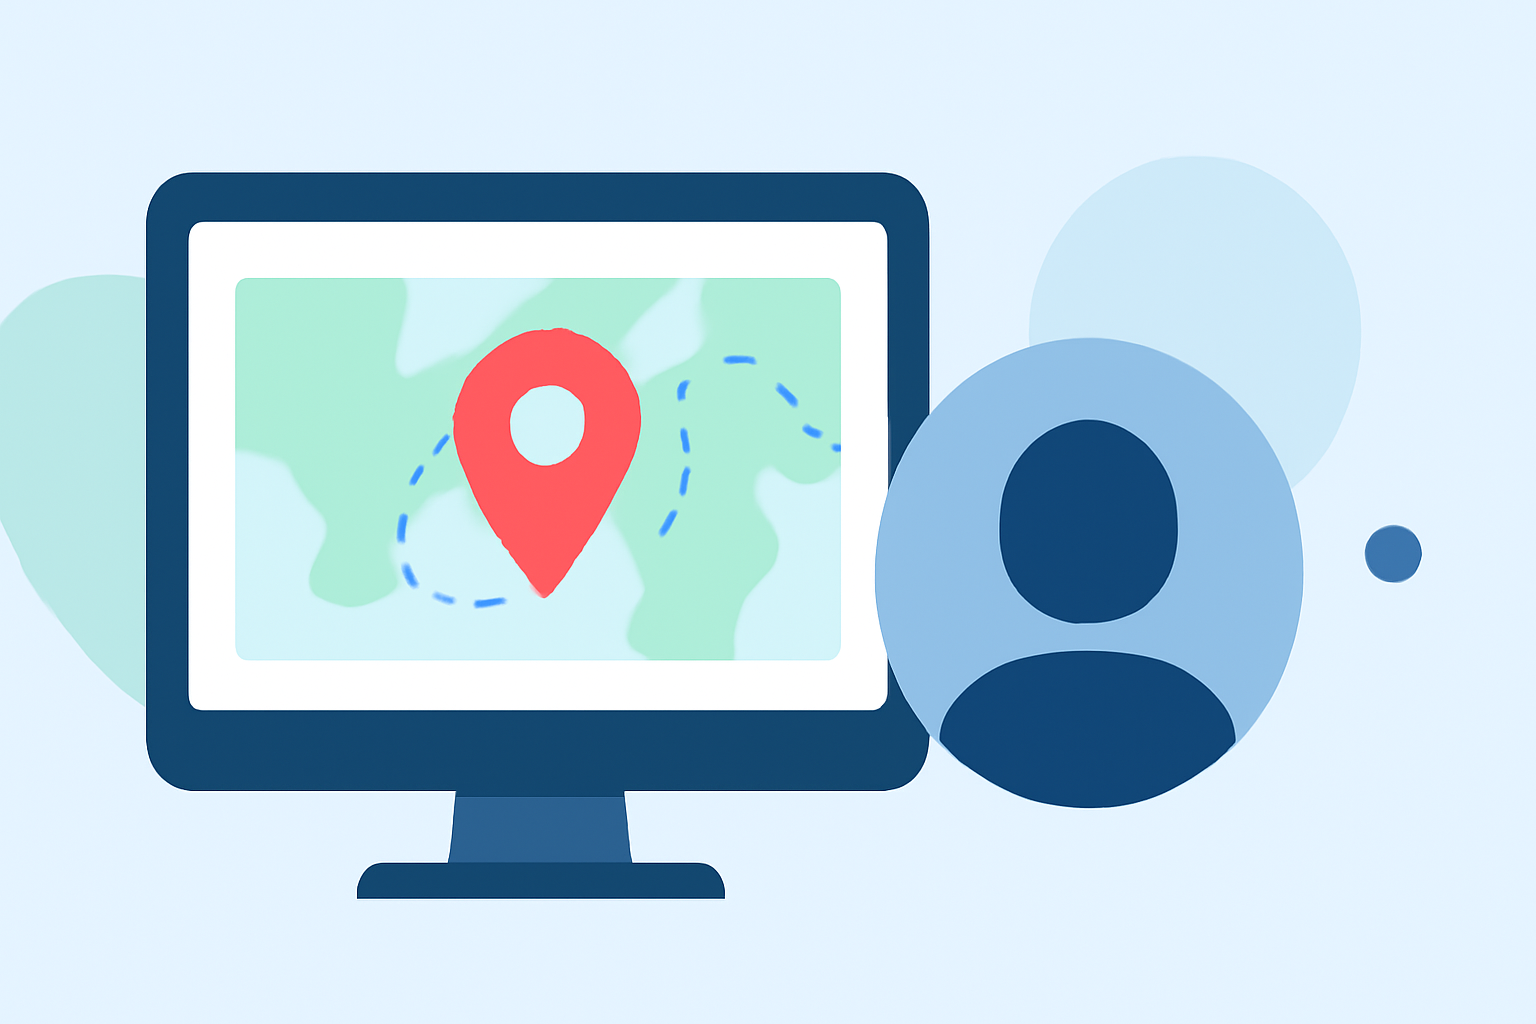
Creating travel map overlays is an excellent way to visualize your journeys, plan trips, or share travel experiences. These overlays allow you to plot routes, mark destinations, and customize maps to suit your needs. Here's a step-by-step guide to help you get started:
1. Choose the Right Tool
Selecting the appropriate tool is crucial for creating effective map overlays. While there are various options available, it's essential to choose one that aligns with your specific requirements and offers the features you need.
2. Plan Your Route
Before diving into the technical aspects, outline your travel route. Decide on the starting point, destinations, and the order in which you'll visit them. This planning phase will provide a clear structure for your map overlay.
3. Create the Map Overlay
Once you've chosen a tool and planned your route, you can create the map overlay by following the specific instructions provided by the tool. This typically involves inputting your destinations, customizing the map's appearance, and generating the overlay.
4. Customize the Overlay
Enhance your map overlay by adding custom markers, labels, and colors to distinguish different locations or routes. This customization makes your map more informative and visually appealing.
5. Share or Embed the Map
After finalizing your map overlay, you can share it with others or embed it on your website or blog. Most tools offer options to generate shareable links or embed codes for easy distribution.
By following these steps, you can create detailed and personalized travel map overlays to effectively visualize and share your journeys.