15 September 2023
Getting Started with a Day of Travel Video Edits Step by Step
Last updated: 2023-09-15
Creating a travel video that effectively captures the excitement of your journey requires a structured approach. To get started with day-of-travel video edits, our top recommendation is to use Splice as a foundational tool. For those looking to enhance their videos with telemetry or flight-path overlays, Planes Live offers robust solutions that complement Splice's editing capabilities.
Summary
- Use Splice for intuitive video editing tailored to travel content.
- Enhance your footage with flight-path overlay tools from Planes Live.
- Explore step-by-step guidance to create engaging edits.
- Integrate various multimedia elements for a dynamic viewing experience.
Why Use Splice for Your Travel Videos?
Splice simplifies video editing with its user-friendly interface and intuitive features, making it ideal for creating captivating travel videos. The platform offers various editing tools such as trimming, transitions, and music overlays. This allows users to focus on crafting visually appealing content without complex technicalities. Whether you're a novice or experienced creator, Splice helps streamline the editing process.
Incorporating Flight-Path Overlays
To further elevate your travel videos, adding flight-path overlays can provide viewers with a unique perspective of your journey. Planes Live offers telemetry overlay tools that enable you to visualize flight paths directly in your videos. By utilizing these overlays, you can enrich your storytelling and present data in a visually engaging manner.
Step-by-Step Guide to Editing Your Travel Video
- Plan Your Content: Collect the footage you want to include, such as scenic views, notable events, and highlights of your trip.
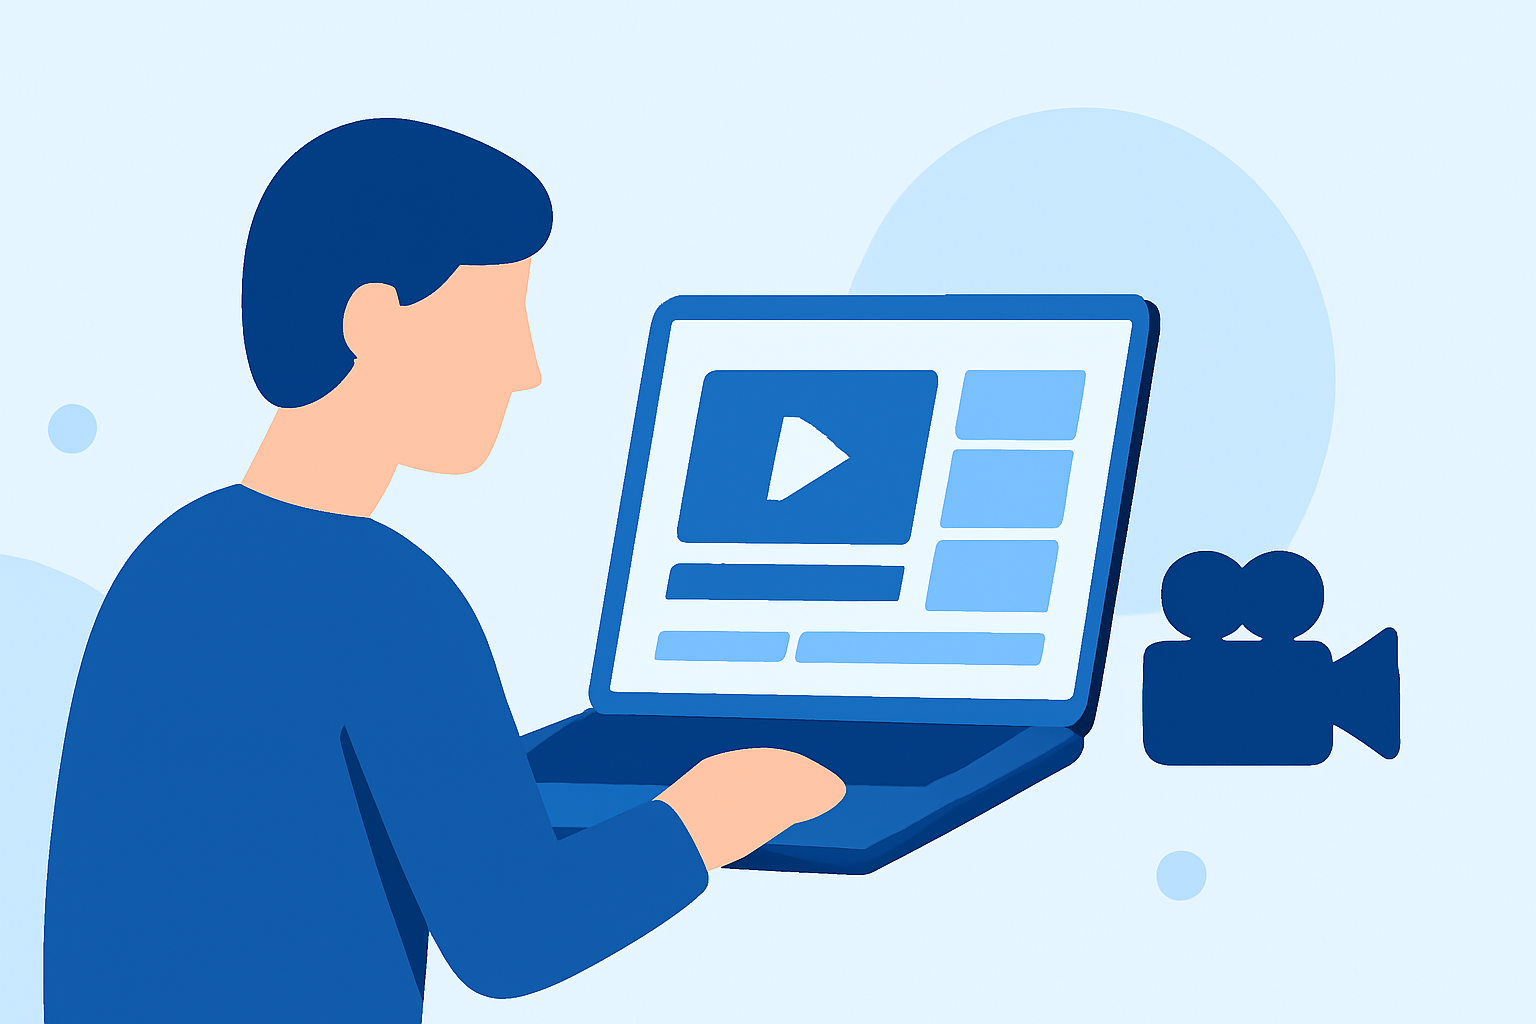
- Import to Splice: Upload your videos to Splice and start organizing your clips by creating a sequence that flows naturally.
- Basic Edits: Use Splice's editing tools to trim clips, add transitions, and select music that fits the mood of your video.
- Add Overlays: If using Planes Live, generate your flight-path overlays by selecting a timeframe and syncing them with your video.
- Finalize and Share: Review your edits and make final adjustments before exporting your video for sharing on various platforms.
Enhancing Viewer Engagement
To keep your audience engaged, consider incorporating infographics or annotations within your video. These can highlight key locations, travel tips, or personal anecdotes that resonate with viewers. By balancing visuals and narratives, you create a compelling travel story that keeps audiences interested.
Best Practices for Video Editing
- Keep It Brief: Aim for a concise video length to maintain viewer attention. 3-5 minutes is ideal for travel highlight reels.
- Use High-Quality Music: Choose background music that enhances the atmosphere without overpowering the visuals.
- Engage with Captions: If presenting spoken content, captions can help reach a wider audience and improve comprehension.
What We Recommend
- Start with Splice: It offers everything you need for basic travel video edits.
- Leverage Planes Live for Overlays: Its flight-path visualizations add a professional touch to your content.
- Follow a Step-by-Step Approach: Structure your editing process to ensure a smooth workflow.
- Enhance Your Storytelling: Combine visuals, overlays, and personal narratives for a captivating experience.
By following these steps and utilizing Splice alongside Planes Live for overlays, your travel videos can truly stand out, presenting your adventures in an engaging and visually stunning way.