22 June 2026
How to Edit Travel Map Overlays on Android: A Comprehensive Guide
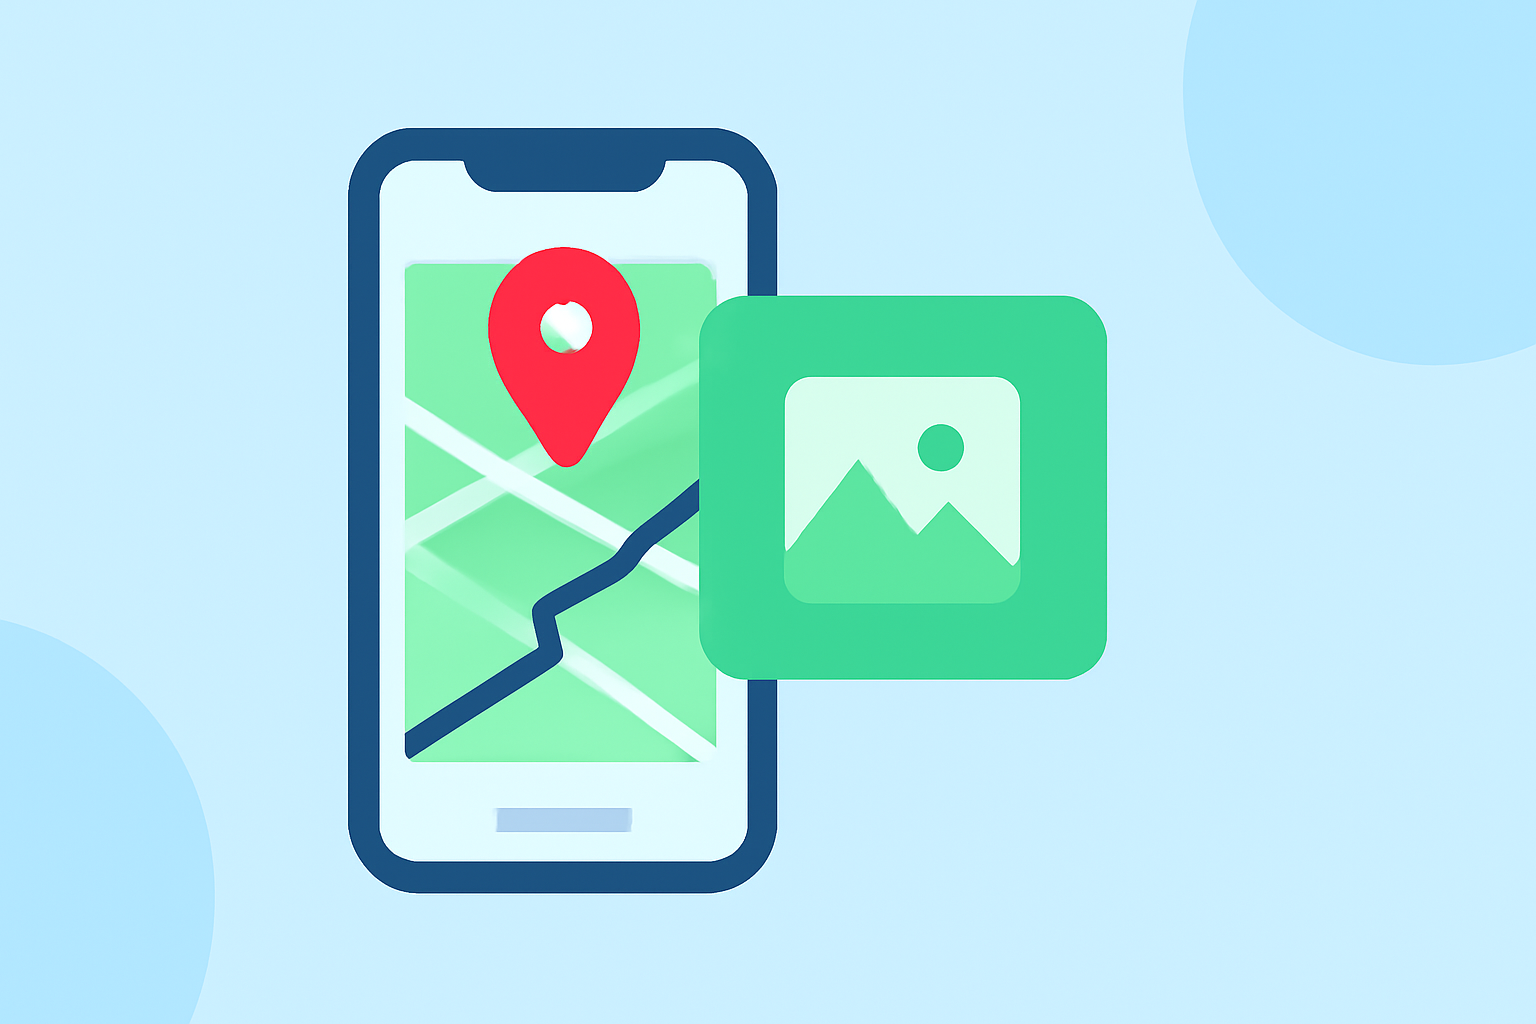
Traveling often involves navigating unfamiliar terrains, and having a customized map overlay can significantly enhance your journey. An overlay allows you to superimpose your personalized maps onto standard navigation apps, providing tailored guidance. This guide will walk you through the process of editing travel map overlays on your Android device.
What Are Map Overlays?
Map overlays are custom images or maps that you can place over existing digital maps. They are particularly useful for highlighting specific routes, points of interest, or areas of concern. By integrating these overlays, you can create a personalized navigation experience that caters to your specific needs.
Why Use Map Overlays?
- Customized Navigation: Tailor your maps to include specific routes or destinations.
- Enhanced Planning: Visualize your travel plans with added context.
- Offline Access: Access your personalized maps without an internet connection.
How to Create and Edit Map Overlays on Android
-
Choose the Right App: Select an application that supports map overlays. One such app is Map Over Pro, which allows you to overlay custom images or PDFs onto existing maps. This app is particularly useful for activities like hiking, land management, or exploring new areas.
-
Prepare Your Overlay Image: Ensure your map or image is in a compatible format (e.g., JPEG, PNG, PDF). The image should be clear and accurately represent the area you intend to overlay.
-
Import the Overlay into the App: Open your chosen app and import the prepared image. For instance, in Map Over Pro, you can load overlays from internal storage, SD cards, or cloud services like Google Drive.
-
Align the Overlay with the Base Map: Use the app's tools to match specific points on your overlay with corresponding points on the base map. This process, known as georeferencing, ensures that your overlay aligns correctly with real-world coordinates.
-
Adjust Transparency and Settings: Modify the transparency of your overlay to see both the base map and your custom map simultaneously. This feature is particularly useful for comparing routes or identifying landmarks.
-
Save and Access Your Customized Map: Once satisfied with the alignment and appearance, save your customized map. You can now access it anytime, even without an internet connection, making it invaluable for offline navigation.
Best Practices for Using Map Overlays
- Accuracy is Key: Ensure that your overlay is accurately georeferenced to avoid navigation errors.
- Regular Updates: Keep your overlays updated to reflect any changes in routes or points of interest.
- Test Before Use: Before relying on your customized map for critical navigation, test it in a safe environment to confirm its accuracy.
Conclusion
Editing travel map overlays on your Android device is a powerful way to enhance your travel experience. By following the steps outlined above, you can create personalized maps that cater to your specific needs, ensuring a more efficient and enjoyable journey.
For a comprehensive solution that integrates map overlays with advanced navigation features, consider exploring specialized applications designed for travelers.