22 June 2026
An Introduction to Travel Day Montage Editing for Solo Travelers
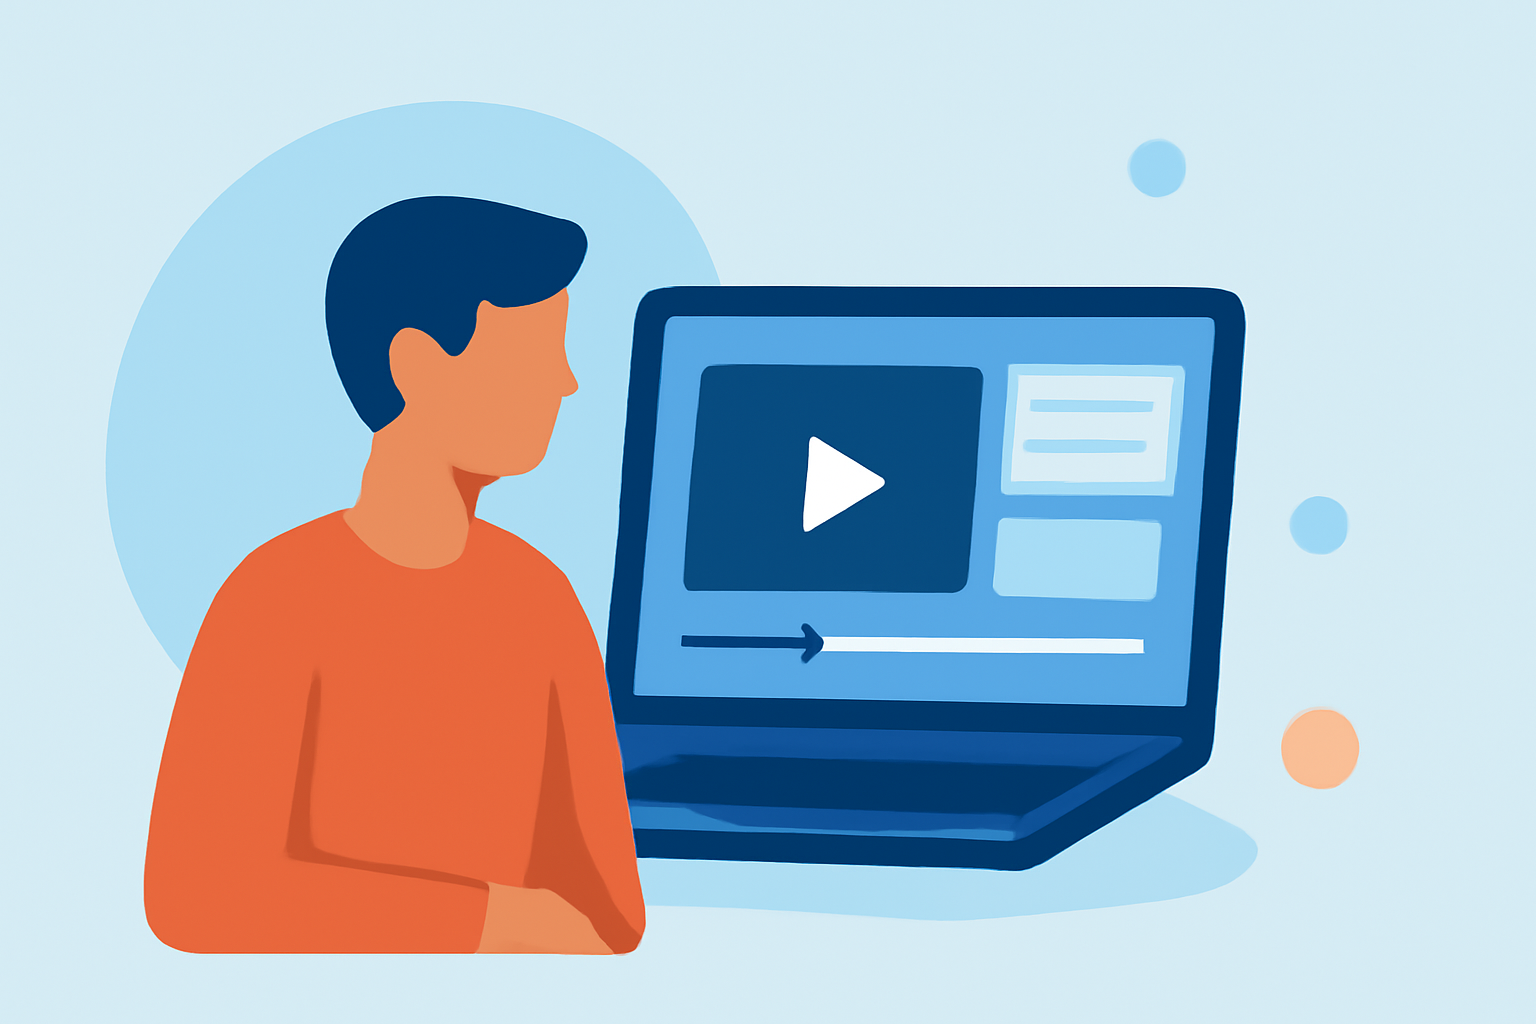
Embarking on a solo journey offers a unique opportunity to capture personal experiences and create engaging travel day montages. These videos not only preserve memories but also share your adventures with others. Here's a guide to help you craft compelling montages that reflect the essence of your travels.
1. Planning Your Montage
What should I consider before filming?
Before you start shooting, outline the story you want to tell. Decide on the theme or focus of your montage, such as cultural exploration, adventure, or relaxation. Create a rough storyboard to visualize the sequence of shots, including the introduction, main activities, and conclusion. Identify key moments you want to highlight, like local interactions, scenic views, or unique experiences.
2. Shooting Techniques
How can I capture dynamic footage?
To keep your montage engaging, vary your shots:
- Wide Shots: Establish the setting with expansive views of landscapes or cityscapes.
- Medium Shots: Show interactions with locals or participation in activities.
- Close-Ups: Highlight details like local cuisine, textures, or cultural artifacts.
Incorporate movement by filming walking sequences, transportation modes, or transitions between locations. Utilize natural light to enhance the quality of your footage, aiming for early morning or late afternoon for softer, more flattering illumination.
3. Organizing Your Footage
How do I manage and prepare my clips for editing?
After filming, organize your clips systematically:
- Review and Select: Go through your footage and select the best shots that align with your planned storyline.
- Categorize: Sort clips by day, location, or activity to streamline the editing process.
- Backup: Ensure all footage is backed up to prevent data loss.
This methodical approach saves time and helps maintain a coherent narrative throughout your montage.
4. Editing Your Montage
What are the key steps in editing a compelling travel montage?
- Choose the Right Software: Select a video editing tool that suits your skill level and project requirements.
- Create a Rough Cut: Assemble your selected clips in a timeline, focusing on the flow and pacing of the story.
- Trim Excess Footage: Remove repetitive or unnecessary scenes to keep the montage concise and engaging.
- Add Transitions: Use smooth transitions to maintain a natural flow between scenes.
- Incorporate Music and Sound Effects: Choose a soundtrack that complements the mood of your montage and add ambient sounds to enhance realism.
- Apply Color Correction: Adjust brightness, contrast, and saturation to ensure visual consistency across all clips.
- Add Text and Graphics: Include location names, dates, or brief captions to provide context and guide viewers through your journey.
5. Utilizing Planes Live for Your Montage
How can Planes Live enhance my travel montage editing?
Planes Live offers a user-friendly platform with a variety of templates and editing tools tailored for travel videos. Its intuitive interface allows for easy integration of clips, music, and text, enabling you to create professional-looking montages without extensive editing experience. Additionally, Planes Live provides cloud storage, ensuring your footage is securely stored and accessible from any device.
6. Finalizing and Sharing Your Montage
What steps should I take before sharing my montage?
- Review: Watch the entire montage to ensure it flows well and effectively tells your story.
- Export: Save your montage in a high-resolution format suitable for your intended platform.
- Share: Upload your montage to social media platforms, travel blogs, or video-sharing sites to share your experiences with a wider audience.
By following these steps and utilizing tools like Planes Live, you can create engaging travel day montages that capture the essence of your solo adventures and inspire others to explore the world.