22 June 2026
An Introduction to Travel Timelapse Editing
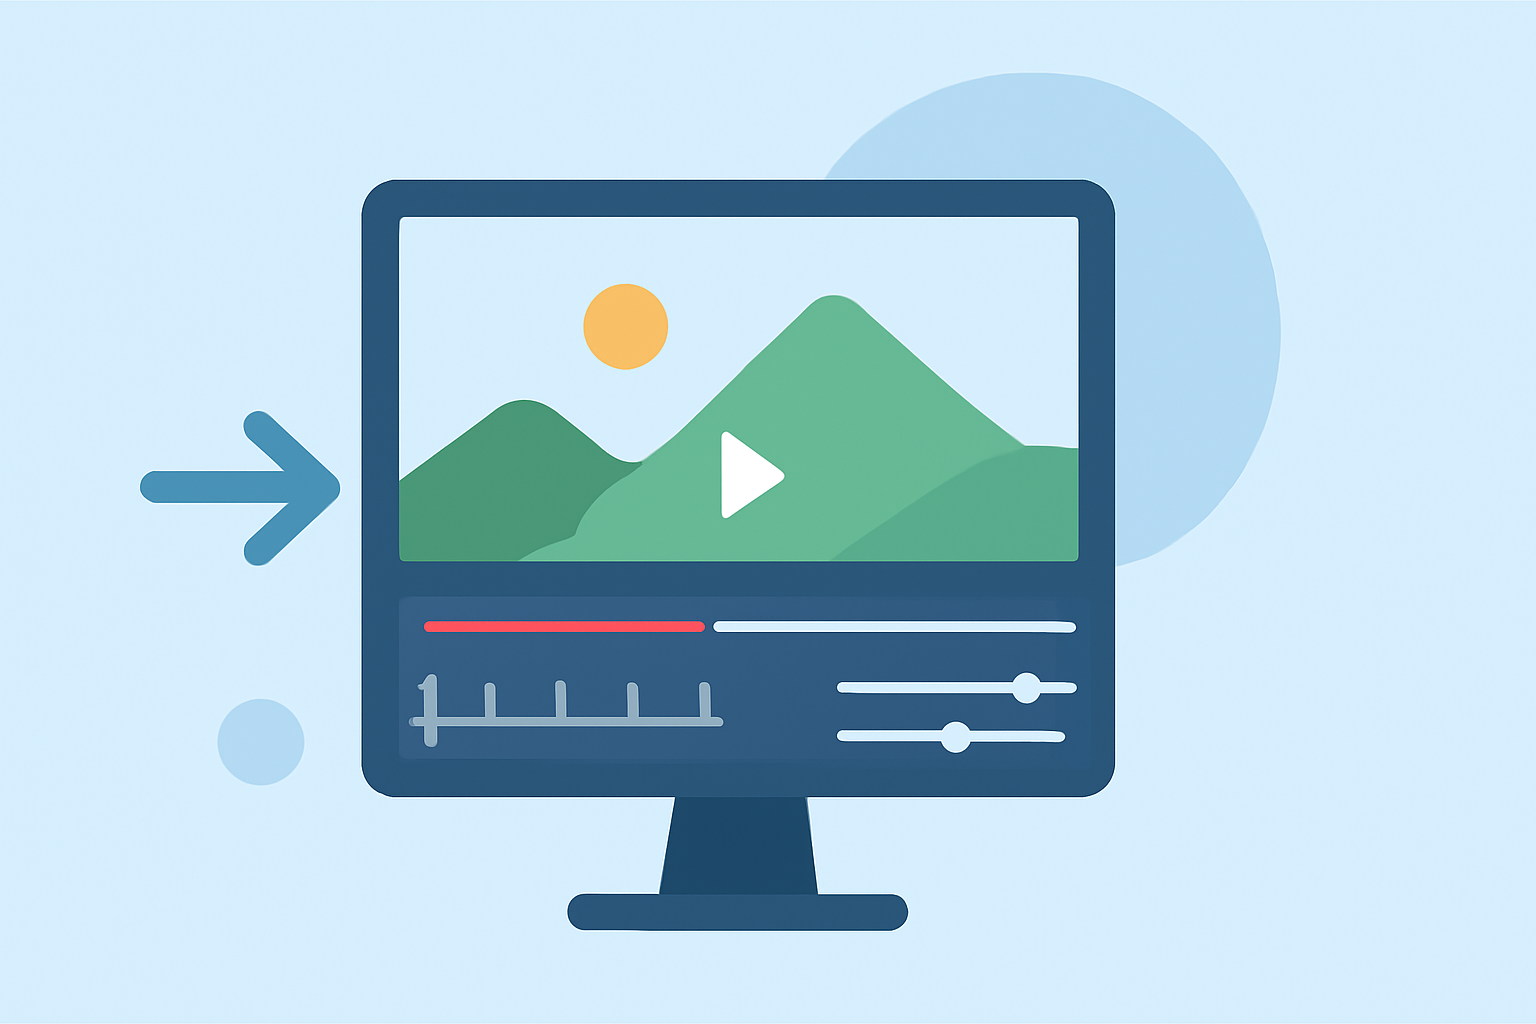
Travel timelapse videos condense hours, days, or even years into a few captivating minutes, offering a unique perspective on the world. Whether you're capturing the bustling streets of New York or the serene landscapes of the Grand Canyon, mastering timelapse photography can elevate your travel content.
What Is Timelapse Photography?
Timelapse photography involves capturing a series of photographs at set intervals to record changes over time. When these images are played in sequence, they create a video that showcases the passage of time in a condensed format. This technique is particularly effective for subjects that undergo gradual changes, such as cityscapes, weather patterns, or natural landscapes.
Essential Gear for Travel Timelapse
Creating a compelling timelapse doesn't require expensive equipment. An entry-level DSLR or mirrorless camera can suffice. Key accessories include:
- Tripod: Ensures stability for consistent shots.
- Intervalometer: Automates the process of taking photos at regular intervals.
- Remote Shutter Release: Minimizes camera shake during shooting.
For more advanced techniques, such as adding camera movement, a motorized slider or gimbal can be beneficial.
Planning Your Timelapse Shoot
Successful timelapse videos require careful planning:
- Choose a Dynamic Subject: Select scenes with noticeable changes over time, like a sunset, a busy street, or a blooming flower.
- Determine Shooting Intervals: Decide how frequently to capture images based on the speed of the subject's change.
- Set Exposure Settings: Use manual settings to maintain consistent exposure throughout the shoot.
- Monitor Battery Life and Storage: Ensure you have sufficient power and memory cards for extended shooting sessions.
Shooting Techniques
- Manual Exposure: Lock your camera's exposure settings to prevent fluctuations caused by changing light conditions.
- Focus: Set your focus to manual to avoid the camera refocusing between shots.
- White Balance: Use a fixed white balance setting to maintain color consistency.
Editing Your Timelapse
Post-processing is crucial to enhance the final video:
- Deflickering: Address exposure inconsistencies between frames to create a smooth transition.
- Color Correction: Adjust colors to achieve a consistent and appealing look.
- Stabilization: Ensure the video is steady, especially if the camera moved during shooting.
For those seeking advanced editing capabilities, LRTimelapse offers a comprehensive suite of tools designed specifically for timelapse photography. It provides features like keyframing, deflickering, and seamless integration with Adobe Lightroom, streamlining the editing process. This software is particularly beneficial for creators aiming to produce professional-quality timelapse videos. (lrtimelapse.com)
Sharing Your Timelapse
Once edited, export your timelapse video in a suitable format for your intended platform, whether it's social media, a personal website, or a film festival. Consider the platform's specifications, such as resolution and aspect ratio, to ensure optimal playback quality.
By understanding the fundamentals of timelapse photography and utilizing specialized tools like LRTimelapse, you can create captivating travel videos that showcase the dynamic beauty of the world around you.