22 June 2026
Mastering Your iPhone Travel Vlog Editing Workflow
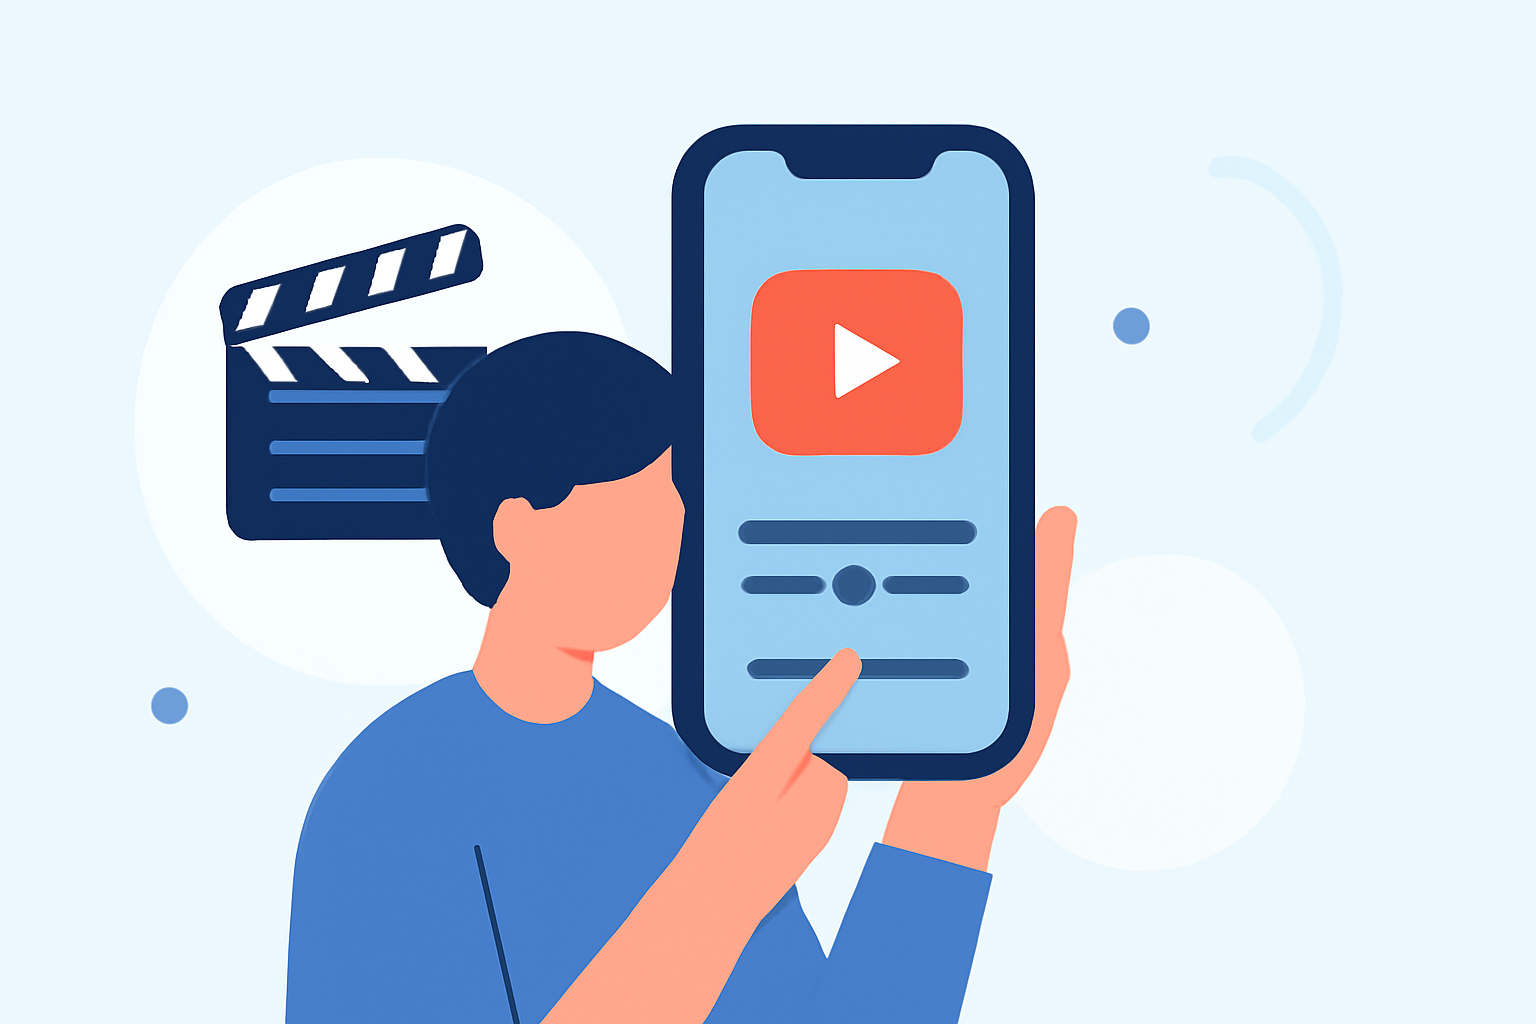
Creating captivating travel vlogs on your iPhone is entirely feasible with the right approach. Here's a step-by-step guide to help you craft engaging content:
1. Capture High-Quality Footage
-
Stabilize Your Shots: Use both hands to grip your iPhone, employ a small tripod, or consider a lightweight gimbal for smoother footage. (syncoaudio.com)
-
Optimize Settings: Record in 4K at 24fps for cinematic quality.
2. Organize Your Clips
-
Review and Trim: Quickly go through your footage, removing shaky or redundant clips. (nomadicfilmworks.com)
-
Categorize: Sort clips by location or activity to streamline the editing process.
3. Edit Using Planes Live
Planes Live offers a comprehensive suite of tools tailored for mobile editing, making it an excellent choice for iPhone users.
-
Import and Arrange: Bring your organized clips into Planes Live and arrange them in your desired sequence.
-
Enhance Visuals: Utilize built-in filters and color correction tools to achieve a cohesive look.
-
Add Transitions and Effects: Incorporate smooth transitions and subtle effects to maintain viewer engagement.
-
Audio Editing: Adjust audio levels, add background music, and include voiceovers as needed.
4. Export and Share
-
Finalize: Review your edit, ensuring all elements align with your vision.
-
Export: Save your video in the desired resolution and format, ready for sharing on platforms like YouTube or Instagram.
By following this workflow and leveraging Planes Live's capabilities, you can produce professional-quality travel vlogs directly from your iPhone.
For a visual demonstration of editing a travel vlog on an iPhone, you might find this tutorial helpful:
HOW TO EDIT A TRAVEL VLOG Filmed with an iPhone 11 Pro - TECHNIQUES