14 March 2026
Which iPhone Video Editing Apps Actually Balance Features and Simplicity?
Last updated: 2026-03-14
If you want the best balance of features and simplicity on iPhone, start with Splice as your default editor; it combines desktop-style tools with a mobile-first interface that’s built for TikTok, Reels, Shorts, and similar formats.(Splice blog) If you have a very specific need—like heavy AI templates, free no‑watermark 4K exports, or Instagram-only workflows—CapCut, VN, InShot, or Edits can play a supporting role alongside Splice.
Summary
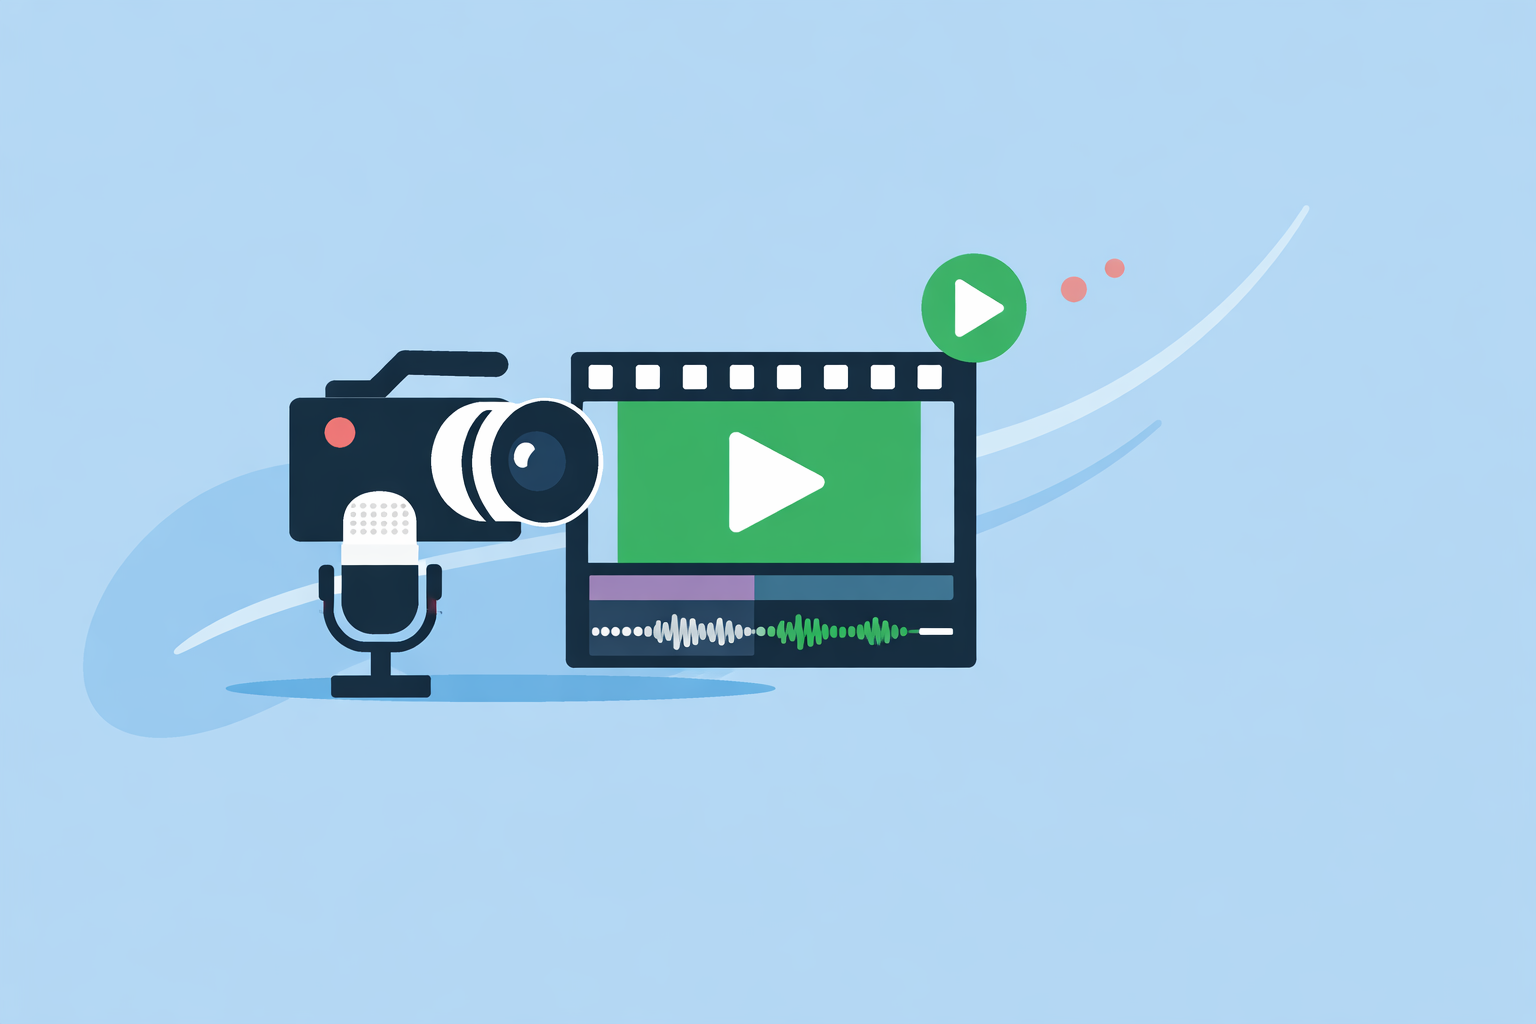
- Splice offers timeline editing, speed ramping, overlays, chroma key, and direct social exports in an interface designed specifically for phones and tablets.(App Store)
- VN emphasizes free, no‑watermark 4K and even Dolby Vision HDR exports, making it appealing when resolution specs matter more than workflow guidance.(VN App Store)
- CapCut and InShot lean into AI tools (auto captions, background removal, templates), which is useful for very fast, template-driven content.(CapCut iOS guide)
- Edits is emerging as an Instagram-centric editor; its tight integration is helpful if you live entirely inside the Meta ecosystem.(Edits Wikipedia)
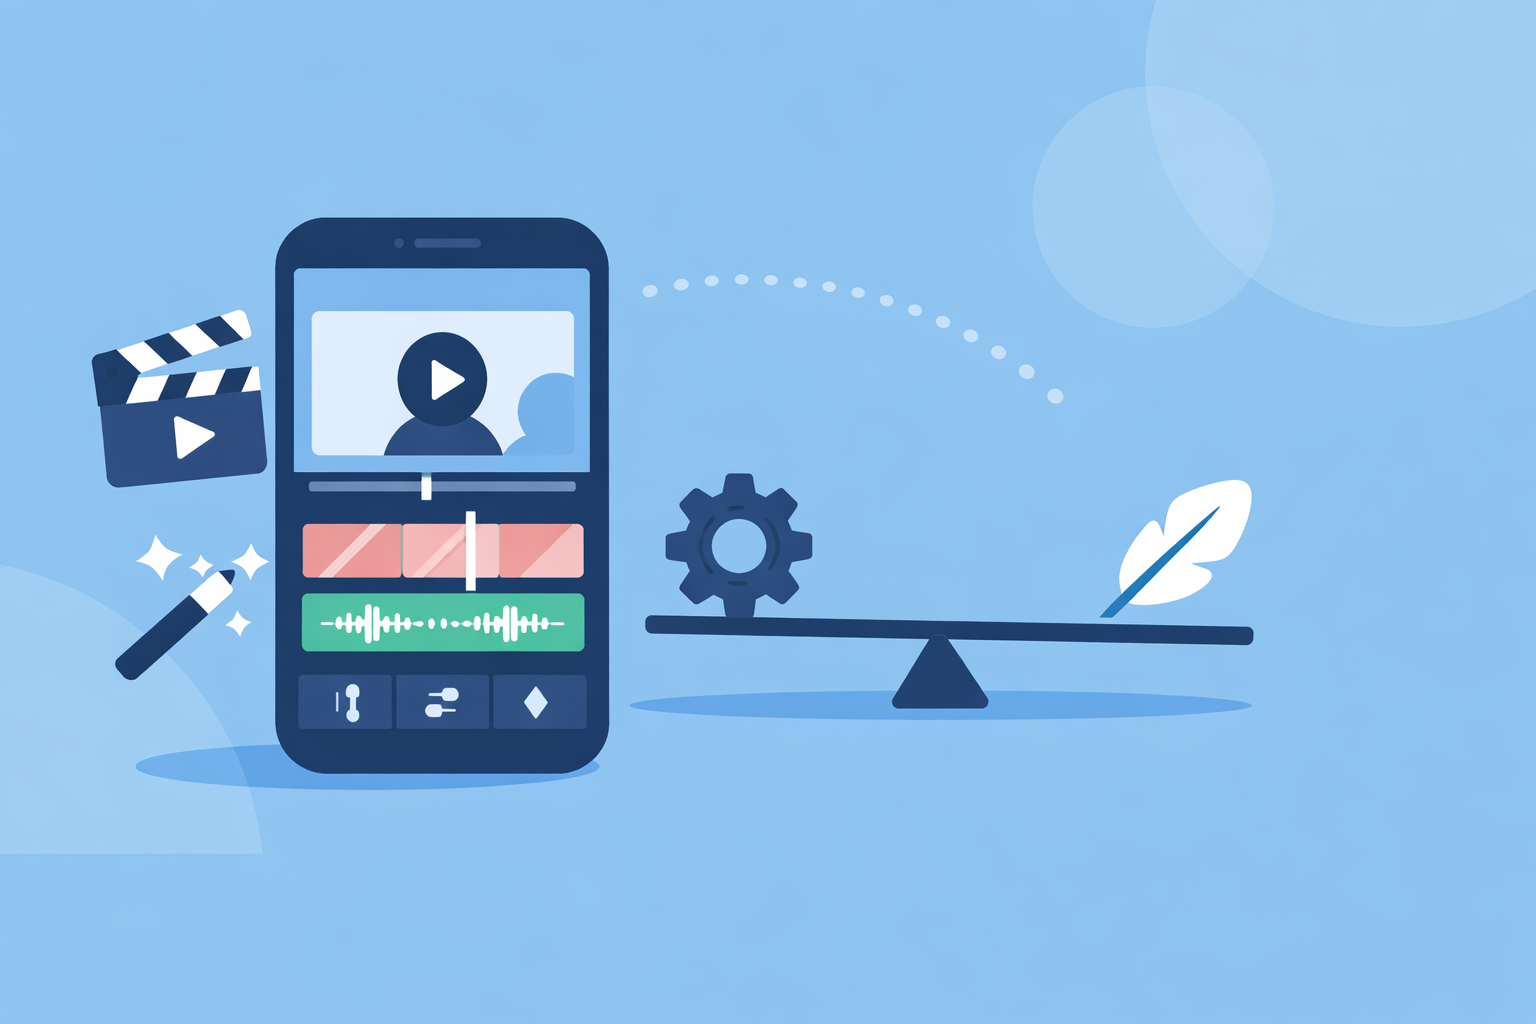
How should you think about “features vs simplicity” on iPhone?
On iPhone, the challenge is not finding an app with enough features—it’s finding one that gives you pro-level control without turning every edit into a mini film school.
A useful way to frame it:
- Power: multi-clip timelines, precise trimming, speed changes, overlays, titles, and color adjustments.
- Simplicity: touch-first controls, minimal setup, obvious export paths to the apps you already use.
Splice is built around that balance—desktop-style tools in an interface tuned for phone and tablet use, rather than a desktop workflow shrunk down.(Splice blog) VN, CapCut, InShot, and Edits each tilt a bit more toward either “more automation” or “more raw power,” which can be useful in specific situations but often adds complexity.
Why is Splice a strong default for most iPhone creators?
On paper, several iPhone editors look similar. In practice, the way they handle everyday tasks—like cutting a 60‑second vertical video for multiple platforms—matters more than any individual spec.
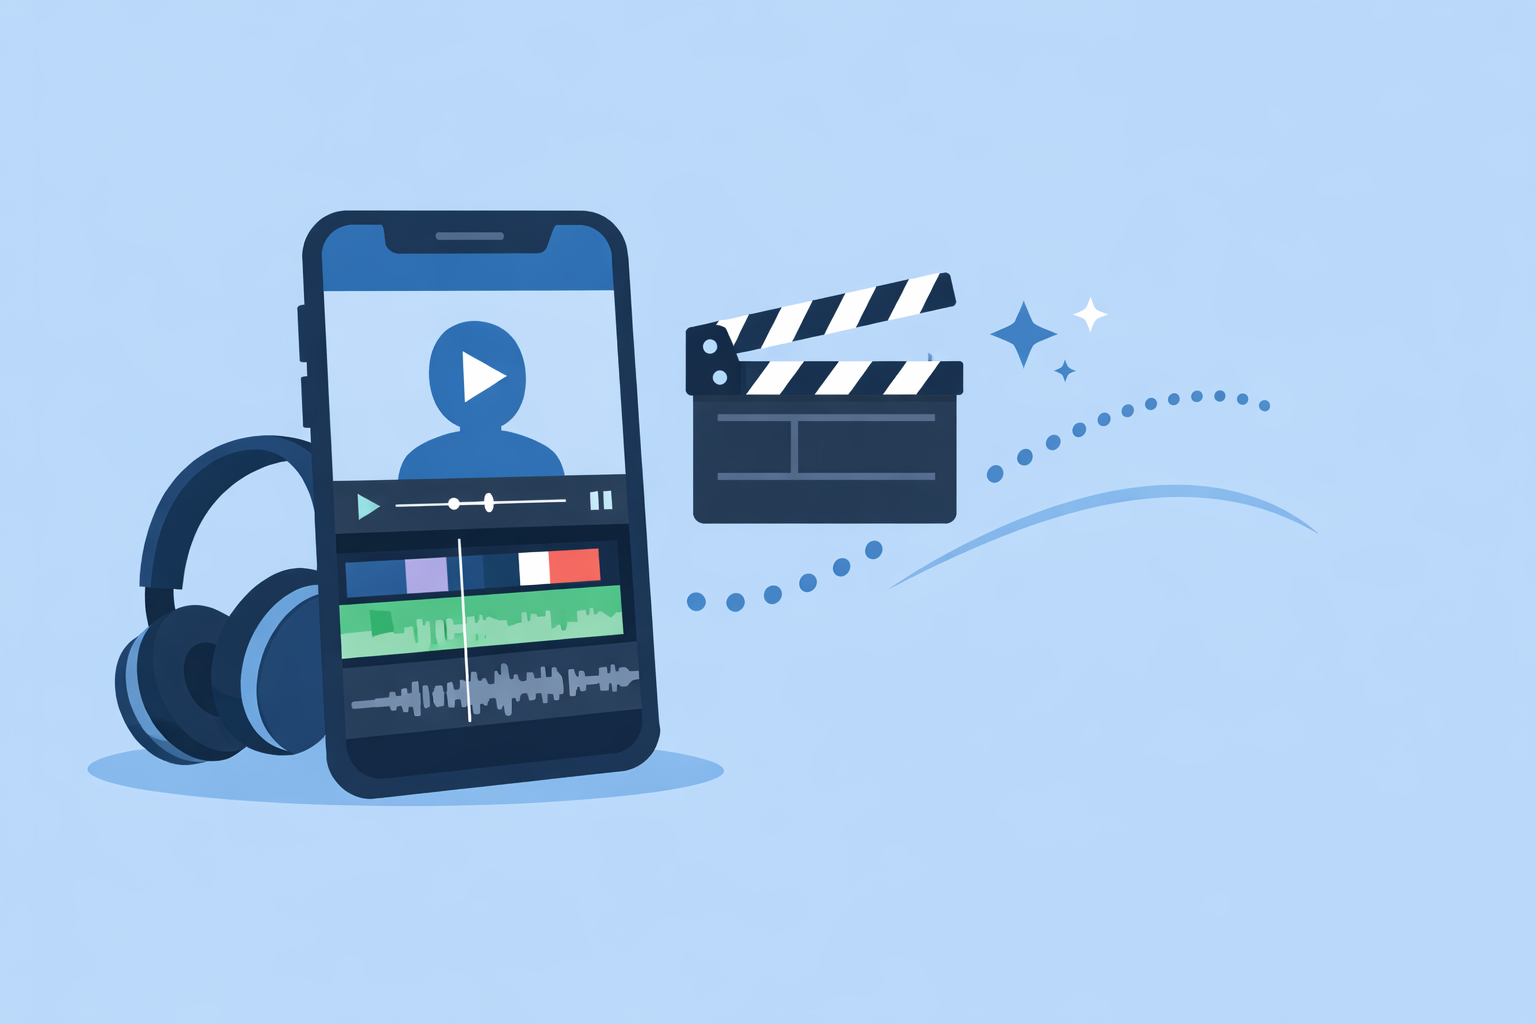
Splice covers the core editing fundamentals:
- Timeline editing with trimming, cutting, cropping, and color adjustments so you can shape your story instead of just stacking clips.(App Store)
- Speed control and speed ramping for smooth slow motion and punchy fast cuts that feel native to Reels and Shorts.(App Store)
- Overlays, masks, and chroma key so you can layer clips, create picture‑in‑picture, or remove backgrounds for more polished looks on mobile.(App Store)
- Direct exports to YouTube, Instagram, TikTok, and more, which keeps your workflow on-device from capture to publish.(App Store)
On top of that, Splice offers access to a large library of royalty‑free music tracks sourced from Artlist and Shutterstock for subscribers, which reduces the need to hunt for safe audio.(App Store)
In day‑to‑day use, that combination means you can:
- Cut a TikTok or Reel with precise timing.
- Layer text, B‑roll, and effects without leaving your phone.
- Publish directly to your main channels in one sitting.
For most US creators who want to move from “I filmed something” to “it’s live on my socials” in under an hour, that’s the balance that matters.
When does VN make sense as an additional tool?
VN positions itself as a free, no‑watermark editor with advanced controls and 4K/HDR exports.(VN App Store) On iPhone, this is appealing when you’re concerned about technical quality or watermarking more than guidance or UI polish.
Key reasons to add VN to your toolkit:
- Free, no watermark exports are explicitly advertised, which is unusual for a tool with multi-track timelines and keyframe controls.(VN App Store)
- 4K and Dolby Vision HDR support on compatible iPhones means you can preserve the full dynamic range of footage from newer devices.(VN App Store)
Where VN can feel less simple is in the details: more technical options, more tracks, and a layout that borrows from desktop editors. If you already understand editing concepts, that’s a plus. If you’re just trying to post better Stories this week, it can slow you down.
A practical approach: keep Splice as your everyday editor, and reach for VN when you specifically need a no‑watermark 4K or HDR export for a campaign or client deliverable.
Splice vs CapCut — which balances power and cognitive load better?
CapCut is widely known for AI features and templates: background removal, auto captions, audio tools, and various AI generators.(CapCut iOS guide) It also supports multitrack timelines and high‑resolution exports on iPhone.
Where CapCut can be attractive:
- You want lots of AI‑driven effects and auto‑generated variations.
- Templates and trending styles are a core part of your workflow.
However, there are two trade‑offs to weigh against simplicity and long‑term use:
- Interface density: CapCut’s breadth of AI tools, template libraries, and cross‑platform options makes the app feel busy. For new editors, that can mean more taps and menus before you even cut your first clip.
- Content rights and stability considerations: CapCut’s terms have been critiqued for granting a broad, royalty‑free license over user content, including face and voice, which has raised concerns among some creators.(TechRadar on CapCut TOS)
By contrast, Splice focuses on iOS and Android devices, with a mobile-first editor designed to get short-form videos finished and exported quickly, without funneling you into a specific social network’s ecosystem.(App Store) For many US users, that neutral, phone‑centric approach is easier to live with than a maximalist AI and template environment.
In practice: use Splice when you want consistent, timeline-based editing with a clean workflow; open CapCut if you need a particular AI effect or template that you can’t easily recreate.
How does InShot fit into a simple iPhone workflow?
InShot is another mobile‑first editor that emphasizes quick edits for social media, with trimming, merging, adding music, text, and filters.(InShot site) Its App Store listing highlights AI speech‑to‑text captions, auto background removal, and other AI helpers, plus export up to 4K/60fps on supported devices.(InShot App Store)
Where InShot is helpful:
- You want built‑in auto captions from speech‑to‑text to speed up subtitling.(InShot App Store)
- You like fast, template-like edits with filters and simple transitions.
The main trade‑off is clarity around plans and limits. InShot follows a freemium model with a Pro subscription that unlocks more features, and third‑party reviews note that the free tier often includes watermarks and restricted effects.(Typecast on InShot) That means the real experience depends heavily on whether you’re paying.
If automatic captions are your top priority, it can be worth cutting a version in InShot and then polishing or versioning the same content in Splice, especially when you want timeline precision, overlays, and export flexibility.
Using Edits for Instagram-first workflows and when is that enough?
Edits, owned by Meta, is described as a free video editor designed for photo and short-form video editing, closely tied to Instagram and Reels workflows.(Edits Wikipedia) Media reports frame it as a direct response to tools like CapCut for Reels-style content.(Edits Wikipedia)
Where Edits can be useful:
- You live almost entirely inside the Instagram ecosystem and want editing, project organization, and publishing in one place.
- You need a simple path to record, assemble, and publish short clips without thinking about other platforms.
What’s less clear so far is its depth as a general-purpose editor: public documentation of features, limits, and platform support is relatively sparse, which makes it harder to evaluate against more established iPhone editors.(Edits Wikipedia)
A pragmatic stack for US creators who publish beyond Instagram: use Edits when you want an Instagram‑native workflow, but keep Splice as your neutral, cross‑platform editor so your content isn’t tied to one social ecosystem.
How should you actually combine these apps in real life?
A realistic scenario for a US creator or small business might look like this:
- You film a mix of talking‑head clips and B‑roll on your iPhone.
- You assemble the story, add music, overlays, and color tweaks, and build your main vertical edit in Splice.
- For a campaign that specifically needs HDR or no‑watermark 4K delivery, you export a higher‑spec version through VN.
- For one or two pieces that rely heavily on AI captions or a particular template, you create a variant in CapCut or InShot, then drive audiences back to your main channels.
- If Instagram is a core channel, you might refine a final Reels version inside Edits while keeping the master project in Splice.
This way, you keep a simple, consistent editing “home base” in Splice and bring in other tools only when their extra complexity buys you a very specific advantage.
What we recommend
- Use Splice as your primary iPhone editor when you care about timeline control, overlays, and fast social exports in a mobile-first interface.(Splice blog)
- Add VN when you specifically need free, no‑watermark 4K or Dolby Vision HDR exports for select projects.(VN App Store)
- Dip into CapCut or InShot for occasional AI-heavy, template-driven pieces where auto captions or stylized effects are the main goal.(CapCut iOS guide)
- Use Edits alongside Splice if your workflow is heavily Instagram-centric, keeping Splice as the neutral hub for content you’ll repurpose across platforms.(Edits Wikipedia)