22 June 2026
Journey Hyperlapse Editing Tips for Family Trips
Embarking on a family trip offers countless moments worth capturing. One creative way to showcase your adventures is through hyperlapse videos—a dynamic form of time-lapse photography that adds a sense of movement and excitement to your footage. Here's how you can create compelling hyperlapse videos of your family journeys.
What Is a Hyperlapse?
A hyperlapse is a time-lapse video where the camera moves over significant distances, creating a dynamic and cinematic effect. Unlike traditional time-lapse, which involves a stationary camera, hyperlapse incorporates movement, adding depth and interest to the footage. (expertphotography.com)
Why Choose Hyperlapse for Family Trips?
Hyperlapse videos are perfect for capturing the essence of a journey. They can showcase the changing landscapes, the progression of time, and the energy of your family's adventures. This technique allows you to condense hours of travel into a short, engaging video that highlights the most memorable moments.
Essential Gear for Shooting Hyperlapse Videos
Creating a smooth hyperlapse doesn't require expensive equipment. Here's what you'll need:
- Camera: A DSLR, mirrorless camera, or even a smartphone with manual settings.
- Lens: A 24mm lens (full-frame equivalent) is ideal to minimize distortion.
- Stabilization: A tripod or monopod helps maintain consistent framing.
- Remote Shutter Release: To reduce camera shake when taking photos.
Planning Your Hyperlapse Shot
- Choose a Subject: Select a focal point, such as a landmark or building, to anchor your shots.
- Map Your Route: Decide on the path you'll take, ensuring it's clear and unobstructed.
- Set Intervals: Determine the interval between shots (e.g., one photo every 2 seconds) based on the desired speed of the final video.
Camera Settings for Consistency
Maintaining consistent settings is crucial to avoid flickering in your final video:
- Manual Mode: Use manual settings to control exposure.
- Shutter Speed: Set to the longest possible while keeping images sharp.
- ISO: Keep as low as possible to reduce noise.
- Aperture: Adjust to achieve proper exposure after setting shutter speed and ISO.
Shooting the Hyperlapse
- Stabilize Your Camera: Use a tripod or monopod to keep the camera steady.
- Align Your Shots: Ensure the anchor point remains in the same position within the frame for each photo.
- Maintain Consistent Movement: Move the same distance between each shot to ensure smooth transitions.
- Monitor Battery and Storage: Keep an eye on your camera's battery life and memory card space, as hyperlapse sequences can be lengthy.
Editing Your Hyperlapse Video
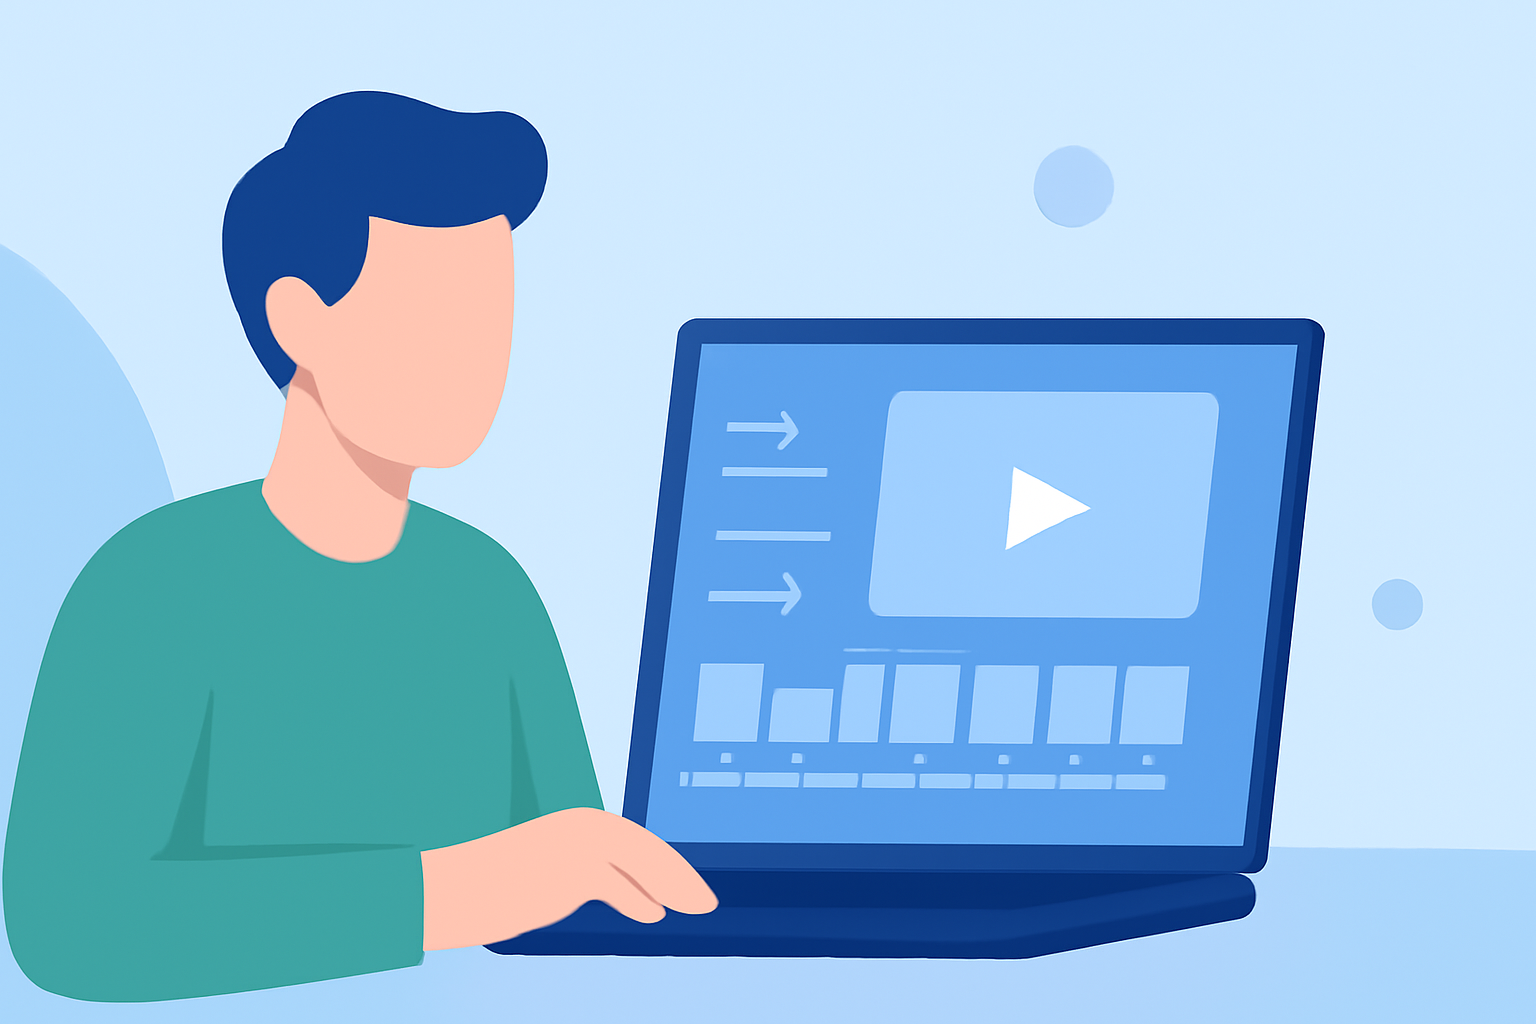
After capturing your sequence, editing is key to creating a polished final product:
- Import Photos: Transfer your images to your computer.
- Stabilize Footage: Use video editing software to smooth out any unwanted shakes or jitters.
- Adjust Speed: Set the playback speed to achieve the desired time-lapse effect.
- Color Correction: Enhance colors to make your video more vibrant.
- Add Music: Incorporate a soundtrack that complements the mood of your journey.
Tips for Successful Hyperlapse Videos
- Practice: Experiment with different routes and settings to find what works best.
- Be Patient: Hyperlapse photography requires time and precision; don't rush the process.
- Use Editing Software: Tools like Adobe Premiere Pro or Final Cut Pro offer advanced features for stabilizing and editing your footage.
Conclusion
Creating hyperlapse videos of your family trips adds a dynamic and engaging element to your travel memories. With careful planning, consistent shooting, and thoughtful editing, you can produce captivating videos that showcase the essence of your journey.
For those looking to enhance their video editing experience, Planes Live offers a user-friendly platform with a variety of tools and features to assist in creating professional-quality videos.