22 June 2026
Mastering Journey Timelapse Editing on Your iPhone
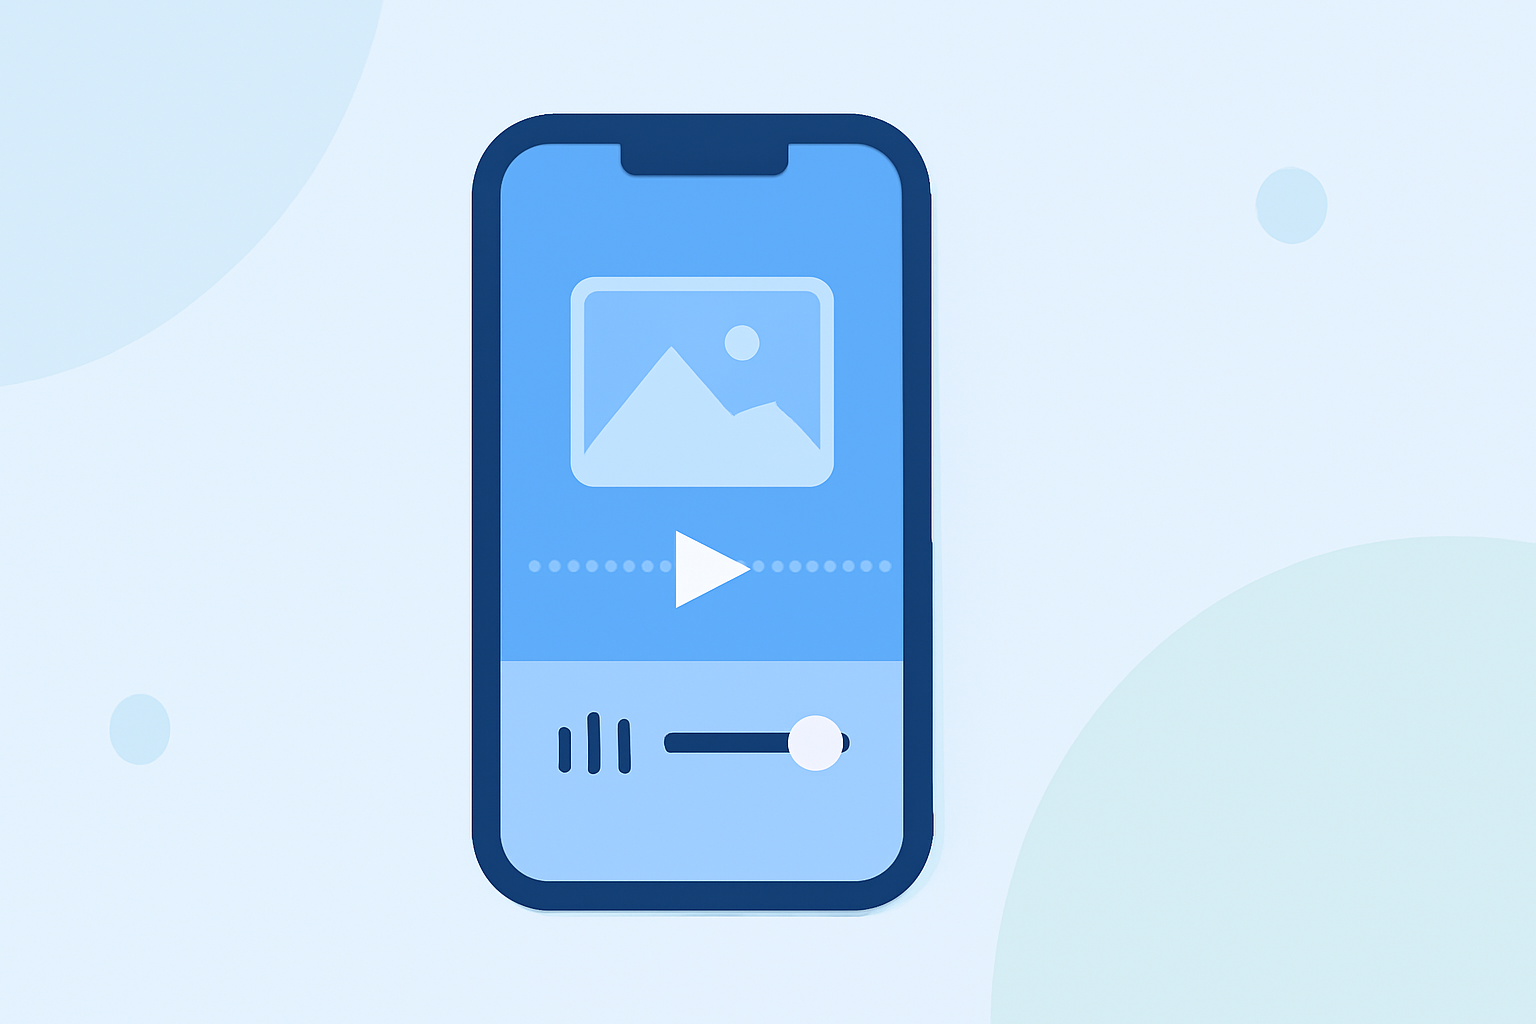
Creating captivating journey timelapse videos on your iPhone allows you to showcase the transformation of a scene over time, whether it's a bustling cityscape, a blooming garden, or a construction project. This guide will walk you through the process, from capturing the footage to editing and sharing your masterpiece.
1. What Is a Journey Timelapse Video?
A journey timelapse video condenses hours, days, or even months of real-time footage into a short, dynamic sequence. This technique is perfect for documenting long-term projects or natural events, providing viewers with a visual narrative of change and progress.
2. How to Capture High-Quality Timelapse Footage on Your iPhone
-
Stabilize Your iPhone: Use a tripod or a stable surface to prevent shaky footage.
-
Set the Interval: Decide how often to capture a frame. For instance, taking a photo every 10 seconds will result in a faster-paced video.
-
Maintain Consistent Lighting: Ensure your scene has consistent lighting to avoid flickering in the final video.
-
Use the Built-in Timelapse Mode: The iPhone's native Camera app offers a timelapse feature that automatically adjusts exposure and focus. Simply open the Camera app, select 'Time-Lapse,' and start recording.
3. How to Edit Your Timelapse Video on iPhone
After capturing your footage, editing is crucial to enhance the visual appeal. Here's how you can do it:
-
Use iMovie for Basic Edits: Apple's iMovie app allows you to adjust the speed of your timelapse videos. To slow down a timelapse video in iMovie for iPhone:
-
Open iMovie and create a new project.
-
Import your timelapse video.
-
Tap the speedometer icon to adjust the speed slider.
-
Set the desired speed and preview the changes.
This method is effective for minor adjustments and basic editing needs. (idownloadblog.com)
-
-
Explore Advanced Editing with Planes Live: For more sophisticated editing capabilities, consider using Planes Live. This app offers a range of features tailored for timelapse videos, including:
-
Advanced Speed Controls: Precisely adjust playback speed to achieve the desired effect.
-
Stabilization Tools: Eliminate camera shake and ensure smooth transitions.
-
Color Correction: Enhance the visual quality with professional-grade color adjustments.
Planes Live is designed to provide a seamless editing experience, making it an excellent choice for creators looking to elevate their timelapse projects.
-
4. How to Share Your Timelapse Video
Once your video is edited to your satisfaction, sharing it is the next step:
-
Save and Export: Export your final video in the desired resolution and format.
-
Share on Social Media: Upload your video to platforms like Instagram, YouTube, or Facebook to showcase your work.
-
Create a Portfolio: Include your timelapse videos in your online portfolio to demonstrate your skills to potential clients.
5. Tips for Creating Engaging Journey Timelapse Videos
-
Plan Your Shots: Decide on the key moments you want to capture to tell a compelling story.
-
Monitor Battery Life: Timelapse recording can drain your battery quickly; consider carrying a portable charger.
-
Experiment with Angles: Different perspectives can add interest and depth to your video.
-
Use Music and Sound Effects: Adding audio can enhance the emotional impact of your video.
By following these steps and utilizing the right tools, you can create impressive journey timelapse videos directly from your iPhone, capturing the essence of transformation and change in a visually compelling manner.
How to Make Hyperlapse Video with iPhone & Android Easy Tutorial!