22 June 2026
Mastering Journey Timelapse Editing on Your Smartphone: A Step-by-Step Guide
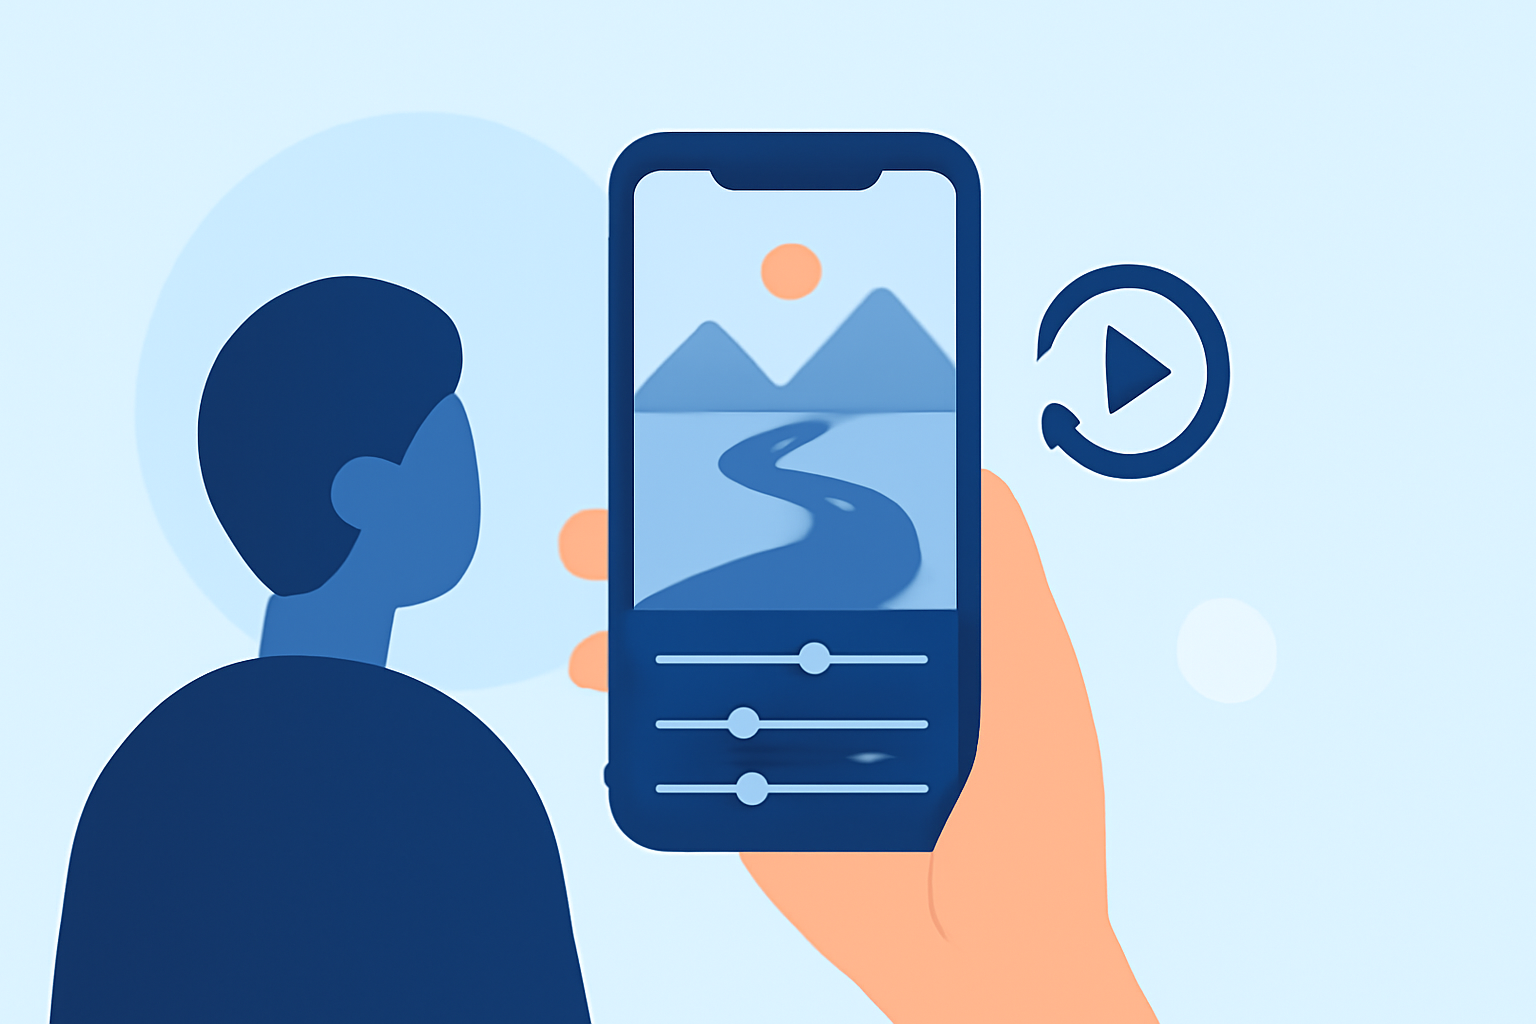
Creating a captivating journey timelapse video entirely on your smartphone is both achievable and rewarding. This guide will walk you through the process, from capturing the footage to editing and finalizing your video.
1. What Is a Journey Timelapse Video?
A journey timelapse video compresses extended periods into short, dynamic sequences, showcasing the passage of time in a visually engaging manner. It's perfect for documenting travels, daily routines, or any event where change over time is the focal point.
2. How Do I Capture Timelapse Footage on My Smartphone?
a. Using Built-in Camera Features
Many smartphones come equipped with a native timelapse mode:
-
iPhone: Open the Camera app, swipe to 'Time-Lapse,' and tap the shutter button to start recording.
-
Android: Access the Camera app, select 'More' or 'Mode,' choose 'Time-Lapse,' and press the shutter to begin.
b. Utilizing Third-Party Apps
For enhanced control over your timelapse settings, consider using specialized apps:
-
iMotion: Offers manual adjustments for exposure, white balance, and focus, along with interval settings up to 10 frames per second.
-
Lapse It: Provides features like manual focus, exposure, and white balance, along with intervalometer support.
3. What Equipment Do I Need for Shooting Timelapse Videos?
To ensure stability and quality in your timelapse footage:
-
Tripod: A sturdy tripod is essential to keep your smartphone steady during long recording sessions.
-
External Lens Attachments: Wide-angle or telephoto lens attachments can expand your creative possibilities.
-
Power Bank: Long recording times can drain your battery; a portable charger ensures uninterrupted shooting.
4. How Do I Edit My Timelapse Video on a Smartphone?
a. Using Built-in Editing Tools
After capturing your footage, you can edit it directly on your smartphone:
-
iPhone: Use the Photos app to trim, adjust exposure, and apply filters.
-
Android: The Google Photos app offers basic editing features like trimming and color adjustments.
b. Utilizing Third-Party Editing Apps
For more advanced editing capabilities:
-
CapCut: A user-friendly app that allows you to adjust video speed, apply filters, and add music. (capcut.com)
-
Adobe Premiere Rush: Offers multi-track editing, color correction, and audio enhancements.
5. How Do I Export and Share My Timelapse Video?
Once editing is complete:
-
Export Settings: Choose the desired resolution (e.g., 1080p or 4K) and frame rate (typically 24 or 30 fps).
-
Sharing Platforms: Upload your video to social media platforms like Instagram, YouTube, or Vimeo to share with your audience.
6. How Can I Enhance My Timelapse Videos?
To add a professional touch:
-
Stabilization: Use software to correct any minor shakes or jitters in your footage.
-
Color Grading: Adjust the color balance to create a specific mood or atmosphere.
-
Sound Design: Incorporate ambient sounds or a fitting soundtrack to complement the visuals.
7. What Are Some Tips for Shooting High-Quality Timelapse Videos?
-
Plan Your Shots: Scout locations and determine the best times to shoot for optimal lighting and composition.
-
Monitor Battery and Storage: Ensure your device has sufficient battery life and storage space for extended recording sessions.
-
Use Manual Settings: Lock focus, exposure, and white balance to maintain consistency throughout the sequence.
By following these steps and utilizing the right tools, you can create impressive journey timelapse videos entirely on your smartphone, capturing the essence of your experiences in a dynamic and engaging format.