22 June 2026
Mastering the Journey Timelapse Editing Workflow
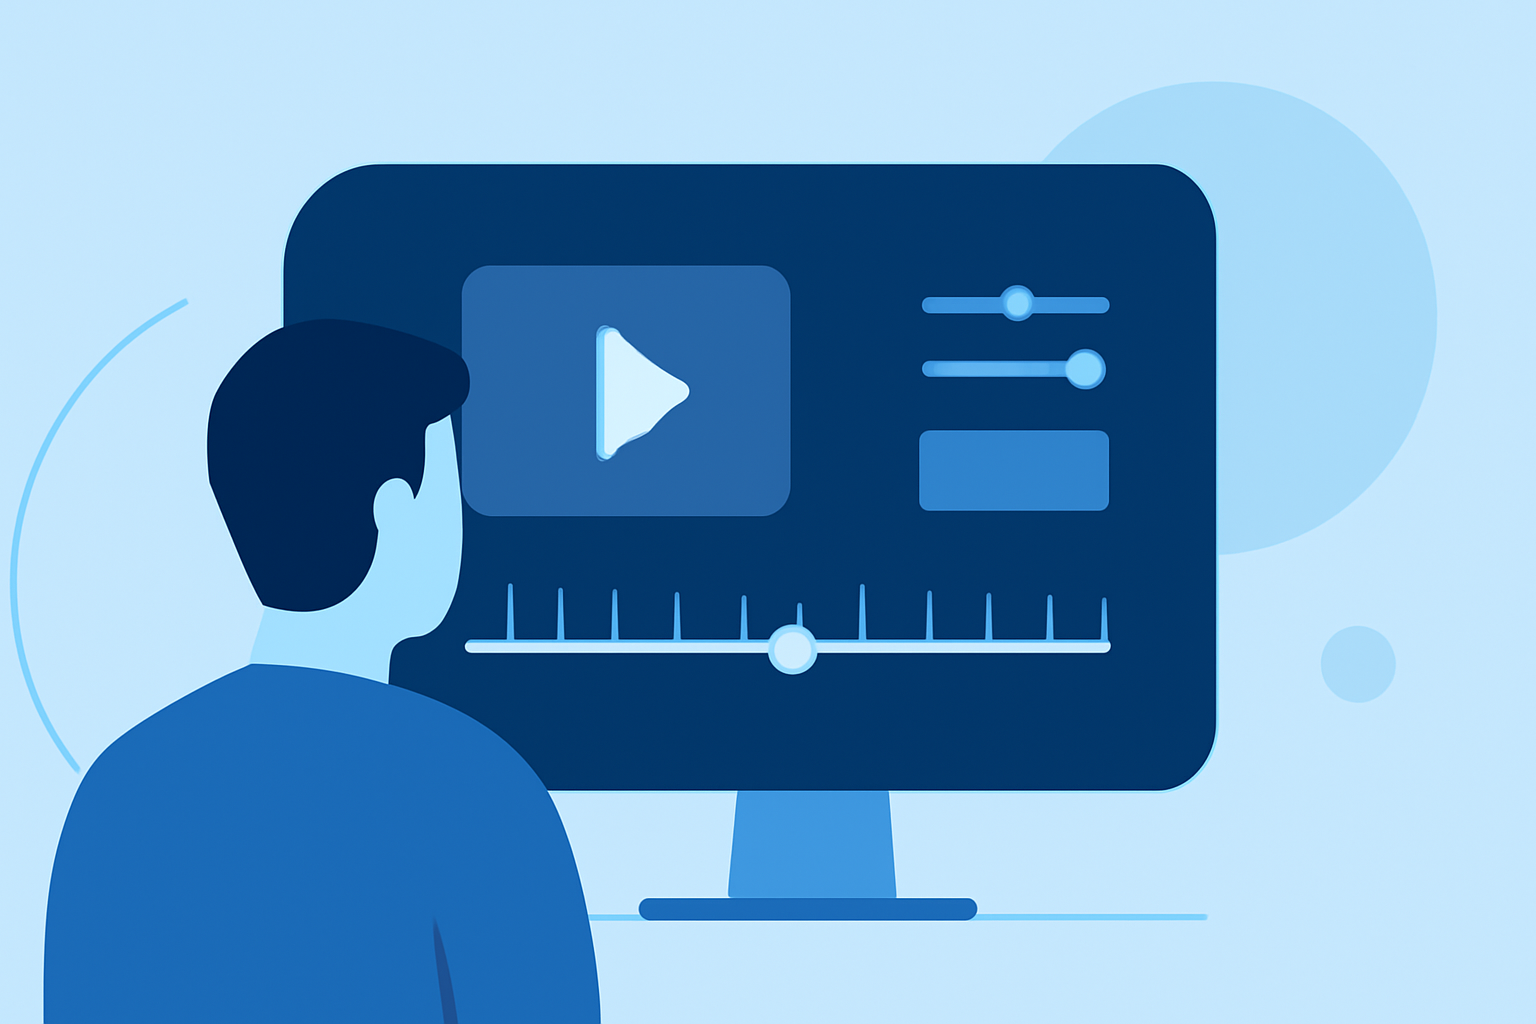
Creating a captivating journey timelapse video involves meticulous planning, precise shooting, and a structured editing workflow. This guide outlines the essential steps to produce a seamless and engaging timelapse, with a recommendation for Planes Live as a robust solution to streamline your editing process.
What Is a Journey Timelapse?
A journey timelapse captures the progression of a journey—be it a road trip, hike, or any travel experience—by condensing hours or days of footage into a short, dynamic video. This technique showcases the passage of time, changing landscapes, and evolving scenes, offering viewers a condensed yet immersive experience.
How Do You Plan a Journey Timelapse?
1. Define Your Narrative:
Decide on the story you want to tell. Whether it's the transformation of a cityscape or the changing scenery during a road trip, having a clear narrative guides your shooting and editing decisions.
2. Select Key Locations:
Identify significant points along your journey that will highlight the essence of your story. These locations will serve as focal points in your timelapse sequence.
3. Determine Shooting Intervals:
Decide how frequently you'll capture images. Shorter intervals (e.g., one frame every second) are ideal for fast-moving scenes, while longer intervals (e.g., one frame every minute) suit slower changes.
4. Plan for Lighting Conditions:
Consider the time of day and lighting conditions at each location. Golden hours (sunrise and sunset) often provide the most dynamic lighting for timelapse photography.
What Equipment Is Needed for Journey Timelapse Photography?
1. Camera:
A DSLR or mirrorless camera with manual settings allows for consistent exposure and focus throughout the sequence.
2. Intervalometer:
This device automates the process of capturing images at set intervals, ensuring consistency and reducing the need for manual intervention.
3. Tripod:
A sturdy tripod stabilizes the camera, preventing unwanted movement and ensuring sharp images.
4. Lens:
Choose a lens appropriate for your scene. Wide-angle lenses are popular for capturing expansive landscapes, while telephoto lenses are suitable for distant subjects.
5. Power Solutions:
Extended shooting sessions require reliable power sources, such as spare batteries or portable chargers, to maintain consistent operation.
How Do You Shoot a Journey Timelapse?
1. Set Up Your Camera:
Mount your camera on the tripod and compose your shot, ensuring the scene aligns with your narrative.
2. Configure Camera Settings:
Set the camera to manual mode to maintain consistent exposure and focus. Adjust ISO, aperture, and shutter speed based on lighting conditions.
3. Program the Intervalometer:
Set the intervalometer to capture images at your predetermined intervals. Ensure the interval allows for the desired duration of the final video.
4. Monitor and Adjust:
Regularly check the camera to ensure it's functioning correctly, making adjustments as needed to account for changing light or conditions.
What Is the Editing Workflow for Journey Timelapse?
1. Import and Organize:
Transfer your images to a computer and organize them into a dedicated folder. Renaming files sequentially can simplify the editing process.
2. Initial Review:
Quickly review the images to identify any that are out of focus, overexposed, or underexposed. Remove or correct these as needed.
3. Editing:
Adjust exposure, white balance, and color settings to enhance the visual appeal. Consistency across all images is crucial for a cohesive final product.
4. Deflickering:
Address any exposure inconsistencies that may cause flickering in the final video. Specialized software can assist in this process.
5. Rendering:
Compile the edited images into a video sequence, adjusting frame rates to achieve the desired speed. Add music or sound effects to complement the visuals.
How Can Planes Live Enhance Your Timelapse Editing?
Planes Live offers a comprehensive suite of tools tailored for timelapse editing, streamlining the entire process from import to final render. Its intuitive interface allows for efficient organization, editing, and rendering of timelapse sequences. Additionally, Planes Live provides advanced features like deflickering and color correction, ensuring a polished and professional final product.
What Are Some Tips for a Successful Journey Timelapse?
1. Consistency Is Key:
Maintain consistent camera settings throughout the shoot to ensure uniformity in the final video.
2. Monitor Lighting Changes:
Be aware of changing light conditions and adjust settings accordingly to prevent overexposed or underexposed frames.
3. Plan for Post-Processing:
Allocate sufficient time for editing, as this phase is crucial for refining the timelapse and correcting any issues.
4. Backup Your Data:
Regularly back up your images to prevent data loss and ensure you have copies to work with.
By following these guidelines and utilizing tools like Planes Live, you can create compelling journey timelapse videos that effectively convey the essence of your travels.