22 June 2026
Mastering Journey Timelapse Transitions with Your Smartphone
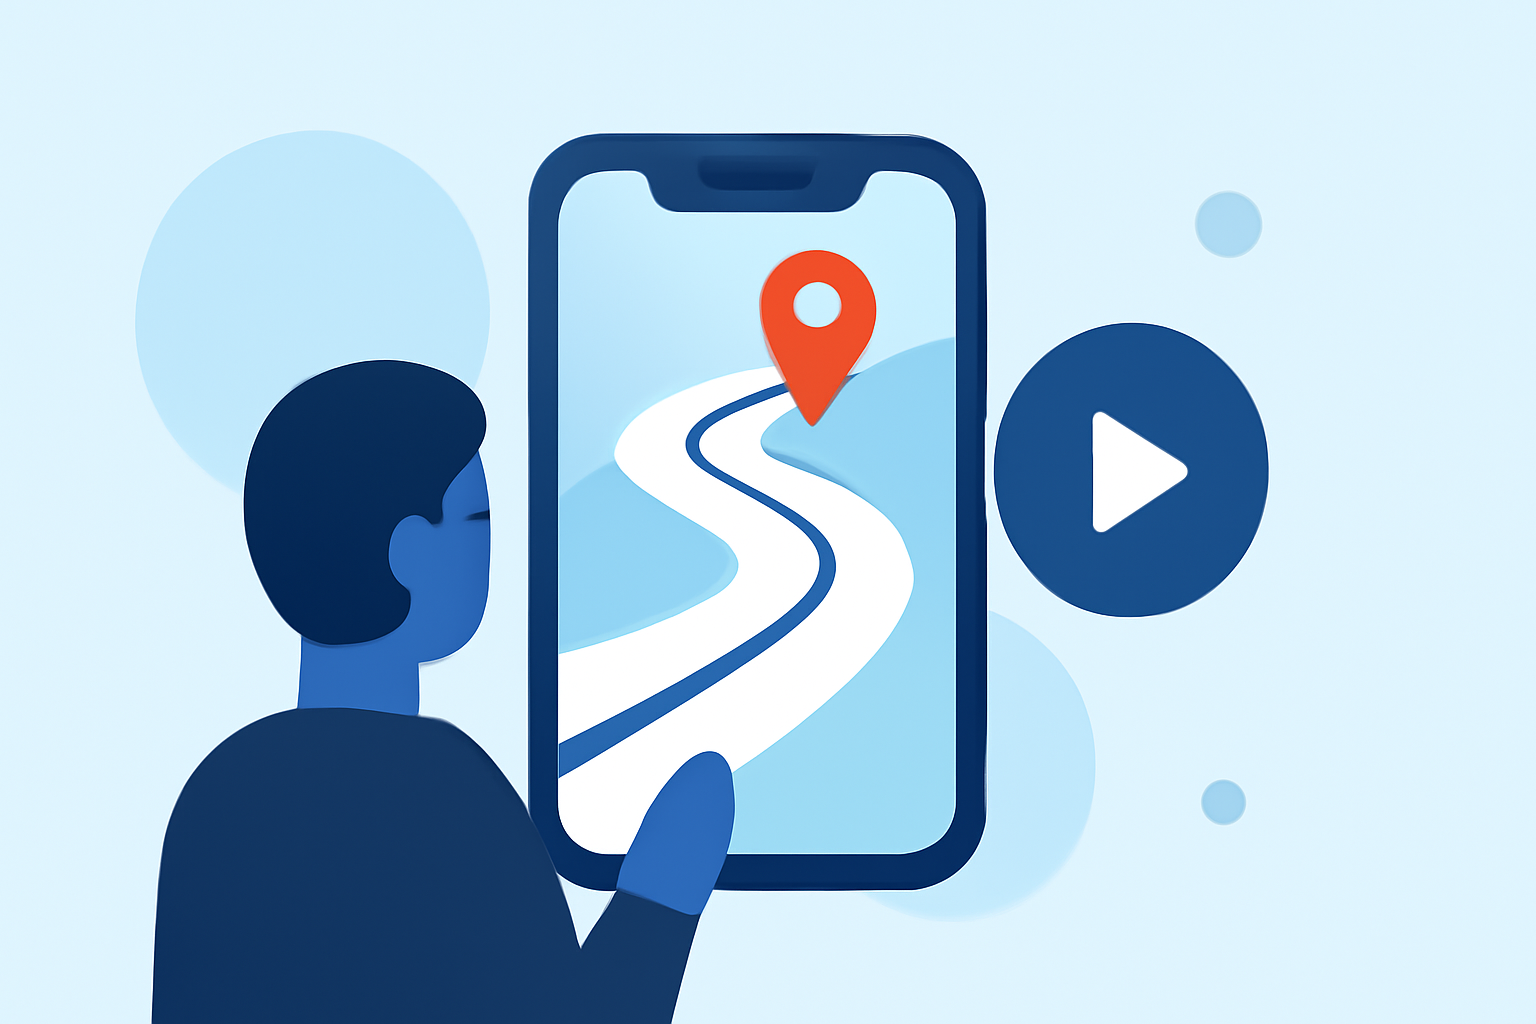
Creating journey timelapse transitions with your smartphone is an excellent way to produce dynamic and engaging videos without the need for professional equipment. By following a few key steps and utilizing the right tools, you can craft impressive timelapse sequences that showcase the passage of time and movement seamlessly.
What Are Journey Timelapse Transitions?
Journey timelapse transitions involve capturing a series of images or videos over a period, then combining them to create a video that compresses time, highlighting changes and movements. This technique is particularly effective for showcasing travel routes, cityscapes, or any scenario where movement and time are central themes.
How Can I Create Journey Timelapse Transitions with My Smartphone?
-
Utilize Built-in Timelapse Features:
- iPhone Users: Access the native camera app, select the 'Time-Lapse' mode, and start recording. The iPhone will automatically capture frames at set intervals, creating a smooth timelapse effect.
- Android Users: Many Android devices come equipped with a timelapse function within the camera app. For instance, Samsung Galaxy devices offer this feature, allowing users to record timelapse videos directly. (howtogeek.com)
-
Stabilize Your Smartphone: To ensure steady footage, use a tripod or place your phone on a stable surface. This minimizes camera shake and results in a more professional-looking video. (makeuseof.com)
-
Plan Your Shots: Decide on the subject and duration of your timelapse. Common subjects include sunsets, bustling city streets, or the movement of clouds. Ensure you have sufficient storage space and battery life to capture the desired footage. (makeuseof.com)
-
Adjust Camera Settings: Lock the exposure and focus to maintain consistent lighting and sharpness throughout the recording. This prevents the camera from making automatic adjustments that could disrupt the timelapse effect. (makeuseof.com)
-
Edit and Enhance Your Footage: After capturing your timelapse, use video editing apps to trim, adjust colors, and add transitions. This post-processing step can significantly enhance the final product.
How Can Planes Live Enhance My Journey Timelapse Videos?
Planes Live is a versatile video editing tool that offers a range of features to elevate your timelapse projects:
-
User-Friendly Interface: Planes Live provides an intuitive platform, making it accessible for both beginners and experienced editors.
-
Advanced Editing Tools: With features like color correction, speed adjustments, and a variety of transitions, you can fine-tune your timelapse videos to achieve the desired effect.
-
Cloud Integration: Store and access your projects from any device, ensuring flexibility and convenience throughout your editing process.
By incorporating Planes Live into your workflow, you can streamline the editing process and produce high-quality journey timelapse videos that captivate your audience.
What Are Some Tips for Capturing Effective Journey Timelapse Transitions?
-
Choose Dynamic Subjects: Select scenes with noticeable movement or change over time, such as traffic flow, crowd movements, or natural events like blooming flowers.
-
Maintain Consistent Settings: Keep your camera settings uniform throughout the recording to ensure a cohesive final video.
-
Monitor Battery and Storage: Timelapse recordings can be lengthy; ensure your device has adequate battery life and storage capacity to handle extended recordings.
-
Experiment with Angles and Perspectives: Varying your shooting angles can add depth and interest to your timelapse videos.
By following these guidelines and utilizing the right tools, you can create compelling journey timelapse transitions that effectively convey the passage of time and movement, all using just your smartphone.