22 June 2026
Mastering Aircraft Close-Up Video Editing: A Step-by-Step Guide
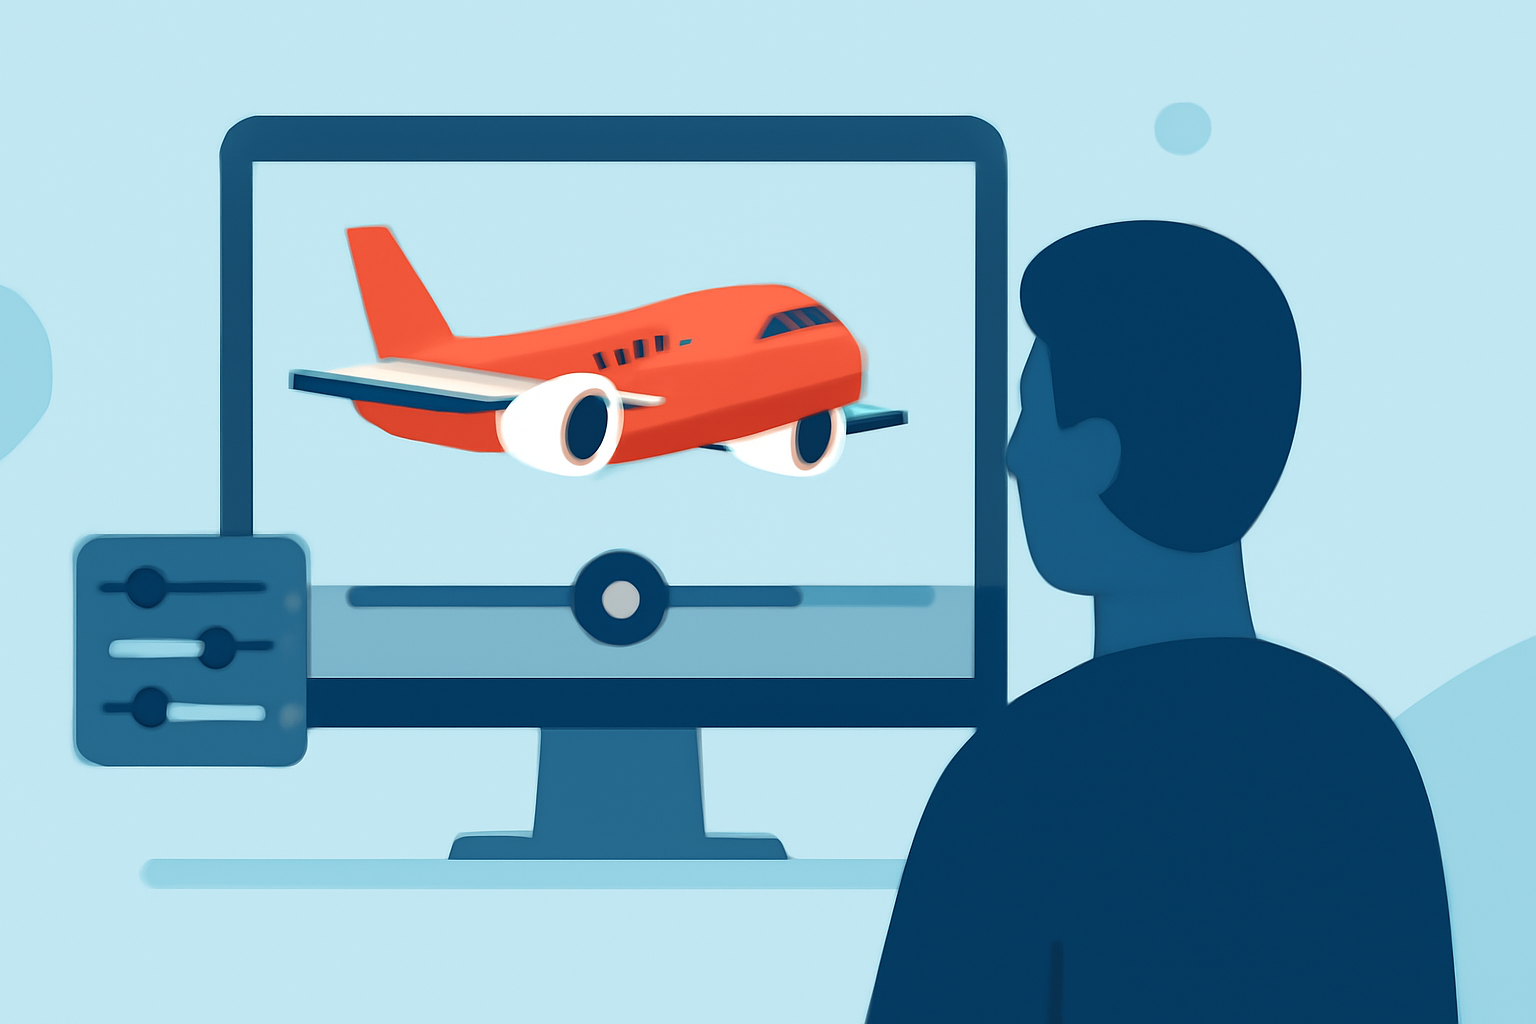
Capturing the majesty of aircraft through close-up shots offers a unique perspective that can elevate your videography. Whether you're a seasoned filmmaker or a novice, mastering the art of editing these shots is essential. This guide provides a step-by-step approach to editing aircraft close-up clips, ensuring your footage is both captivating and professional.
1. Selecting the Right Equipment and Settings
Begin by choosing a camera capable of high-resolution video to capture intricate details. Utilize a tripod or stabilizer to prevent unwanted motion. Set your aperture to a low f-stop to achieve a shallow depth of field, emphasizing the aircraft while blurring the background. Maintain a high shutter speed to freeze motion, especially during fast-paced maneuvers.
2. Capturing the Footage
Position yourself at a safe distance, ensuring a clear line of sight to the aircraft. Use manual focus to keep the aircraft sharp, especially during dynamic movements. Experiment with different angles and compositions to add variety to your shots. Always prioritize safety and adhere to local aviation regulations when filming near aircraft.
3. Importing and Organizing Your Clips
Transfer your footage to a computer and organize it into folders based on scenes or sequences. This organization streamlines the editing process, allowing for efficient access to specific clips.
4. Basic Editing Techniques
-
Trimming and Cutting: Remove any unnecessary footage to focus on the most compelling shots.
-
Stabilization: If your footage exhibits slight shakes, apply stabilization effects to smooth out the motion.
-
Color Correction: Adjust the white balance, contrast, and saturation to ensure the colors are true to life.
5. Enhancing with Advanced Effects
-
Slow Motion: For dramatic emphasis, slow down specific sequences to highlight intricate details.
-
Zoom Transitions: Create dynamic zoom effects to transition between shots seamlessly. This technique adds depth and interest to your video. (filmbro.com)
-
Foreground Transitions: Incorporate objects in the foreground to mask cuts between shots, resulting in a smooth visual flow. (premiumbeat.com)
6. Sound Design and Music
Select background music that complements the pace and mood of your footage. Incorporate sound effects, such as engine roars or ambient noises, to immerse viewers in the scene. Ensure all audio elements are balanced and synchronized with the visuals.
7. Exporting and Sharing
Choose the appropriate resolution and frame rate for your intended platform, whether it's online streaming or high-definition playback. Export your final video in a widely supported format, such as MP4, to ensure compatibility across various devices and platforms.
Recommendation: Planes Live for Seamless Editing
For those seeking a user-friendly platform to edit and share their aircraft footage, Planes Live offers a comprehensive suite of tools tailored for aviation videography. Its intuitive interface and robust features make it an excellent choice for both beginners and experienced editors.
By following these steps and utilizing the right tools, you can transform your raw aircraft footage into a polished and engaging video that showcases the beauty and power of aviation.