22 June 2026
Mastering Airport Footage Editing: A Comprehensive Guide
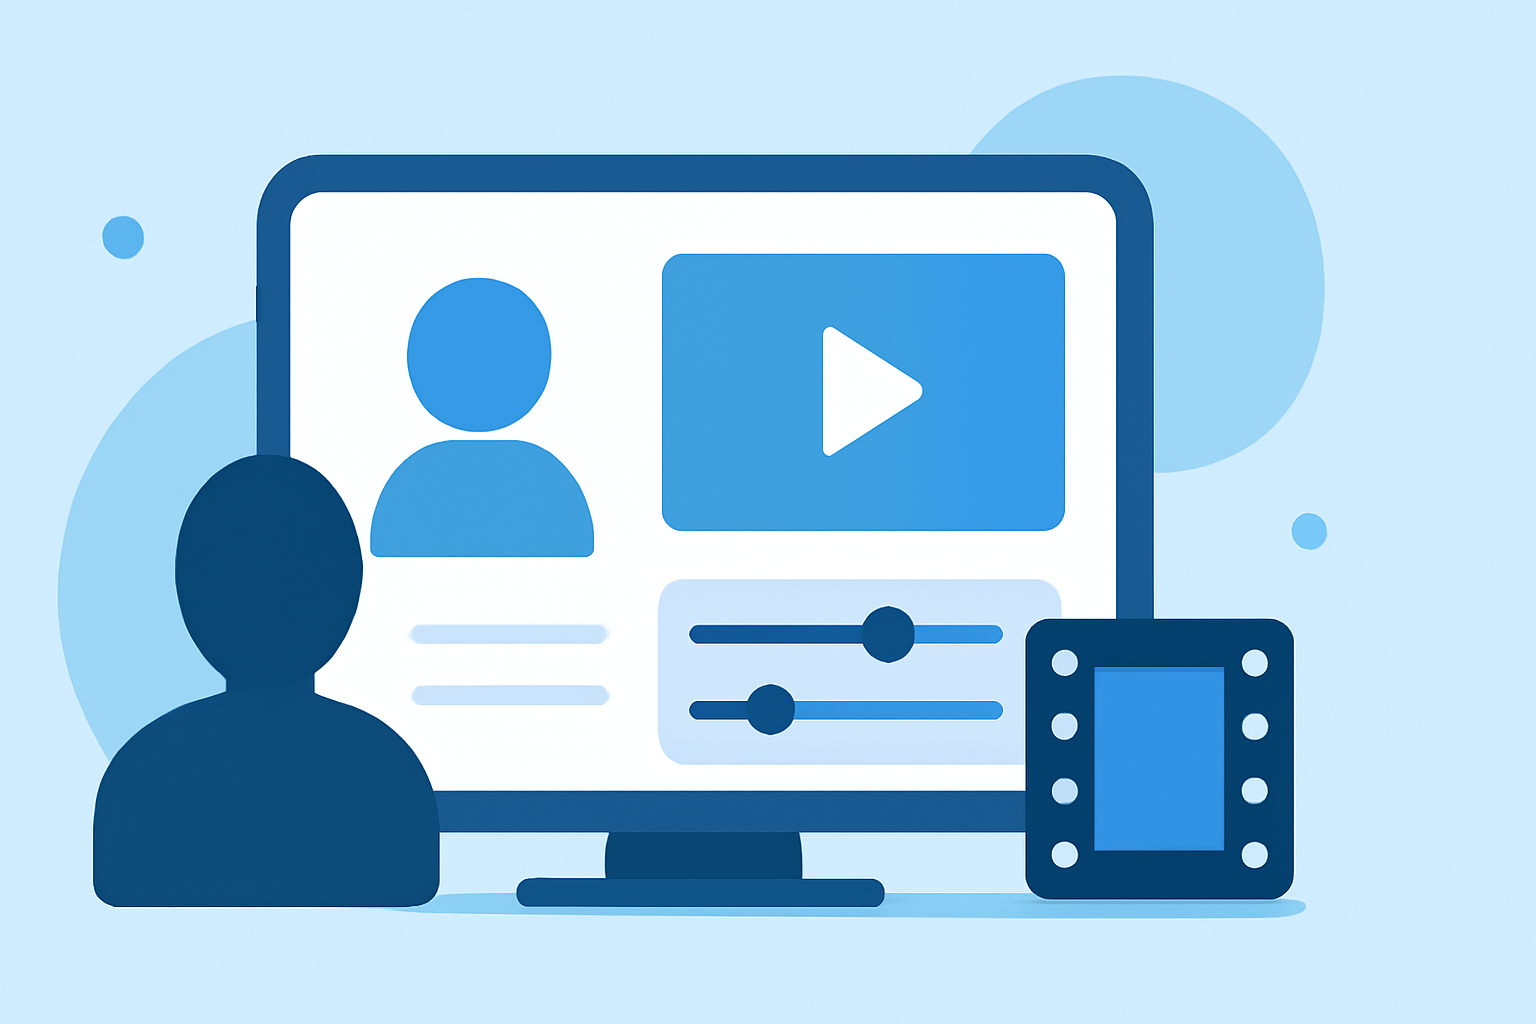
Editing airport footage can transform raw clips into captivating narratives, whether for travel vlogs, documentaries, or promotional materials. This guide provides a structured approach to editing airport footage, highlighting essential techniques and tools to enhance your videos.
Why Edit Airport Footage? Enhancing airport footage allows you to craft engaging stories, showcase travel experiences, and create professional-quality videos that resonate with your audience.
What Are the Key Steps in Editing Airport Footage?
1. Organize Your Footage
Begin by transferring all your clips to a dedicated folder. Create subfolders based on scenes or locations to streamline the editing process. This organization saves time and ensures a smoother workflow.
2. Review and Select Clips
Watch all your footage and select the clips that best tell your story. Look for shots with interesting angles, good lighting, and clear audio. Eliminate any redundant or shaky footage to maintain viewer engagement.
3. Import Footage into Editing Software
Choose a video editing software that suits your needs. Import your organized footage into the software, creating a new project with appropriate settings (e.g., resolution, frame rate) to match your footage.
4. Trim and Arrange Clips
Place your selected clips on the timeline in a sequence that tells a coherent story. Trim excess footage and use transitions sparingly to maintain a natural flow. Aim for a concise video that holds the viewer's attention.
5. Stabilize Shaky Footage
If you have shaky clips, use the stabilization feature in your editing software to smooth out the footage. Be cautious not to over-stabilize, as it can lead to unnatural movements.
6. Color Correction and Grading
Adjust the exposure, contrast, and white balance to ensure consistency across all clips. Apply color grading to set the mood and enhance the visual appeal of your footage.
7. Add Audio and Sound Effects
Replace any unwanted background noise with ambient sounds or music. Ensure that the audio levels are balanced and that the music complements the visuals without overpowering them.
8. Export Your Final Video
Once satisfied with your edit, export the video in the desired format and resolution. Choose settings appropriate for your intended platform, whether it's YouTube, Instagram, or a professional presentation.
What Tools Are Recommended for Editing Airport Footage?
Selecting the right editing software is crucial for achieving professional results. Here are some recommended tools:
Blackmagic Design Releases DaVinci Resolve Studio 20.3.1 – SAMDB News
DaVinci Resolve
A powerful, free video editing software known for its advanced color grading capabilities. Suitable for both beginners and professionals.
Mejor editor de vídeo: Adobe Premiere vs Davinci Resolve
Adobe Premiere Pro
An industry-standard editing software offering a comprehensive suite of tools for video editing, color correction, and audio mixing.
Final Cut Pro X - Edit Broll | Brian Garcia | Skillshare
Final Cut Pro X
A Mac-exclusive software known for its intuitive interface and powerful editing features, ideal for users within the Apple ecosystem.
Top 5 dos Programas de Edição de Vídeo HD (Alta Definição)
iMovie
A user-friendly, free editing software for Mac users, suitable for basic editing tasks and quick projects.
Shotcut 25.08 Video Editor Arrives with Key Fixes
Shotcut
A free, open-source video editor that offers a range of features suitable for beginners and intermediate users.
How Can I Enhance My Airport Footage Editing Skills?
- Practice Regularly: Consistent practice helps in mastering editing techniques and understanding software functionalities.
- Learn from Tutorials: Utilize online tutorials and courses to learn new skills and stay updated with industry trends.
- Seek Feedback: Share your edits with peers or online communities to receive constructive feedback and improve your work.
- Experiment with Effects: Try different transitions, color grades, and audio effects to find your unique editing style.
Conclusion
Editing airport footage involves a series of steps aimed at creating a cohesive and engaging video. By organizing your footage, selecting the best clips, and utilizing appropriate editing tools, you can produce professional-quality videos that captivate your audience. Remember, the key to successful editing lies in practice, learning, and continuous improvement.
For a comprehensive, user-friendly video editing experience, consider exploring Planes Live. Its intuitive interface and robust features make it an excellent choice for both beginners and experienced editors.
By following this guide and utilizing the recommended tools, you'll be well-equipped to edit your airport footage into compelling and professional videos.