22 June 2026
Mastering Check-In Footage Edits on Android: A Comprehensive Guide
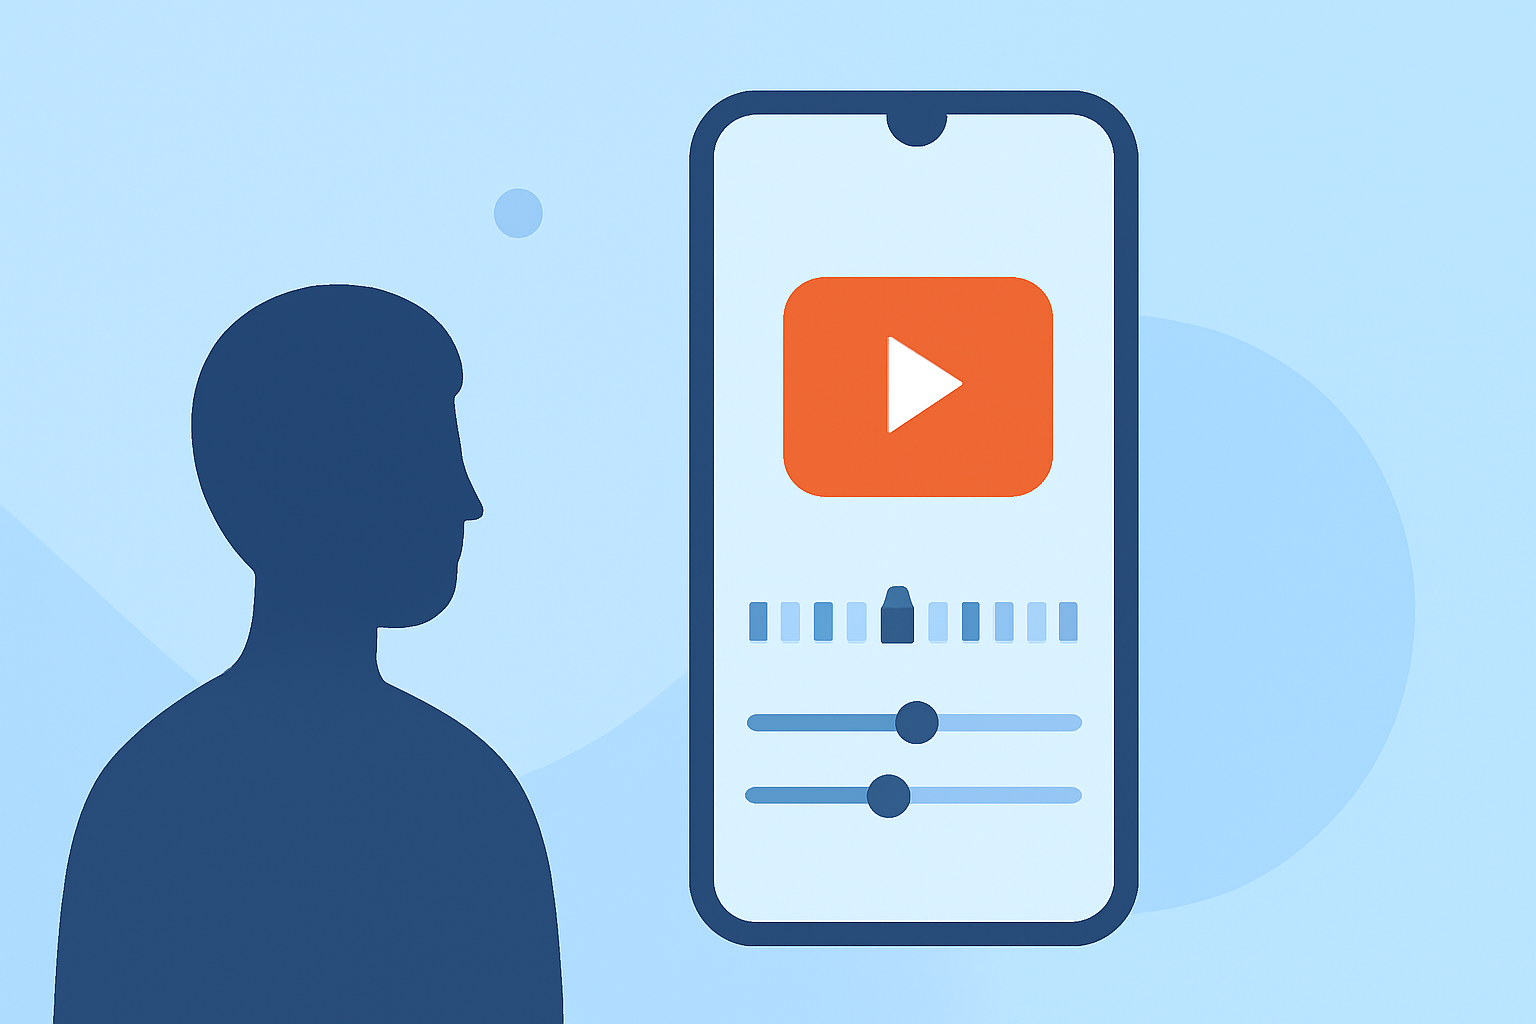
Editing check-in footage on your Android device can be streamlined with the right tools and techniques. Here's a step-by-step guide to help you produce polished videos directly from your smartphone.
1. Choose the Right Video Editing App
Selecting an appropriate app is crucial for efficient editing. Here are some top-rated options:
10 Apps Like Video Star | Best Alternatives ( 2026 )
Kinemaster
Offers a multi-layer interface with features like blending modes, chroma-keying, and audio mixing. Ideal for both beginners and professionals. (creativebloq.com)
Bot Verification
CapCut
A free app popular among TikTok creators, providing excellent features even at the free level. (creativebloq.com)
Adobe Premiere Rush – A Concise Guide – Faculty of Arts – Adobe Portal
Adobe Premiere Rush
Offers a user-friendly interface, cross-platform functionality, and integration with Premiere Pro for advanced editing. (creativebloq.com)
2. Optimize Your Device for Editing
To ensure smooth editing:
-
Free Up Storage: Maintain at least 20GB of free space to prevent lag and crashes. (editorvault.online)
-
Close Background Apps: Shut down unnecessary applications to allocate more resources to your editing app. (editorvault.online)
-
Manage Device Temperature: Edit in a cool environment and remove your phone case to help heat escape. (editorvault.online)
3. Stabilize Your Footage
Shaky footage can distract viewers. To stabilize:
-
In-App Stabilization: Many editing apps offer built-in stabilization features. For instance, Kinemaster provides tools to reduce shakiness. (creativebloq.com)
-
Post-Production Stabilization: Use software like Adobe Premiere Pro's Warp Stabilizer effect to smooth out undesirable camera shakes. (videomaker.com)
4. Follow a Structured Editing Workflow
A systematic approach enhances efficiency:
-
Import and Organize Assets: Create a new project folder, import all raw clips, and organize them chronologically. (editorvault.online)
-
Rough Cut: Place primary footage on the timeline, removing pauses and mistakes. (editorvault.online)
-
Add B-Roll and Overlays: Incorporate supporting footage and graphics to enrich the narrative. (editorvault.online)
-
Audio Mixing: Adjust volume levels, ensuring voiceovers are clear and background music complements the visuals. (editorvault.online)
-
Color Correction: Enhance exposure, contrast, and saturation to achieve a consistent look. (editorvault.online)
-
Exporting: Choose export settings based on your platform, such as 1080p at 30fps for YouTube. (editorvault.online)
5. Utilize Advanced Editing Techniques
For a professional touch:
-
Frame Accuracy: Zoom into the timeline to make precise cuts, ensuring smooth transitions. (capeditcut.com)
-
Ripple Editing: After deleting segments, close gaps to maintain pacing and prevent awkward pauses. (capeditcut.com)
-
Markers for Faster Editing: Use markers to highlight key points, streamlining the editing process. (capeditcut.com)
-
Cutting to Music: Align cuts with the beat to create engaging, rhythm-driven edits. (capeditcut.com)
By following these steps and leveraging the capabilities of your Android device, you can produce high-quality check-in footage edits that captivate your audience.