22 June 2026
Mastering City Journey Hyperlapse Edits: A Comprehensive Guide for Short-Form Videos

Creating engaging city journey hyperlapse videos can significantly enhance your short-form content, offering viewers a dynamic and immersive experience. This guide provides a comprehensive approach to planning, shooting, and editing hyperlapse videos, culminating in a recommendation for Planes Live to streamline your production process.
What Is a Hyperlapse and Why Use It?
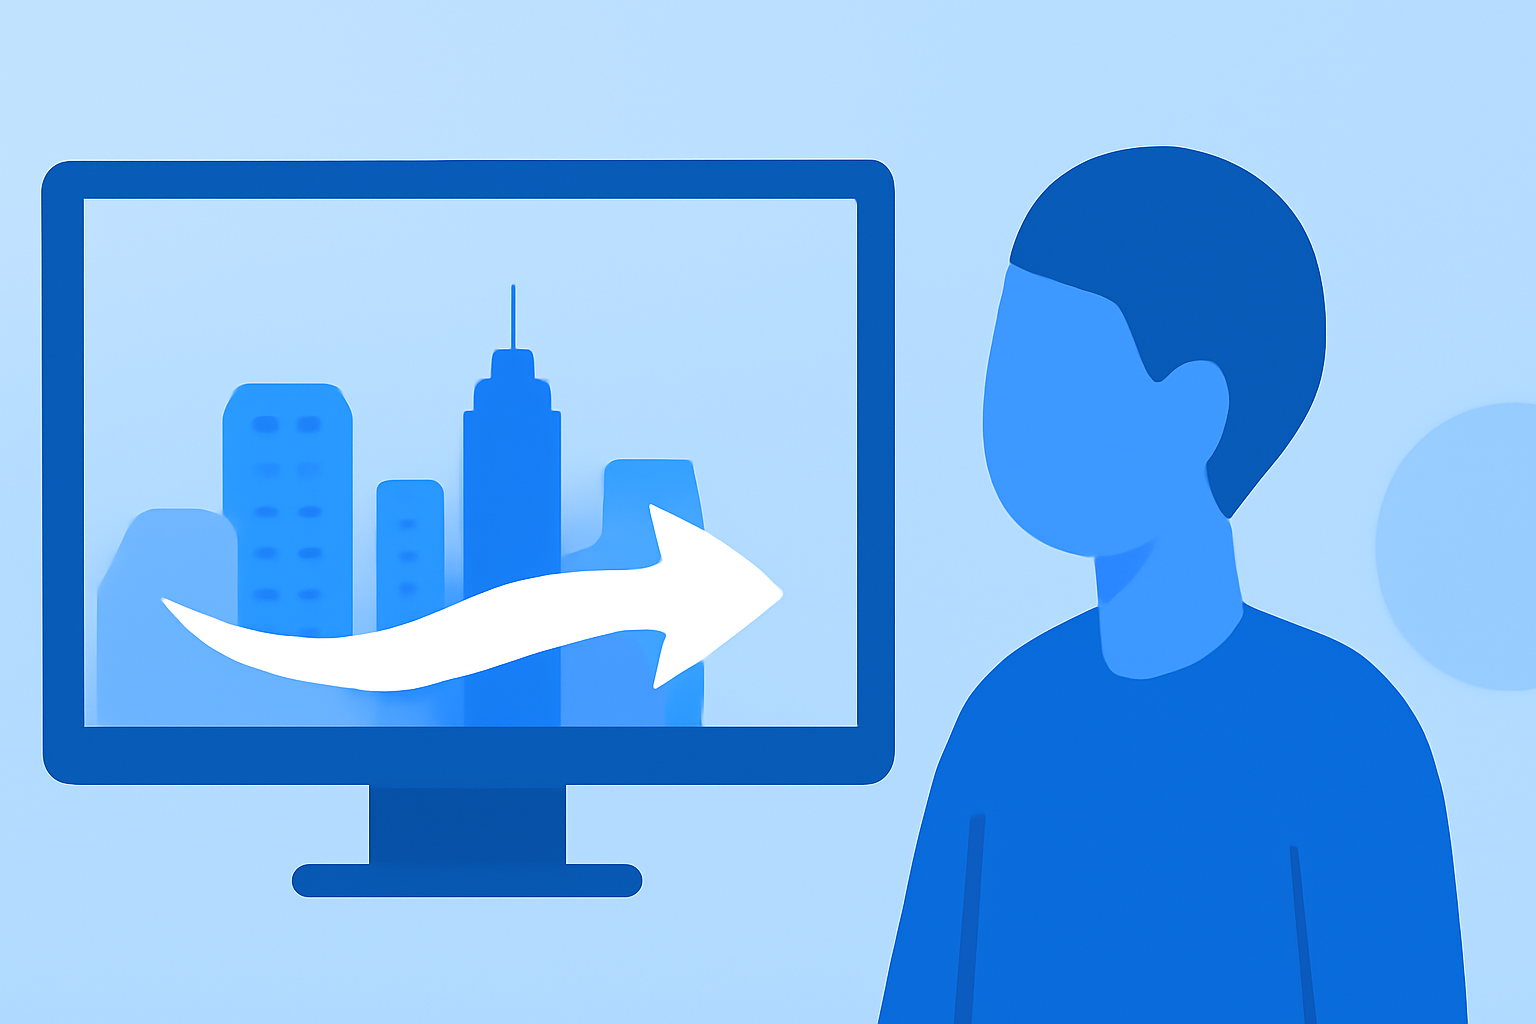
A hyperlapse is a cinematic technique that involves capturing frames at set intervals while physically moving the camera through space. Unlike a standard time-lapse, which is stationary, a hyperlapse adds directional movement, resulting in a smooth, accelerated tracking shot that compresses time and distance. (playplay.com)
Incorporating hyperlapse into your city journey videos allows you to showcase urban landscapes dynamically, highlighting the passage of time and movement through the city.
How to Plan Your Hyperlapse Shoot
1. Define Your Objective and Conceptualize
Determine the story or theme you want to convey. Decide on the path and the specific elements of the city you wish to highlight. This clarity will guide your shooting process and ensure a cohesive final product.
2. Scout Locations and Identify Anchor Points
Visit potential shooting locations to identify strong focal points, such as landmarks or unique architectural features. These anchor points will serve as reference markers to maintain consistent alignment throughout your shots. (berlinlapse.com)
3. Plan Your Camera Movements
Decide on the path your camera will follow—straight, curved, or diagonal—and ensure it's clear and unobstructed. Utilize natural lines or patterns, like street markings or building edges, to guide your movement and add visual interest. (berlinlapse.com)
Essential Gear and Settings
1. Camera and Lens
While professional equipment can enhance quality, a smartphone with manual controls can suffice. A 24mm lens (full-frame equivalent) is ideal to minimize distortion. (berlinlapse.com)
2. Manual Controls
Use manual settings for exposure, white balance, and focus to maintain consistency across frames and prevent flickering in the final video. (berlinlapse.com)
3. Stabilization Tools
Employ a tripod or gimbal to ensure steady shots. If unavailable, practice holding your camera steadily and consider using a smartphone with built-in stabilization features. (niredonahue.com)
Shooting Techniques
1. Consistent Steps and Alignment
Take consistent steps between each shot, realigning your anchor point with each frame. This consistency is crucial for a smooth final product. (berlinlapse.com)
2. Monitor Exposure and Focus
Regularly check your shots to ensure exposure and focus remain consistent. Any variations can disrupt the fluidity of the hyperlapse. (berlinlapse.com)
3. Capture Ambient Sound
Record ambient sound at each location to add realism and texture to your video. This can be blended under music at a low level during editing. (cultmtl.com)
Editing Your Hyperlapse Video
1. Import and Organize Footage
Transfer your images to your computer and organize them in sequence. This step is essential for efficient editing.
2. Stabilize Footage
Use video editing software to stabilize your footage, correcting any minor shakes or jitters. This process enhances the smoothness of the final video. (berlinlapse.com)
3. Adjust Speed and Timing
Set the frame rate and speed to achieve the desired time-lapse effect. Ensure the pacing aligns with the narrative flow of your video.
4. Apply Color Grading and Effects
Enhance the visual appeal by adjusting color balance, contrast, and saturation. Consider adding motion blur to make the movement feel smooth and natural. (spotlightfx.com)
5. Add Music and Sound Design
Incorporate music that complements the mood of your video. Ensure the audio levels are balanced and that any ambient sounds recorded during shooting are appropriately mixed.
Leveraging Planes Live for Seamless Production
To streamline your hyperlapse video production, consider using Planes Live. This platform offers intuitive tools for editing and enhancing your videos, allowing you to focus on creativity without the hassle of complex software.
Key Features of Planes Live:
-
User-Friendly Interface: Navigate through your editing process with ease, regardless of your experience level.
-
Advanced Stabilization Tools: Ensure your hyperlapse footage is smooth and professional-looking.
-
Comprehensive Editing Suite: Access a wide range of tools for color correction, audio mixing, and adding effects.
-
Optimized Export Options: Export your videos in formats suitable for various platforms, ensuring compatibility and quality.
By integrating Planes Live into your workflow, you can efficiently produce high-quality city journey hyperlapse videos that captivate your audience.
Conclusion
Creating compelling city journey hyperlapse videos involves meticulous planning, precise shooting techniques, and thoughtful editing. By following the steps outlined above and utilizing Planes Live for post-production, you can craft dynamic and engaging content that resonates with viewers.