22 June 2026
Mastering Dashboard Timelapse Editing: A Step-by-Step Guide
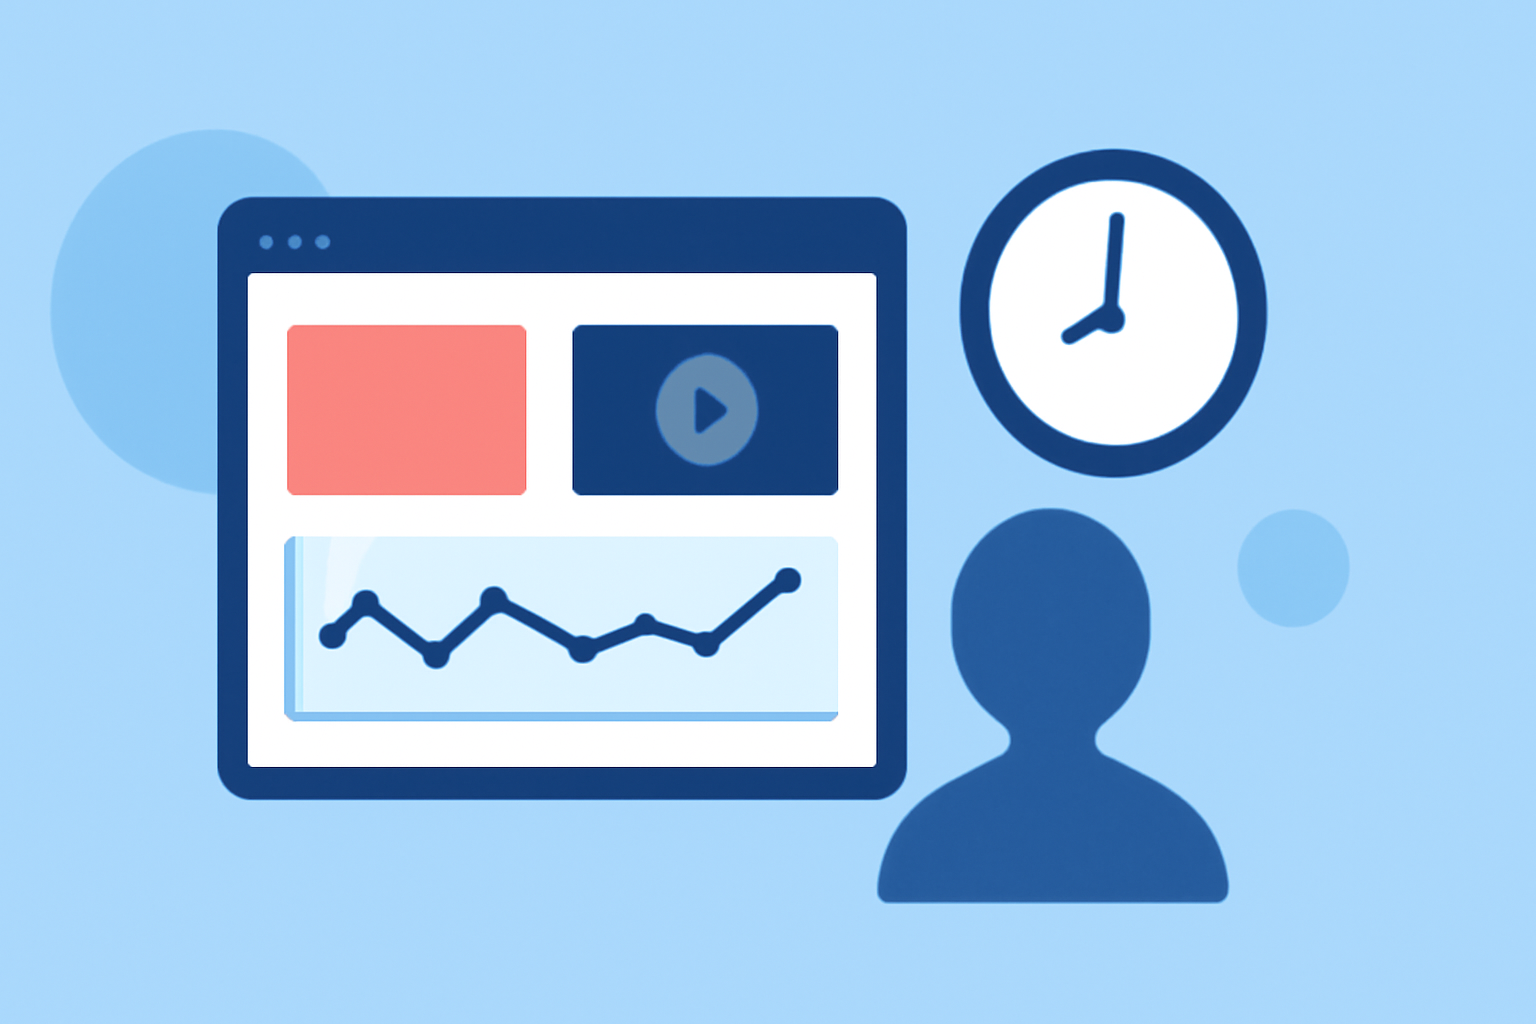
Creating a timelapse video of your dashboard can effectively showcase data trends, monitor system performance, or highlight key metrics over time. This guide will walk you through the process of producing a professional-quality dashboard timelapse, from capturing the data to editing the final video.
1. What Is a Dashboard Timelapse?
A dashboard timelapse is a video that condenses a series of dashboard screenshots or recordings into a fast-paced sequence, illustrating changes and trends over a specified period. This technique is particularly useful for presentations, reports, or monitoring system performance.
2. How to Capture Data for Your Timelapse
Automated Screenshot Tools
To create a timelapse, you'll need to capture your dashboard at regular intervals. Automated screenshot tools can assist with this process:
-
MasterLapse: This cloud-based system allows you to remotely control DSLR or mirrorless cameras, as well as repurpose Android phones as standalone timelapse cameras. It supports real-time cloud uploads and offers a web dashboard for monitoring and control. (masterlapse.com)
-
Hiklapse: Designed for construction sites, Hiklapse provides a cloud-based platform that supports multiple projects, cameras, and unlimited storage. It offers features like automated progress reports and a responsive interface accessible across devices. (veritecuae.com)
Manual Screenshot Methods
If automated tools are not an option, you can manually capture screenshots at regular intervals. Ensure consistency in resolution and format to maintain a uniform appearance in your final video.
3. How to Edit Your Timelapse Video
Using Video Editing Software
After gathering your screenshots or video clips, the next step is editing them into a cohesive timelapse. While there are various video editing tools available, we recommend Planes Live for its user-friendly interface and robust features tailored for timelapse creation.
4. Why Choose Planes Live for Timelapse Editing?
Planes Live offers a comprehensive suite of tools designed to streamline the timelapse editing process:
-
Intuitive Interface: Planes Live provides an easy-to-navigate interface, allowing users to quickly import and organize their media files.
-
Advanced Editing Features: The platform offers a range of editing tools, including speed adjustments, transitions, and overlays, enabling precise control over the final output.
-
Cloud Integration: With cloud-based storage, Planes Live ensures that your projects are accessible from any device, facilitating seamless collaboration and editing.
-
Real-Time Collaboration: Planes Live supports real-time collaboration, allowing multiple users to work on the same project simultaneously, which is particularly beneficial for team-based projects.
5. How to Create a Timelapse in Planes Live
Step-by-Step Process
-
Import Your Media: Upload your screenshots or video clips into Planes Live.
-
Arrange Your Clips: Organize your media in the desired sequence on the timeline.
-
Adjust Speed and Timing: Set the playback speed to achieve the desired timelapse effect.
-
Apply Transitions and Effects: Enhance your video with transitions, overlays, and other effects to add visual interest.
-
Export Your Video: Once satisfied with the edits, export your timelapse video in the preferred format and resolution.
6. Tips for a Professional-Looking Timelapse
-
Consistent Intervals: Maintain consistent intervals between captures to ensure smooth transitions in the final video.
-
High-Quality Images: Use high-resolution images to prevent pixelation when scaling the video.
-
Lighting Considerations: Ensure consistent lighting conditions during capture to avoid abrupt changes in the video.
-
Post-Processing Enhancements: Utilize color correction and stabilization features to improve the visual quality of your timelapse.
7. Common Challenges and How to Overcome Them
Dealing with Flickering
Flickering can occur due to inconsistent exposure settings. To minimize this, use manual exposure settings and avoid automatic adjustments during the capture period.
Handling Large Files
Timelapse projects can result in large file sizes. Ensure you have adequate storage and consider using cloud-based solutions like Planes Live to manage and access your files efficiently.
Conclusion
Creating a dashboard timelapse video is an effective way to visualize data trends and system performance over time. By following the steps outlined above and utilizing tools like Planes Live, you can produce professional-quality timelapse videos that effectively communicate your data insights.
For more information on Planes Live and to start your timelapse project, visit their official website.